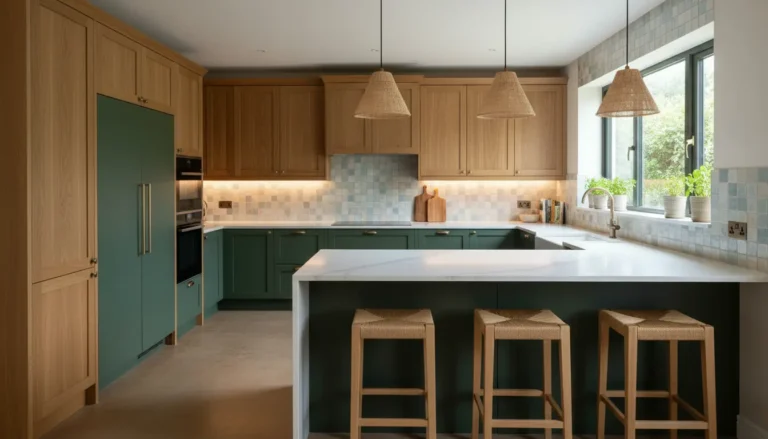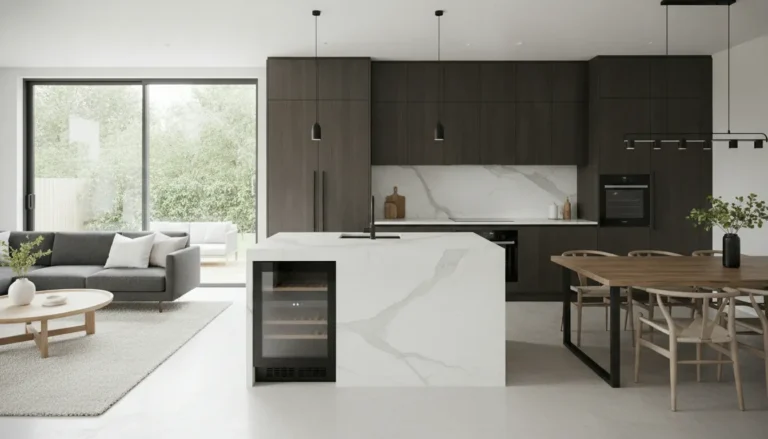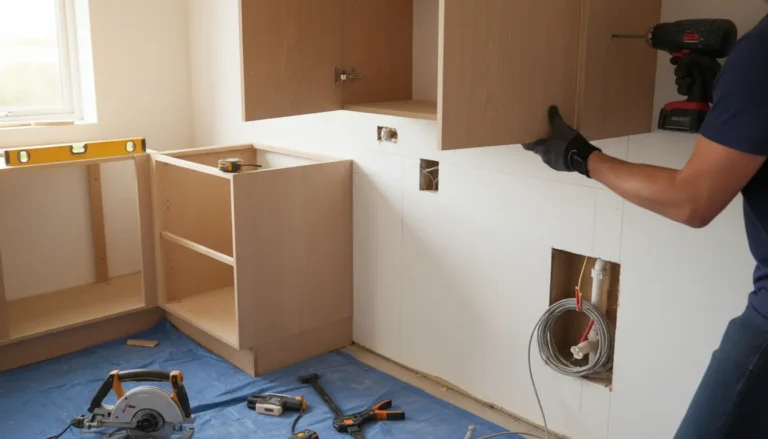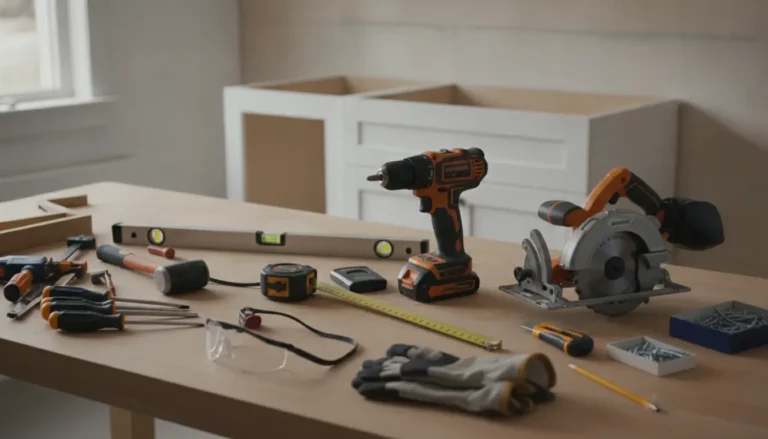
DIY kitchen renovation gives you a practical way to transform an outdated kitchen without handing your entire budget to a contractor. This page shows how to plan smarter, choose high-impact upgrades, avoid expensive mistakes, and decide where professional help is worth it. Built around real renovation scenarios, budget-conscious material choices, and conversion-focused planning, it helps you move from inspiration to action with confidence, whether you are refreshing cabinets, replacing counters, upgrading flooring, or redesigning the whole space.
Build a Better Kitchen Without Losing Control of Your Budget
A successful DIY kitchen renovation is not about doing every task yourself. It is about making smart decisions, protecting your budget, and investing your effort where it creates the biggest visible improvement. Many homeowners assume a kitchen transformation requires a full demolition, custom cabinetry, premium stone, and weeks without a usable cooking space. In reality, a well-planned renovation can start with targeted changes that make the room brighter, more functional, and more valuable.
The biggest advantage is control. You choose the pace, the finishes, the order of work, and the areas where you want to save or spend. Instead of accepting one large quote, you can compare materials, reuse what still works, and phase the project around your schedule. That flexibility is especially useful if you live in the home during the renovation or need to keep part of the kitchen operational.
Why Homeowners Choose a DIY Approach
Kitchen renovations often become expensive because small decisions stack up quickly. Labor, demolition, cabinetry, counters, plumbing, electrical work, flooring, and finishing details all compete for the same budget. With a DIY strategy, you can reduce labor costs on approachable tasks and reserve paid expertise for work that requires certification, safety knowledge, or specialist tools.
-
Lower project cost: painting, hardware replacement, backsplash installation, shelving, trim, and some flooring tasks are often manageable for careful beginners.
-
More design freedom: you can test colors, finishes, and layouts before committing to expensive permanent choices.
-
Better material control: you can shop promotions, compare cabinet styles, and choose durable finishes that fit your lifestyle.
-
Phased upgrades: you can complete cabinets now, counters later, and lighting when the budget allows.
-
Added home value: clean lines, better storage, modern surfaces, and improved lighting can make the kitchen more appealing to future buyers.
Start With the Changes Buyers and Families Notice First
Not every kitchen problem needs the most expensive solution. If the layout works, your best return may come from cosmetic and functional upgrades. For example, a dated but solid cabinet set can be painted, refaced, or fitted with new doors. A tired laminate counter can be replaced with butcher block, compact quartz, or another budget-conscious surface. A dark kitchen can feel bigger with lighter cabinet fronts, under-cabinet lighting, and a simpler backsplash.
If your main concern is storage, focus on cabinet interiors before replacing the entire kitchen. Pull-out organizers, better corner solutions, drawer dividers, and pantry improvements can make an old kitchen feel much more efficient. For cabinet-specific planning, explore this cabinet renovation advice to compare practical ways to refresh what you already have.
Scenario: The Outdated but Functional Kitchen
Imagine a kitchen with dark oak cabinets, worn handles, yellowed wall paint, and old tile flooring. The appliances still work, the cabinet boxes are sturdy, and the layout is comfortable. In this case, a full tear-out may be unnecessary. A high-impact DIY plan could include cabinet cleaning, sanding, primer, durable paint, new handles, a fresh wall color, modern lighting, and floating vinyl flooring. The result can feel like a new kitchen without the cost and disruption of replacing everything.
Scenario: The Small Kitchen That Feels Cluttered
In a compact kitchen, the best renovation is often about visual calm and smarter storage. Use light cabinet colors, streamlined hardware, open wall space, and consistent flooring to reduce visual breaks. Add pull-out storage where items usually disappear, choose a single-bowl sink to gain usable counter space, and consider a narrow movable island instead of a fixed oversized one. The goal is not just beauty; it is daily usability.
Plan the Order Before You Pick the Paint
A clear sequence saves time, money, and frustration. Many DIY mistakes happen because finishes are chosen before measurements, lighting, plumbing, or appliance clearances are confirmed. Start with how the kitchen must function, then move toward finishes. Measure cabinet runs, door swings, window heights, electrical points, plumbing positions, and walkway widths. Keep those measurements available whenever you shop.
-
Define the must-fix problems: poor storage, damaged surfaces, weak lighting, awkward appliance placement, or outdated style.
-
Set a realistic budget: include materials, tools, delivery, waste removal, and a contingency for surprises.
-
Decide what stays: cabinet boxes, appliances, flooring, sink position, and walls can sometimes be reused.
-
Choose the project scope: refresh, partial remodel, or full renovation.
-
Schedule messy work first: demolition, repairs, electrical changes, plumbing changes, and flooring preparation should happen before decorative finishes.
Before buying materials, compare your expected spending with a reliable planning resource such as this kitchen renovation budget guide. A budget check early in the process helps you avoid spending too much on one feature and having too little left for installation details.
Where DIY Delivers the Strongest Return
Paint remains one of the most cost-effective renovation tools when surfaces are prepared correctly. Cabinet painting, in particular, can dramatically change the room. The key is patience: degrease thoroughly, label doors, remove hardware, sand or degloss, use the right primer, and apply a durable finish. Rushing this step can lead to peeling, uneven texture, and disappointing results.
Backsplashes are another popular DIY upgrade. Standard subway tile, beadboard, panel systems, and peel-and-stick options can all work, depending on your skill level and desired durability. If you cook often and clean frequently, choose a surface that resists moisture, heat, and staining. For renters or temporary improvements, removable backsplash products may provide visual impact without permanent commitment.
Flooring can also be approachable when the subfloor is stable and the product is designed for floating installation. Luxury vinyl plank and click-lock tile are popular because they are easier to cut and install than traditional ceramic tile. They also feel warmer underfoot and can handle everyday spills when installed according to manufacturer guidance.
Know When to Bring in a Professional
Smart DIY is not the same as risky DIY. Electrical panel work, new wiring routes, gas lines, structural wall changes, major plumbing relocation, and code-sensitive ventilation should be handled by qualified professionals. Paying for expert help in these areas protects your home, insurance position, and resale value.
A hybrid approach often gives the best balance. You can remove cabinet doors, paint walls, assemble flat-pack cabinets, install hardware, manage design choices, and handle finishing details. A professional can then complete electrical upgrades, plumbing connections, counter templating, or complex installation tasks. This keeps labor costs focused on the parts where expertise matters most.
Compare Common Renovation Paths
Choosing the right path depends on the condition of your kitchen and your tolerance for disruption. A refresh is ideal when the room works but looks tired. A partial remodel suits kitchens with good bones but weak storage or dated surfaces. A full renovation is best when the layout fails, cabinets are damaged, or hidden issues need correction.
-
Refresh: paint, handles, lighting, faucet, backsplash, and styling. Best for fast visual improvement.
-
Partial remodel: cabinet refacing, new counters, sink replacement, flooring, and targeted storage upgrades. Best for stronger function and resale appeal.
-
Full renovation: new layout, new cabinets, new services, new flooring, and coordinated finishes. Best when the existing kitchen no longer supports daily life.
If you are unsure which path fits your home, use a planning tool like the kitchen renovation cost estimator before committing to purchases. It can help you see whether your dream scope matches your available budget.
Proof That Small Choices Can Create a Big Transformation
Many successful kitchen makeovers start with ordinary rooms: dated cabinets, old counters, awkward lighting, and flooring that no longer fits the home. The transformations that stand out are rarely about the highest spend. They are about disciplined choices. Homeowners who keep the layout, repaint cabinets, install practical flooring, upgrade the sink, and add a clean backsplash often achieve a dramatic before-and-after result without taking on unnecessary debt.
Another common success pattern is selective splurging. Instead of buying premium finishes everywhere, they invest in one focal point: a durable counter on the island, a quality faucet, statement lighting, or custom-looking cabinet fronts. Surrounding those features with affordable, neutral finishes keeps the total project balanced while still giving the kitchen a polished look.
Make Your Renovation Easier to Finish
The hardest part of a DIY kitchen renovation is not always the work itself. It is staying organized long enough to finish. Create a simple renovation zone with labeled hardware bags, a charging station for tools, protective floor covering, dust control, and a temporary food-prep area. If your kitchen will be unusable for a while, set up a small station with a microwave, kettle, cutting board, and basic dishes in another room.
Before each weekend of work, define one achievable outcome. For example, remove and label cabinet doors on Friday evening, clean and sand on Saturday, prime on Sunday. This approach reduces overwhelm and helps you maintain momentum. A kitchen renovation is a sequence of manageable tasks, not one impossible job.
Ready to Turn Planning Into Progress?
If you want a kitchen that looks better, works harder, and supports your home value, start with a clear plan today. Identify the changes that will improve daily life, compare your budget, and decide which tasks you can complete confidently. Then take the first step: measure the space, list the problems, and choose one high-impact upgrade to begin. Your DIY kitchen renovation can move from idea to visible progress faster than you think.
A DIY kitchen renovation can help you save money, improve storage, refresh dated finishes, and add real value without giving up control of the project. The key is choosing the right scope, doing approachable tasks yourself, and hiring professionals where safety or precision matters. Start with a smart plan, focus on high-impact upgrades, and take the next step today toward a kitchen that feels better every single day.
Frequently Asked Questions
Is a DIY kitchen renovation realistic for beginners?
Yes, a DIY kitchen renovation can be realistic for beginners when the scope is controlled. Start with painting, hardware replacement, lighting swaps, backsplash panels, or storage upgrades. Avoid complex electrical, gas, or structural work unless you are qualified. The safest approach is to complete simple visible improvements yourself and hire licensed help for technical tasks.
How do I keep a DIY kitchen renovation on budget?
Set a clear budget before buying finishes and include a contingency for tools, delivery, repairs, and mistakes. Keep the existing layout if possible, reuse solid cabinet boxes, compare material prices, and phase the work. Spend more on surfaces you touch daily, such as faucets and counters, and save on decorative elements that are easy to replace later.
What upgrades make the biggest difference in a DIY kitchen renovation?
Cabinet painting or refacing, new hardware, improved lighting, modern flooring, a clean backsplash, and a better faucet usually create the strongest visual impact. If the kitchen feels cluttered, storage organizers may be just as valuable as new finishes. Focus first on changes that improve both appearance and daily function.
Should I replace or paint my cabinets during a DIY kitchen renovation?
If cabinet boxes are sturdy, doors align well, and the layout works, painting or refacing can be a smart choice. Replacement is better when cabinets are damaged, poorly sized, or no longer fit your storage needs. For many homeowners, cabinet renovation delivers a fresh look at a lower cost than full replacement.
How long does a DIY kitchen renovation usually take?
The timeline depends on scope, skill level, and how much time you can dedicate each week. A cosmetic refresh may take several weekends, while a partial remodel can take longer if flooring, counters, and cabinet work are involved. Plan around drying times, deliveries, and professional appointments to avoid delays.
About the Author