Installing kitchen cabinets yourself becomes far easier when you follow a clear, practical plan instead of guessing your way through measurements, wall prep, and leveling. This guide gives you a confident path from planning to final adjustment, with expert tips that help prevent crooked doors, weak fixings, and costly delays. You will learn what matters most before you start, when to ask for help, and how the right cabinets and preparation can turn a demanding project into a smart home upgrade.
Why a Self Installed Cabinet Project Can Be Worth It
Taking on your own kitchen cabinet installation can deliver real savings, but the biggest advantage is control. You decide the pace, check every alignment yourself, and make sure the layout fits how you actually cook, store, and move through the kitchen. For homeowners who enjoy hands on projects, it can be one of the most rewarding parts of a kitchen renovation.
The value comes from more than avoiding labor costs. When you understand how the cabinets are mounted, leveled, and connected, you can make better decisions about future repairs, appliance changes, and storage upgrades. A well planned installation can also reduce waste, prevent rework, and help you spot issues before countertops or flooring make them harder to fix.
-
You can lower overall renovation costs by handling a major part of the project yourself.
-
You can inspect walls, floors, plumbing, and electrical points before cabinets cover them.
-
You can customize the layout around real daily routines, not just a showroom plan.
-
You gain confidence for smaller improvements, such as trim, organizers, or door adjustments.
If you are still choosing units, compare cabinet styles, materials, and layouts before installation day. A strong starting point is the kitchen cabinets guide, which helps you understand what type of cabinet system fits your space and budget.
Start With Accurate Planning, Not Power Tools
The most common cabinet installation mistakes happen before the first screw goes into the wall. Rushing past layout checks can lead to uneven reveals, filler strips that look too wide, appliance openings that are too tight, or upper cabinets that clash with lighting and ventilation. Careful planning prevents those frustrations.
Measure the Room as It Really Is
Walls are rarely perfectly straight, floors are rarely perfectly level, and corners are rarely perfectly square. Measure the width of each wall at multiple heights. Check the floor from side to side and from front to back. Mark any dips, humps, or bowed areas. These details guide how many shims you need and where base cabinets may require extra support.
For example, if the floor drops toward one corner, starting cabinet installation at the lowest point may force the rest of the run too high. In that scenario, you need a level reference line around the room and a plan for shimming the cabinet bases to meet it. This keeps the countertop level and avoids gaps that are difficult to hide later.
Confirm Studs, Services, and Cabinet Heights
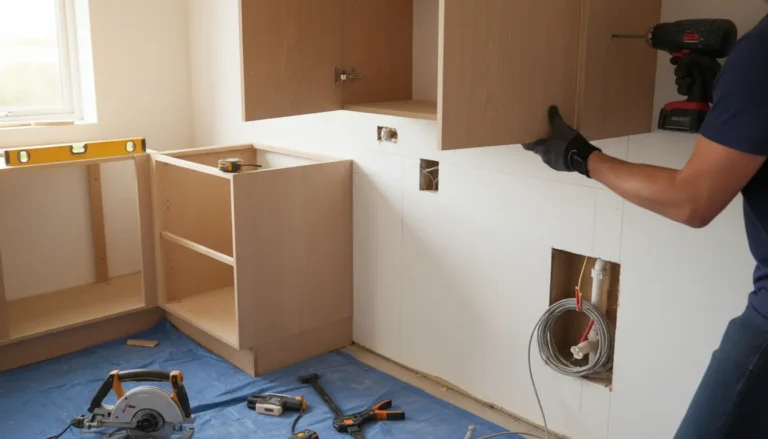
Use a reliable stud finder and verify each stud location with a small test hole where it will be hidden. Upper cabinets must be fastened into structural framing, not just drywall. Also map water lines, gas lines, outlets, extraction points, and any hidden services. If something is uncertain, stop and confirm before drilling.
Standard installation height depends on countertop height, cabinet size, ceiling height, and appliance clearances. The key is consistency. Draw a level line for the top of base cabinets and another for the bottom of wall cabinets. These reference lines become your installation map.
Choose Cabinets That Make Installation Easier
Not all cabinets are equally friendly for a self installed project. Flat pack and ready to assemble units can be cost effective, but they require careful assembly before installation. Pre assembled cabinets save time and reduce assembly errors, though they can be heavier and harder to maneuver in narrow rooms. Custom cabinets may fit challenging spaces beautifully, but they often require a more precise installation standard.
For a first time installer, the best choice is usually a cabinet system with clear instructions, strong back rails, adjustable hinges, durable hardware, and available filler panels. If your room has unusual corners, sloped floors, or tall pantry units, factor that into your buying decision. A slightly more installer friendly cabinet can save hours of adjustment.
If budget is a major driver, review cabinet pricing before you commit. The kitchen cabinets cost overview can help you weigh the difference between affordable stock cabinets, better hardware, and professional support for difficult parts of the job.
Tools and Materials That Help You Work Like a Pro
You do not need a full workshop, but you do need accurate tools. Cabinet installation is a precision job. Small errors compound across a full wall of cabinets, especially when doors and drawer fronts create long horizontal and vertical lines.
-
A long level or laser level for reference lines and cabinet alignment.
-
A stud finder, pencil, measuring tape, and straightedge for layout work.
-
Clamps to hold cabinet faces flush while fastening units together.
-
Cabinet screws designed for structural fastening into studs.
-
Shims for leveling base cabinets and correcting wall irregularities.
-
A drill driver with suitable bits and a countersink for clean screw placement.
-
Safety gear, including eye protection and gloves.
One practical scenario: when joining two face frame cabinets, clamp the frames so the front edges sit perfectly flush before fastening them together. If you skip the clamp, one cabinet can creep forward slightly. That tiny offset becomes very visible once doors are installed and light hits the cabinet faces.
A Clear Installation Flow
Prepare the Space
Remove old cabinets carefully, especially if plumbing or electrical connections run through them. Repair damaged drywall, scrape high spots, and clean the floor. If a backsplash is being removed, finish the messy work before new cabinets arrive. A clean, open room lets you move units safely and check the layout without obstacles.
Install Upper Cabinets First When Possible
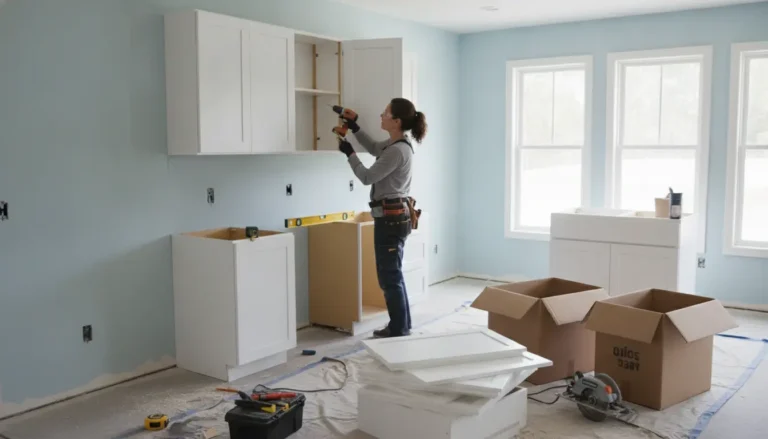
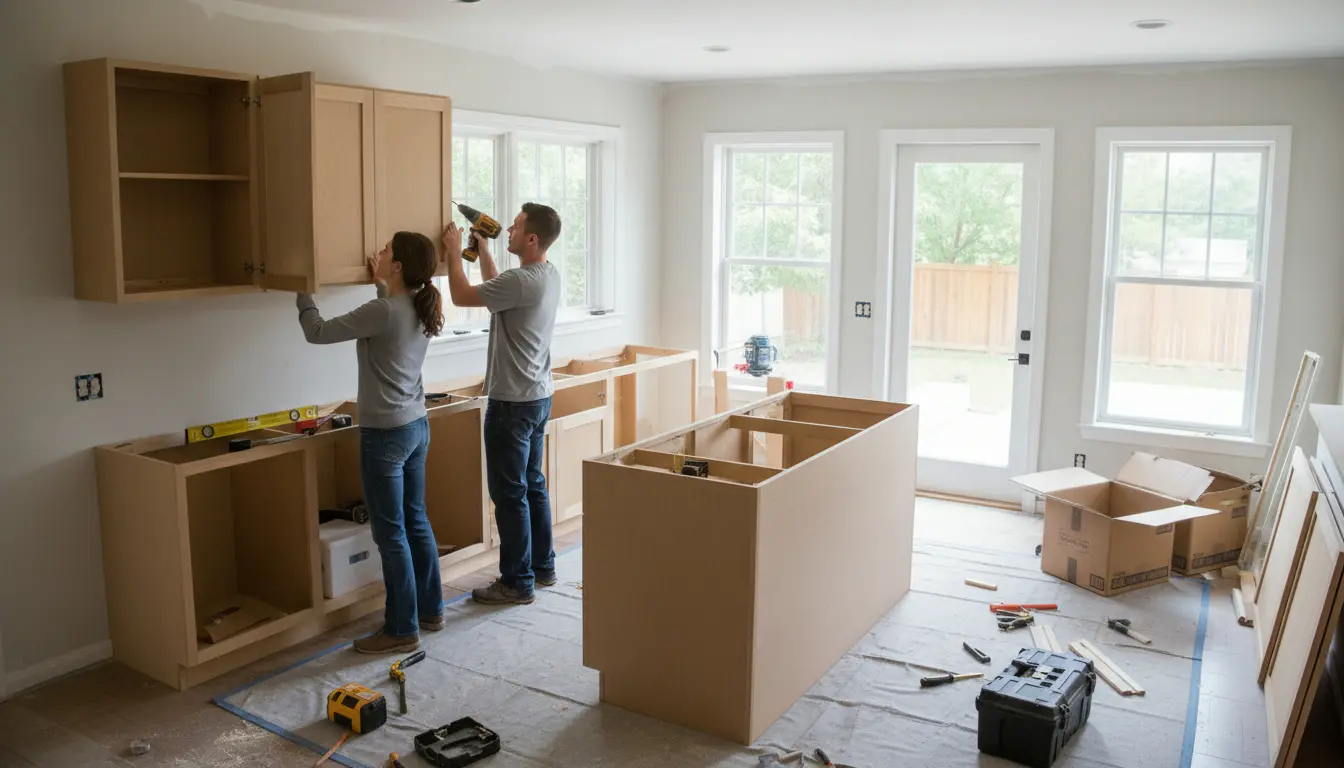
Many installers prefer starting with upper cabinets because there are no base cabinets in the way. Attach a temporary ledger board along the lower reference line to support the wall cabinets while you fasten them. This makes the process safer and more accurate, especially with a helper holding the cabinet in place.
Begin with a corner or a clearly defined end point. Fasten each wall cabinet into studs, then clamp and connect adjacent cabinets through the face frame or cabinet side, depending on construction. Keep checking level, plumb, and alignment after every cabinet. Do not assume the next cabinet will correct the previous one.
Set Base Cabinets With Patience
Base cabinets carry the countertop, so level matters. Start from the highest point of the floor if your layout allows, then shim other cabinets up to match the level line. Check front to back as well as side to side. Fasten cabinets to studs and to each other only after alignment is right.
In a kitchen with a dishwasher opening, leave the correct clearance and verify that the adjacent cabinets are square. If the opening narrows at the back because one cabinet is angled, the appliance may not slide in properly later. This is a classic problem that is easy to prevent with repeated measuring.
Handle Special Cabinets Carefully
Cabinets above a refrigerator, microwave cabinets, tall pantry units, and corner cabinets often need extra attention. They interact with appliances, ventilation, doors, and ceiling lines. Dry fit these pieces before final fastening. Check appliance manuals for required clearances, and never force a cabinet into a space that should remain accessible for ventilation or service.
DIY Compared With Professional Installation
Installing cabinets yourself is most attractive when the layout is straightforward, the walls are in good condition, and you have time to work carefully. Professional installation becomes more valuable when the project includes heavy custom cabinetry, uneven floors, complex plumbing, stone countertops, integrated lighting, or tight deadlines.
A self installed project can be the right choice if you are comfortable measuring precisely, finding studs, using clamps, and making small corrections. A professional installer may be the better choice if your walls need structural repair, if tall cabinets must align with ceiling trim, or if a mistake would delay other trades.
You do not have to choose one extreme. Many homeowners handle assembly and basic preparation themselves, then hire help for upper cabinet mounting or final leveling. This hybrid approach protects your budget while giving you confidence where precision and safety matter most.
For step by step installation support, the kitchen cabinet installation guide offers a useful reference for planning the work in the right order.
What Successful Homeowners Usually Do Differently
People who finish with a clean, professional looking result tend to share the same habits. They do not rely on one measurement. They check level constantly. They assemble cabinets on a protected surface. They label parts before moving them into the room. They ask for help when lifting wall cabinets. Most importantly, they slow down before permanent fastening.
Consider a homeowner replacing a dated galley kitchen. By marking studs, snapping level lines, and test fitting the cabinet run before fastening, they discover one wall bows outward near the corner. Instead of forcing the cabinets tight to the wall, they shim strategically, keep the cabinet faces straight, and cover the wall gap with a planned filler. The finished kitchen looks intentional rather than improvised.
Another example is a small apartment kitchen where every centimeter of storage matters. Installing cabinets yourself allows the owner to adjust organizer placement, confirm door swing, and choose pull out storage before final fixing. The result is not just new cabinetry, but a kitchen that works better every day.
Before You Start, Make the Smart Move
If you are confident with tools and patient with detail, this project can be a smart investment. Still, cabinet installation rewards preparation more than speed. Review your cabinet plan, measure your room again, confirm delivery contents, gather tools, and arrange a helper for lifting. The stronger your preparation, the smoother installation day becomes.
Ready to move forward? Choose cabinets that fit your room, budget, and skill level, then follow a structured installation plan. If any part feels beyond your comfort zone, bring in professional help for that stage. The goal is not only to save money; it is to create a kitchen that feels solid, level, and built to last.
Installing kitchen cabinets yourself can save money, improve control, and give you a deeper understanding of your kitchen layout. Success depends on accurate measuring, strong wall fixing, careful leveling, and choosing cabinets that suit your skill level. With the right plan, tools, and patience, a professional looking result is achievable. Start by reviewing your cabinet options, prepare the room properly, and take the next step toward a kitchen you can be proud to use every day.
Frequently Asked Questions
Is installing kitchen cabinets yourself realistic for a beginner?
Installing kitchen cabinets yourself is realistic if the layout is simple, the walls are sound, and you are comfortable using a level, drill, clamps, and shims. Beginners should allow extra time, read cabinet instructions carefully, and get help for lifting upper cabinets. If plumbing, wiring, or structural issues appear, bring in a qualified professional.
Should I install upper or base cabinets first?
Many DIY installers prefer upper cabinets first because base cabinets are not blocking access to the wall. A temporary support board can help hold upper cabinets at the correct height while fastening. Base cabinets then follow, with careful shimming to create a level surface for the countertop. Always follow the logic of your specific layout.
How do I keep cabinets level on an uneven floor?
Find the high point of the floor and mark a level reference line around the room. Set base cabinets to that line using shims under low areas, checking side to side and front to back. Do not force cabinets to follow the floor. A level cabinet run is essential for doors, drawers, appliances, and countertops.
What is the biggest mistake when installing kitchen cabinets yourself?
The biggest mistake is fastening cabinets before confirming level, plumb, square, and stud placement. Once cabinets are screwed together and secured to the wall, correcting errors becomes harder. Dry fit sections, clamp faces flush, check measurements repeatedly, and only fasten permanently when the run is straight and appliance openings are correct.
When should I hire a professional instead of doing it myself?
Hire a professional if cabinets are very heavy, walls are damaged, floors are severely uneven, or the layout includes custom panels, integrated appliances, complex lighting, or tight countertop tolerances. You can still save money by handling demolition, assembly, or preparation yourself while leaving the most technical installation steps to an experienced installer.
About the Author