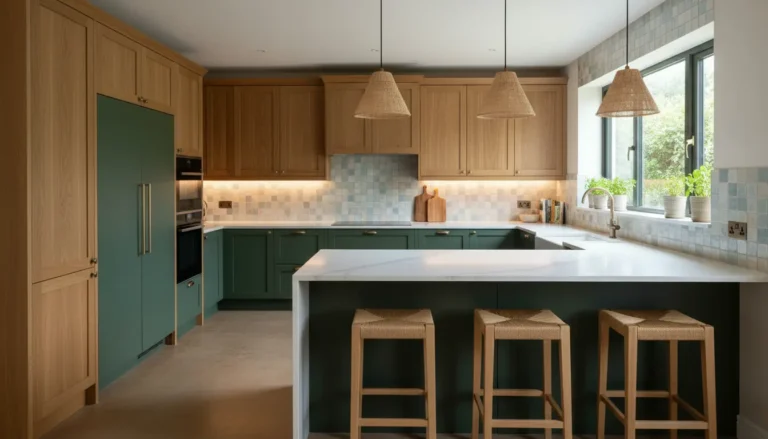
Kitchen renovation timeline planning gives you a clear path from first idea to final walkthrough, without costly guesswork. This page shows what happens when, which decisions must be made early, and how to avoid the delays that frustrate most homeowners. With practical phases, ordering guidance, budget checkpoints, and expert-style planning tips, you can move forward confidently, compare options, and start your kitchen upgrade with fewer surprises and a stronger result.
What a Realistic Kitchen Renovation Timeline Looks Like
A successful kitchen renovation is not just about choosing beautiful cabinets, worktops, lighting, and appliances. It is about sequencing those decisions correctly. The most common reason projects stall is not poor taste or lack of budget. It is bad timing: cabinets ordered too late, appliances chosen after the layout is final, permits requested after trades are booked, or demolition started before materials have arrived.
A typical kitchen renovation timeline moves through planning, design, ordering, preparation, demolition, rough construction, installation, finishing, and final inspection. A small cosmetic refresh can move quickly, while a full remodel with layout changes, plumbing updates, electrical work, and custom cabinetry takes longer. The key is to know which phase controls the next one.
If you are still shaping the full scope, start with a broader overview of kitchen renovation options before locking in your schedule. A clear scope helps you choose the right level of investment, the right trades, and the right order of decisions.
Start With Decisions That Prevent Delays
The first phase should answer practical questions before anyone removes a single cabinet. This is where you define how your kitchen needs to work every day. A family that cooks twice a day needs a different plan than a homeowner who mainly wants a better entertaining space. Someone renovating an apartment may need tighter logistics, lift access planning, and noise restrictions. A larger home renovation may need structural drawings and multiple inspections.
Clarify your must-haves
Separate essential improvements from nice-to-have upgrades. This makes budgeting easier and prevents indecision later. Common must-haves include:
- More storage for cookware, pantry goods, or small appliances.
- A better cooking triangle between sink, hob, and refrigerator.
- Improved lighting for preparation, dining, and ambience.
- Durable surfaces that suit children, pets, or frequent hosting.
- Better ventilation, safer electrical points, or updated plumbing.
For example, if your main frustration is poor storage, your timeline should prioritise cabinet planning. If the existing layout is inefficient, you may need a designer or contractor involved earlier because plumbing, electrical, and ventilation locations can affect permits and cost.
Measure before you fall in love with products
Accurate measurements protect your budget. Record wall lengths, ceiling height, window positions, door swings, plumbing points, electrical outlets, radiator locations, and any structural features. Even a small measurement error can cause gaps, installation delays, or last-minute changes to worktops and cabinets.
If cabinetry is central to the project, compare styles, materials, and layout possibilities early. You can review practical options for kitchen cabinets before deciding whether stock, semi-custom, or custom units fit your timeline and budget.
Planning and Design: The Phase That Saves Money Later
Design is more than choosing colours. It defines the renovation sequence. During this stage, you finalise the layout, confirm appliance dimensions, choose cabinet configurations, select worktop materials, decide on flooring, and determine whether walls, plumbing, or electrical routes will change.
Homeowners who take this stage seriously usually make fewer expensive changes during construction. A layout change on paper is simple. A layout change after cabinets are built, flooring is installed, or plumbing is roughed in can be costly and stressful.
Scenario: same layout versus changed layout
If you keep the sink, cooker, and refrigerator in the same positions, the active build is generally simpler. Demolition, cabinet replacement, worktop installation, and finishing can happen with fewer trades and fewer approvals.
If you move the sink to an island, remove a wall, add a large pantry, or install new ventilation, the timeline expands. You may need structural advice, updated plumbing, electrical certification, and additional inspections. This does not mean the project is a bad idea. It means the plan must include more lead time and a stronger contingency.
Ordering Materials Before Demolition
One of the smartest timing decisions is to avoid demolishing your existing kitchen until critical materials have arrived or have confirmed delivery dates. Cabinets, appliances, flooring, taps, sinks, handles, lighting, and worktops all affect each other. A delayed oven can affect cabinet openings. A changed sink can affect worktop fabrication. A flooring choice can affect cabinet installation height.
Order long-lead items first. These often include custom cabinets, made-to-measure doors, specialist worktops, premium appliances, and imported tiles. Inspect deliveries immediately and store them in a dry, safe, climate-appropriate area. Damaged or missing items are much easier to resolve before trades are waiting on-site.
Prepare a temporary kitchen
If you will live at home during the renovation, set up a temporary kitchen before demolition. A small refrigerator, microwave, kettle, coffee machine, portable hob, and basic washing-up station can make the process much easier. Families may also plan freezer meals, simple breakfasts, and a realistic allowance for eating out.
This preparation may feel minor, but it protects your daily routine. A renovation feels far smoother when you can still make coffee, feed children, and store essentials safely.
Construction: From Demolition to Rough-In
Demolition removes the old kitchen and reveals the real condition of walls, floors, wiring, and pipework. This is also where hidden issues can appear, such as uneven floors, outdated electrics, damp, or unsupported alterations from previous work. A good timeline includes breathing room for these discoveries.
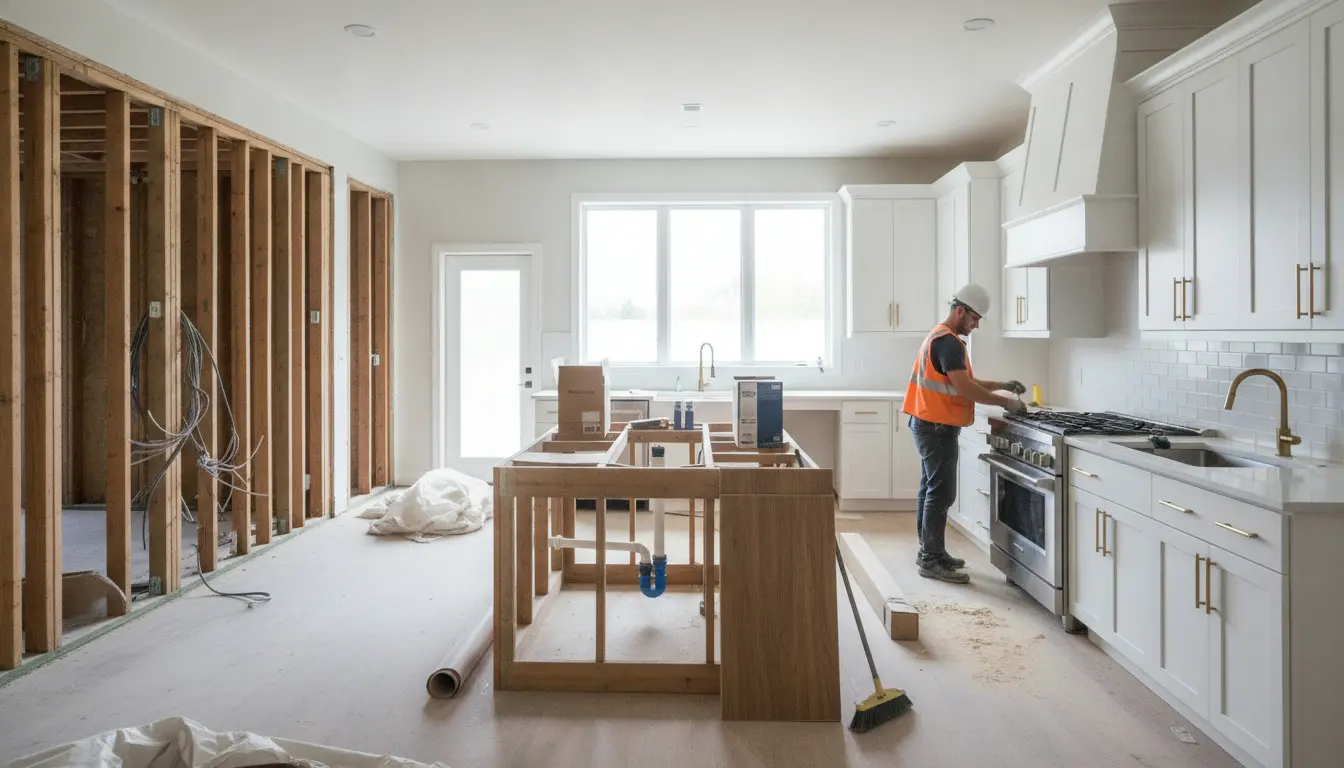
After demolition, rough construction begins. This can include framing, structural adjustments, plumbing routes, electrical wiring, ventilation, insulation, drywall, plastering, and preparation for flooring. Licensed trades should handle gas, major electrical work, structural changes, and complex plumbing. This protects safety, compliance, and resale value.
Why inspections and approvals matter
Where permits or inspections are required, they must be built into the schedule. Work may need to pause until an inspector has approved electrical, plumbing, or structural elements. Planning this early helps avoid frustration and makes it easier to coordinate trades.
Installation: When the New Kitchen Takes Shape
Once the room is prepared, the visible transformation begins. Flooring may be installed before or after cabinets depending on the material and system. Tile and hardwood often go in before cabinetry, while some floating floors are installed after fixed units. Your installer should confirm the correct sequence.
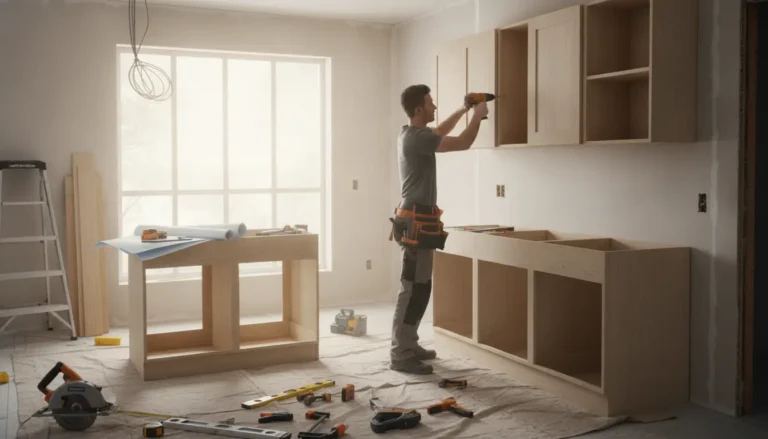
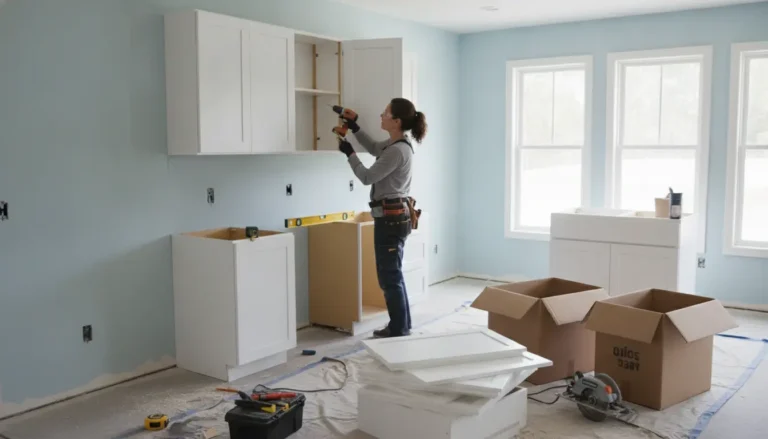
Cabinet installation is one of the most important milestones. Cabinets must be level, secure, and aligned because they support the worktop and determine the final fit of appliances and panels. After cabinets are installed, worktop templating can take place. Stone, quartz, and other fabricated surfaces often require a separate measurement and production window before installation.
Appliances, sinks, taps, lighting, splashbacks, handles, trims, and paint touch-ups follow. The final details are easy to underestimate, but they create the finished look. A kitchen can be technically usable before it is truly complete, so include time for snagging and adjustment.
How to Compare Renovation Approaches
Different approaches create different timelines, budgets, and levels of disruption. The right choice depends on your goals, skill level, and tolerance for risk.
| Approach | Best for | Timing impact | Risk level |
|---|---|---|---|
| Cosmetic refresh | Painting, handles, lighting, simple surface updates | Usually the fastest route | Lower when no utilities move |
| Cabinet and worktop replacement | Improved storage and a new look without major layout change | Moderate, with lead time for cabinets and worktops | Medium because measurements must be precise |
| Full remodel | New layout, services, flooring, lighting, and premium finishes | Longest, with more coordination required | Higher unless professionally managed |
| Hybrid professional and DIY | Homeowners who can handle preparation or decorating | Can save money but may extend timing | Depends on experience and trade boundaries |
If you want a more structured way to organise tasks, decisions, and inspections, use a detailed kitchen renovation checklist before confirming your start date.
Budget Timing Matters as Much as Total Budget
Many homeowners focus only on the final number. The timing of payments matters too. Deposits may be needed for design, cabinets, appliances, contractors, flooring, and worktops before construction begins. Keeping funds available at the right moment prevents delays.
Build a contingency into both money and time. Unexpected repairs, delivery delays, unavailable trades, or small design upgrades can affect the schedule. A sensible buffer gives you room to make decisions without panic.
Practical cost-control examples
- Keep plumbing in the same location if your main goal is a visual upgrade.
- Choose standard cabinet sizes where possible to reduce custom fabrication time.
- Confirm appliance dimensions before ordering cabinets.
- Use durable mid-range finishes in high-use areas and premium accents where they matter most.
- Order samples before committing to flooring, cabinet colours, or worktops.
What Smooth Projects Have in Common
The projects that feel calm and controlled usually share the same habits. Homeowners make key decisions early, communicate clearly with trades, confirm product availability, and avoid changing the layout once construction has started. They also keep a written scope of work so everyone understands who is responsible for each task.
Experienced renovators often recommend photographing the space before and during construction. Photos help document pipework, wiring, measurements, and product placement. They are also useful if questions arise later about what is behind a wall or under a cabinet.
Another strong habit is scheduling a final walkthrough. This is when you check door alignment, drawer movement, appliance connections, lighting controls, sealant lines, paint touch-ups, splashback finish, and general cleaning. Small fixes are normal. A planned snagging stage makes them manageable.
Ready to Plan With Confidence?
Your kitchen renovation should feel exciting, not chaotic. The right timeline gives you control over decisions, deliveries, trades, and budget. Whether you are updating a compact apartment kitchen or planning a full family kitchen remodel, the best time to organise the sequence is before work begins.
Take the next step now: define your scope, list your must-haves, check material lead times, and speak with the right professionals before committing to a demolition date. A better-planned kitchen starts faster, runs smoother, and delivers a result you can enjoy every day.
A well-planned kitchen renovation timeline helps you avoid late orders, budget pressure, trade conflicts, and unnecessary disruption. By finalising the design early, ordering key materials before demolition, and allowing time for inspections and finishing details, you create a smoother route to a kitchen that works beautifully. If you are ready to move from ideas to action, start planning your timeline today and build your renovation with confidence.
Frequently Asked Questions
How long does a kitchen renovation timeline usually take?
A kitchen renovation timeline can range from a short cosmetic update to a longer full remodel. Planning, design, ordering, demolition, construction, installation, and finishing all affect the schedule. The biggest variables are layout changes, cabinet lead times, permits, appliance availability, and whether plumbing or electrical work needs to move.
Should I order cabinets before demolition starts?
Yes, in most cases you should order cabinets and other key materials before demolition begins. Cabinets influence worktop measurements, appliance openings, flooring transitions, and installation dates. Starting demolition too early can leave you without a working kitchen while waiting for deliveries, replacement parts, or revised measurements.
What causes the most delays in a kitchen renovation timeline?
The most common delays come from late product orders, changed design decisions, permit approvals, unavailable trades, damaged deliveries, and hidden issues found after demolition. You can reduce risk by confirming appliance sizes, inspecting materials on arrival, keeping a written scope, and adding a realistic time buffer before booking final installation.
Can I live at home during a kitchen renovation?
Many homeowners live at home during a kitchen renovation, but it requires preparation. Set up a temporary kitchen with basic appliances, store essential items separately, and plan simple meals. Expect dust, noise, and limited access at times. Clear communication with your contractor helps protect routines and reduce stress.
Is a professional contractor necessary for every kitchen renovation timeline?
Not every update needs a full contractor, especially if you are replacing handles, painting, or making simple cosmetic changes. However, structural work, gas, electrical, plumbing, ventilation, and complex cabinet installation should be handled by qualified professionals. Expert coordination can shorten the timeline, improve safety, and prevent expensive rework.
About the Author