Kitchen installation guide advice should make your project clearer, safer, and easier to budget from the first measurement to the final door adjustment. This page gives you a practical, step-by-step route for planning, fitting, and finishing a new kitchen with confidence. Built around real installation decisions, tool choices, cabinet alignment, worktop fitting, and common problem scenarios, it helps you avoid costly mistakes while choosing the right level of professional support when it matters most.
Start With a Kitchen Plan That Prevents Expensive Rework
A successful kitchen installation begins long before the first cabinet is lifted into place. The biggest delays usually come from unclear measurements, missing services, uneven walls, or changes made after the order has been placed. Before you book an installer or attempt a do-it-yourself fit, create a layout that confirms where every base unit, wall unit, appliance, socket, water connection, and extraction point will sit.
Use a tape measure, spirit level, pencil, and notepad to record the room width, ceiling height, wall lengths, window positions, door swings, pipe runs, and any boxed-in areas. Measure each wall in more than one place because many homes have corners that are not perfectly square. If one wall is slightly out, your worktop overhang, filler panels, and end panels may need adjusting.
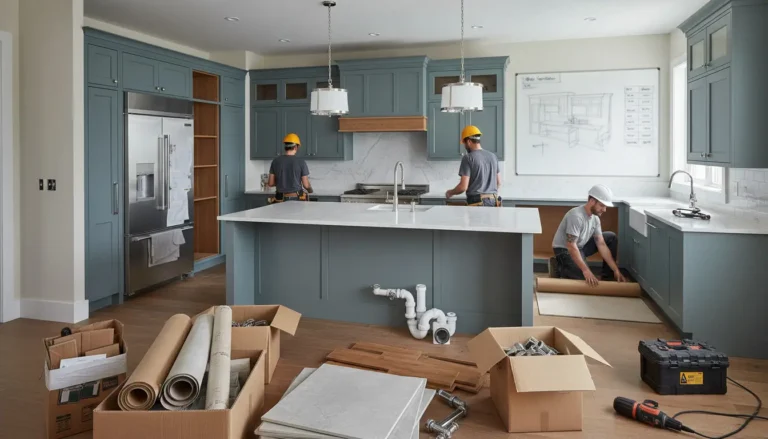
For homeowners still comparing layouts, a professional planning stage can save money later. A galley kitchen may need compact storage and precise appliance clearance. An open-plan kitchen may need stronger visual alignment because cabinets, island panels, and worktops are always on display. If your project is part of a larger remodel, use a detailed kitchen renovation checklist to coordinate trades, deliveries, and installation timing.
Why a Clear Installation Guide Gives You More Control
The right process helps you make better decisions, even if you hire a professional fitter. You will understand why cabinets are installed in a particular order, what to check before signing off the work, and when a small issue needs immediate attention. That knowledge gives you control over quality, timeline, and cost.
-
Fewer surprises: checking walls, floors, and service points early reduces last-minute changes.
-
Better budgeting: you can separate fitting costs from plumbing, electrical work, plastering, flooring, and waste removal.
-
Cleaner finishes: correct levelling, spacing, and panel alignment make the kitchen look bespoke.
-
Safer installation: heavy wall cabinets, appliances, and worktops need secure fixing and proper handling.
-
Faster completion: a planned sequence avoids waiting for missing parts or inaccessible services.
If you want dedicated help with the fitting stage, review professional options for kitchen installation before deciding whether to manage the work yourself or appoint an experienced installer.
The Practical Order for Installing a Kitchen
Prepare the room first
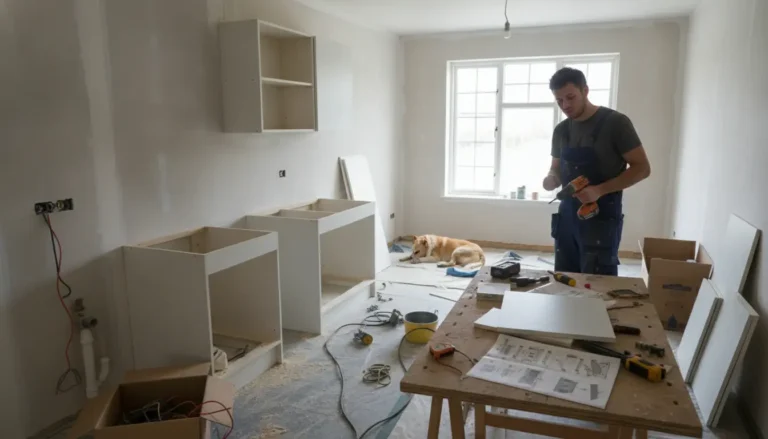
Clear the old kitchen completely, remove loose debris, and check that the room is ready for installation. Walls should be sound, dry, and flat enough to accept cabinets. Floors should be stable and level enough for base units. If plastering, painting, or major floor work is needed, complete it before cabinets arrive whenever possible.
This is also the moment to confirm that electrical and plumbing work complies with local requirements. A kitchen is a high-use area where water, heat, ventilation, and power meet. Even confident do-it-yourself renovators should use qualified trades for regulated electrical circuits, gas connections, and complex plumbing changes.
Mark the datum line
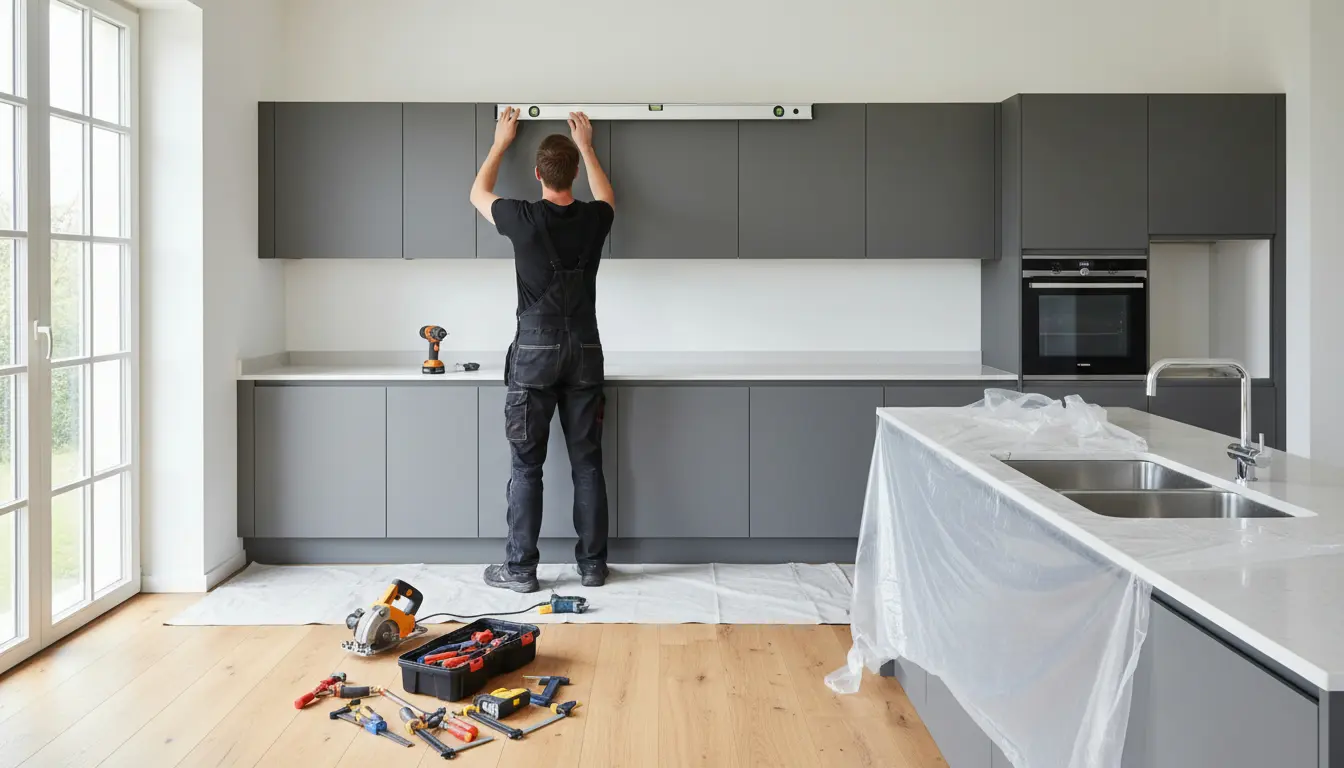
A datum line is a level reference line around the room. It helps set cabinet height consistently, even when the floor rises or dips. Mark your finished floor level first, then mark the top line for base cabinets and any rail or bracket positions for wall cabinets. Use a long level or laser level for accuracy. A few millimetres at the start can become a visible gap by the time the worktop is fitted.
Install base cabinets
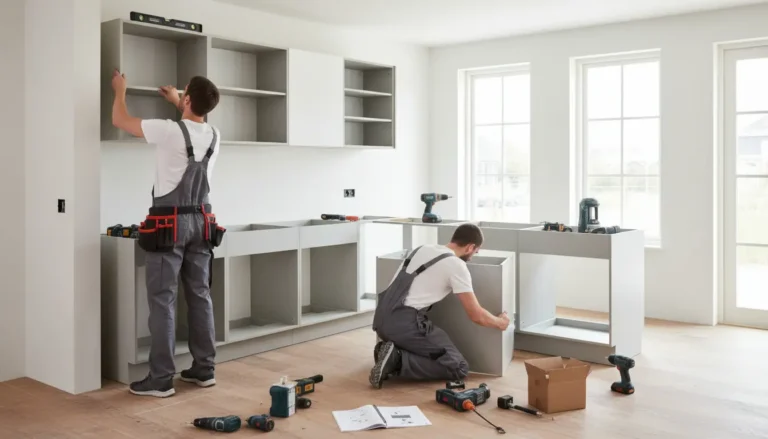
Base cabinets usually form the foundation of the kitchen. Start from a corner or a fixed appliance position, then work outward. Adjust legs so each unit is level front to back and side to side. Clamp adjacent cabinets together before joining them, and check the front edges are flush. Do not rush this stage. If the base run is uneven, worktops, drawers, doors, and plinths will all show the error.
For example, imagine a sink cabinet placed slightly low compared with the dishwasher beside it. The worktop may dip, the dishwasher door may catch, and the sink seal may be harder to finish neatly. Taking ten extra minutes to level the cabinet can prevent hours of remedial work.
Secure wall cabinets carefully
Wall cabinets must be fixed into suitable structural support. Never rely on weak plasterboard alone for heavy loaded cabinets unless the correct specialist fixing system has been designed for that wall. Mark stud positions or solid fixing points, use the correct screws and plugs, and check each cabinet is level before joining it to the next.
This stage is often easier with two people. One person can support the cabinet while the other checks the level and secures the fixings. If you are working with tall wall units or awkward corners, a temporary support batten can help hold the cabinet at the correct height while you align it.
Fit tall units and appliance housings
Tall units, larders, oven housings, and fridge housings need extra attention because they affect sightlines and appliance performance. Check door clearance, ventilation gaps, socket access, and manufacturer instructions. A built-in oven, for example, may need space for heat circulation and a power connection that remains accessible after installation.
Add worktops, sink, hob, and finishing panels
Worktops are one of the most visible parts of the kitchen. Measure twice, cut once, and dry-fit sections before final fixing. Cut-outs for sinks and hobs should be sealed correctly to protect against moisture. If you are installing stone, quartz, or compact surfaces, specialist templating and fitting are usually recommended. Laminate and timber can be more do-it-yourself friendly, but still require accurate cutting and sealing.
End panels, cornices, pelmets, plinths, and fillers turn a set of cabinets into a finished kitchen. Scribe fillers to uneven walls rather than forcing large gaps to disappear with sealant. Adjust hinges and drawer runners only after the cabinets are fully fixed and loaded conditions are understood.
What Makes a Professional Finish Different
A professional-looking kitchen is not just about expensive materials. It comes from accuracy, sequencing, and attention to small details. The best installations share several qualities: consistent gaps around doors, straight handle lines, level worktops, neat silicone, secure fixings, smooth drawer action, and well-planned access for future maintenance.
Quality cabinet fitting is especially important because cabinets carry daily weight and define the entire layout. If you are replacing or upgrading units, compare fitting considerations with this guide to kitchen cabinets installation. Strong cabinet alignment gives appliances, worktops, and storage systems the best chance of performing properly for years.
Do-It-Yourself Fitting or Professional Installation?
The right choice depends on your skills, time, tools, and tolerance for risk. A simple cabinet replacement in a straight run may be suitable for a confident homeowner. A full kitchen with plumbing relocation, tall appliance housing, stone worktops, or uneven walls is usually better handled by a professional team.
-
Choose do-it-yourself if you are comfortable measuring, drilling, levelling, assembling cabinets, and solving minor alignment issues.
-
Choose professional installation if the kitchen includes structural changes, complex services, heavy worktops, or premium cabinetry.
-
Choose a hybrid approach if you want to assemble units yourself but hire specialists for electrical work, plumbing, worktops, and final fitting.
Consider the true cost of your time. Saving on labour can be appealing, but mistakes with worktop cuts, water leaks, or cabinet fixing can cost more than professional fitting. A conversion-focused decision is not simply the cheapest option; it is the option that gives you the best finished kitchen with the least stress and waste.
Common Installation Scenarios and How to Handle Them
Your walls are not straight
This is common in older homes. Use filler panels, scribing, and careful worktop templating rather than trying to force cabinets into the wall line. Keep the cabinet fronts straight and let the back gaps be managed discreetly.
Your floor slopes
Adjust cabinet legs from the highest point of the floor, then use plinths to hide the variation. Do not follow the slope with the cabinets. Worktops and doors should remain level, even if the floor is not.
Your delivery arrives with missing parts
Check every cabinet, hinge, leg, rail, handle, panel, and fitting pack before installation day. Sort items by area of the kitchen. This reduces downtime and helps your installer work efficiently.
Your appliances do not line up
Always check appliance dimensions, door swing, ventilation, and service access before cabinets are fixed. Built-in appliances can be unforgiving. A few millimetres of missing clearance may affect door movement or airflow.
Proof That Preparation Pays Off
Homeowners and fitters consistently report that the smoothest kitchen projects are the ones with clear drawings, checked dimensions, complete deliveries, and a realistic schedule. The most frustrating projects are not always the largest; they are the ones where small assumptions multiply. A socket behind a drawer, a pipe through a cabinet side, or a missing end panel can delay completion and increase costs.
When the installation is planned properly, the benefits are visible every day. Doors close evenly, drawers glide without rubbing, worktops feel solid, and appliances sit exactly where they should. The kitchen becomes easier to clean, easier to use, and more attractive to future buyers.
Ready to Move From Planning to a Finished Kitchen?
If you want a kitchen that looks right, works hard, and avoids unnecessary setbacks, use this guide as your installation roadmap. Confirm your measurements, choose the right fitting route, and get expert help where precision matters. Whether you are installing new cabinets, replacing an old layout, or coordinating a full renovation, the next step is simple: turn the plan into a clear installation schedule and request support before problems become expensive.
A well-planned kitchen installation saves time, protects your budget, and delivers a cleaner, longer-lasting finish. By measuring carefully, preparing the room, fitting cabinets in the right order, and using professional help for critical stages, you reduce risk and improve the final result. Use this Kitchen installation guide as your practical starting point, then take the next step: compare your options, plan your schedule, and move confidently toward the kitchen you want.
Frequently Asked Questions
Can I use this Kitchen installation guide for a do-it-yourself project?
Yes, this Kitchen installation guide is useful for confident homeowners who can measure accurately, use basic tools, and follow a structured sequence. However, electrical work, gas connections, complex plumbing, and heavy specialist worktops should be handled by qualified professionals. A hybrid approach often gives the best balance of savings, safety, and finish quality.
What tools do I need before starting a kitchen installation?
For most installations, you need a tape measure, pencil, spirit level or laser level, drill, screwdrivers, clamps, saw, sealant gun, safety equipment, and suitable wall fixings. You may also need jigs for worktops or hinges. Always check the cabinet and appliance instructions before starting, because some systems require specific brackets or fixing methods.
How long does a kitchen installation usually take?
A straightforward cabinet and worktop installation can take several days, while a full renovation with plumbing, electrics, flooring, plastering, and decorating may take a few weeks. The timeline depends on room condition, kitchen size, material lead times, and trade coordination. Good preparation and complete deliveries are the biggest factors in avoiding delays.
Should wall cabinets or base cabinets be installed first?
Many installers set out the full room first, then install base cabinets as the main reference for the worktop and appliance positions. Wall cabinets may be fitted before or after base units depending on access, layout, and installer preference. The key is maintaining a level datum line and secure wall fixings throughout the process.
What is the biggest mistake people make during kitchen installation?
The most common mistake is trusting one measurement or assuming the room is square and level. Walls, floors, and corners often vary, especially in older properties. This can affect cabinet alignment, filler panels, worktops, and appliance clearance. Measure in several places, dry-fit where possible, and resolve layout issues before permanent fixing.
About the Author