
The Kitchen installation process can feel complex, but this page gives you a clear, practical route from planning to final handover. You will learn what happens before work begins, how cabinets, worktops, appliances, plumbing, electrics, and finishes come together, and when expert help is worth it. With careful preparation, transparent scheduling, and skilled fitting, your new kitchen can be installed with less stress, fewer delays, and a result built for everyday use.
From Idea to Installed Kitchen: What Really Happens
A successful kitchen does not begin on installation day. It starts with a precise plan, accurate measurements, and a realistic understanding of how you use the room. A family kitchen with school mornings, packed lunches, and weekend cooking needs a different layout from a compact apartment kitchen or an open-plan entertaining space. The best installation journey connects design, preparation, fitting, and aftercare into one organised process.
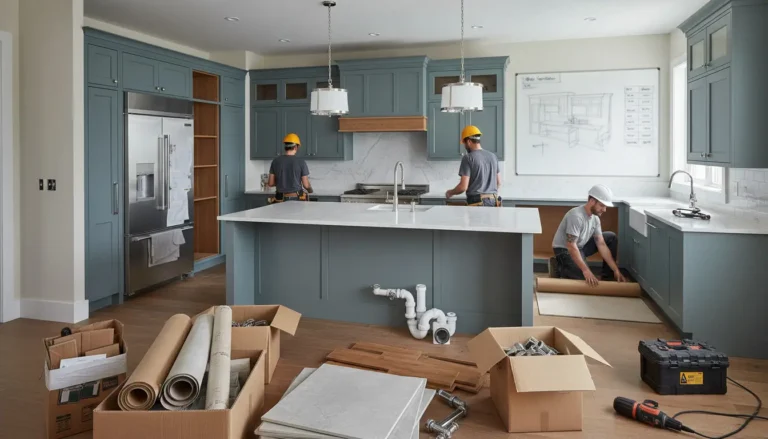
Before any units are fixed to the wall, your installer or kitchen specialist should confirm the layout, appliance positions, cabinet sizes, worktop material, sink location, lighting plan, ventilation, and service points. This prevents avoidable changes once the room is already stripped out. If you are still comparing layouts, storage choices, or finish options, the guidance on kitchen installation can help you understand the full scope before you commit.
Why a Structured Installation Saves Time, Money, and Stress
Many kitchen problems are not caused by poor products. They are caused by rushed preparation. A structured approach protects your budget and improves the finished result because each stage is checked before the next one begins.
- Better fit: Accurate measurements reduce gaps, awkward filler panels, and worktop problems.
- Fewer delays: Deliveries, trades, and access can be planned in the right order.
- Safer services: Plumbing, gas, and electrical work are considered before cabinets block access.
- Cleaner finish: Doors, drawers, plinths, panels, lighting, and sealant receive proper attention.
- Clearer budget: You know what is included, what is optional, and what may require a contingency.
For example, imagine a kitchen where the dishwasher is ordered separately and arrives after the worktop template is booked. That small scheduling issue can delay plumbing, panel fitting, and final alignment. In a well-managed process, appliance specifications are confirmed early, so every opening, socket, and water connection is ready when the fitters arrive.
The Preparation Stage: Your Home Before the Fitters Arrive
Preparation is where a smooth installation is won. Start by emptying cabinets, drawers, shelves, and worktops. Label boxes by category, such as everyday crockery, cooking tools, pantry items, and fragile glassware. Move valuables, artwork, and soft furnishings away from the work area, especially in open-plan homes where dust can travel quickly.
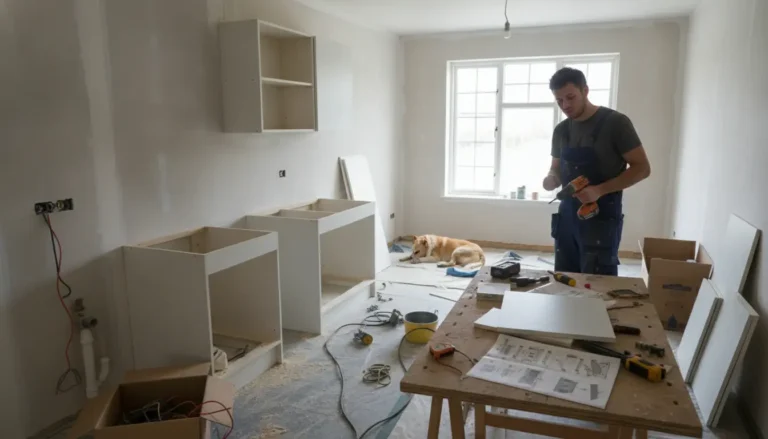
Set up a temporary kitchen if the work will take more than a few days. A kettle, microwave, toaster, small fridge, and basic utensils can make the disruption much easier. Plan simple meals in advance and keep cleaning supplies nearby. If you have young children or pets, decide how you will keep them away from tools, sharp materials, open wiring, and heavy deliveries.
Access and logistics matter
Clear hallways, staircases, and doorways so large cabinets, worktops, and appliances can be moved safely. If parking is limited, arrange permits or reserve access where possible. In an apartment, check lift availability and building rules for noisy work. These details may seem small, but they can save hours on installation day.
Removing the Old Kitchen Without Creating New Problems
The old kitchen usually has to be disconnected, dismantled, and removed before the new one can be fitted. Water, electricity, and gas should be isolated safely, and any reusable appliances should be protected. Some homeowners choose to donate, sell, or recycle cabinets and appliances that are still in good condition.
Once the room is empty, hidden issues may appear. Uneven walls, damaged plaster, outdated wiring, weak floors, or pipework in the wrong place are common discoveries. This is why it is wise to include a contingency in both time and budget. A professional team will assess what must be corrected before installation continues, rather than hiding problems behind new units.
Cabinets: The Foundation of the Finished Kitchen
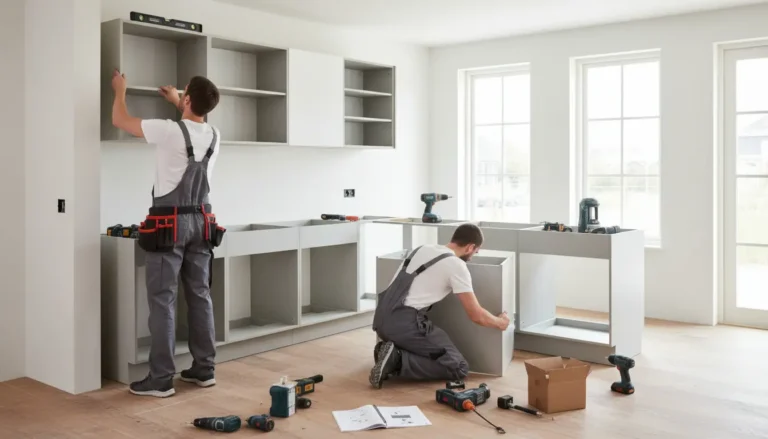
Cabinets create the structure of the room. If they are not level, every later stage suffers: worktops will not sit correctly, doors may not align, appliances can look uneven, and plinths may show gaps. Base units are typically positioned first, followed by tall units, wall units, end panels, islands, and finishing trims.
Storage should also be checked at this stage. Corner units, pull-out systems, pantry cabinets, soft-close drawers, and integrated bins all need enough clearance to open properly. If cabinet quality, sizing, and fitting are your main concern, see the dedicated information on kitchen cabinets installation.
Practical cabinet scenarios
- Small kitchen: Wall units, pull-outs, and smart corner storage help recover space without overcrowding the room.
- Family kitchen: Deep drawers near the hob, a tall pantry, and durable cabinet finishes reduce daily friction.
- Open-plan kitchen: End panels, aligned handles, and integrated appliances become more important because the kitchen is always visible.
Worktops, Sink, Tap, and Appliances
Worktops are both visual and practical. They need precise measurements, level cabinets, correct support, and careful sealing around sinks and walls. Some materials can be fitted quickly, while stone or specialist surfaces may require templating after the cabinets are installed. Your installer should confirm whether the worktop can be fitted immediately or needs a separate visit.
The sink and tap must be positioned with plumbing, drainage, cabinet structure, and worktop cut-outs in mind. Poor sealing can lead to swelling, leaks, and long-term damage. Appliances also need correct ventilation, safe connections, and suitable clearances. Integrated dishwashers, ovens, fridges, extractors, and washing machines often require more planning than freestanding models because the door fronts, panels, and services must align perfectly.
Plumbing, Electrics, Lighting, and Ventilation
Plumbing and electrical work should never be treated as an afterthought. Socket locations, appliance loads, lighting circuits, extractor routes, waste pipes, water feeds, and isolation points should be planned before cabinets are fixed. This keeps the kitchen safe, compliant, and easy to maintain.
Lighting is especially important. A beautiful kitchen can feel frustrating if the worktops are shadowed. Combine ceiling lighting with task lighting under wall units and accent lighting where it enhances the design. Ventilation also matters, particularly in open-plan kitchens where cooking smells and moisture can spread into living areas.
Finishing Details That Make the Kitchen Feel Premium
The final stage turns a fitted room into a finished kitchen. This includes adjusting doors and drawers, aligning handles, fitting plinths, sealing joints, installing splashbacks, checking appliances, cleaning surfaces, and walking through the completed work. It is also the moment to confirm that soft-close mechanisms work, drawers glide smoothly, taps run properly, and lights operate as expected.
Do not rush the handover. A careful final inspection protects you and the installer. Create a small snagging list if needed, with clear notes and photos. Reputable professionals expect this and will want the kitchen to perform well after they leave.
Professional Installation Compared with DIY
DIY can be suitable for confident homeowners handling simple tasks such as removing loose items, painting, or assembling straightforward units. However, a full kitchen fit involves multiple trades and precision work. Mistakes with levels, services, worktops, or integrated appliances can be expensive to correct.
Professional installation is usually the better choice when your project includes structural changes, gas work, extensive electrical alterations, stone worktops, bespoke cabinetry, or tight timelines. It is also valuable if you want one point of responsibility, a clearer schedule, and aftercare if something needs adjustment.
What Homeowners Appreciate Most
People who enjoy the smoothest installations often mention the same things: clear communication, tidy working practices, realistic timelines, and no surprise costs. They value installers who answer questions during the process, explain changes before making them, and respect the home as well as the project.
A well-installed kitchen should feel effortless once complete. Doors should sit straight, storage should suit your routine, appliances should be easy to use, and the room should support daily life rather than complicate it. Whether you are planning a full renovation or replacing key elements, a clear plan makes the investment work harder for years.
Ready to Plan Your Kitchen with Confidence?
If you are preparing for a new kitchen, now is the time to define your priorities, confirm your budget, and map the work in the correct order. Use a checklist, ask direct questions, and make sure every product and service is documented before work starts. For broader renovation planning, the kitchen renovation checklist is a useful next step.
When you are ready, speak with a kitchen specialist, review your layout, and request a clear installation plan. The right support can turn a stressful renovation into a managed, predictable, and rewarding upgrade.
A clear kitchen installation process gives you better planning, safer services, accurate cabinet fitting, smoother worktop installation, and a more polished final result. By preparing your home, confirming schedules, and choosing skilled support, you reduce disruption and protect your investment. Ready to move from ideas to a kitchen that works beautifully every day? Start planning your installation with expert guidance today.
Frequently Asked Questions
How long does the Kitchen installation process usually take?
The Kitchen installation process can take from several days to a few weeks, depending on the size of the room, worktop type, appliance complexity, and whether plumbing or electrical changes are needed. A straightforward cabinet replacement is faster than a full renovation with new services, flooring, tiling, and made-to-measure surfaces.
What should I do before my kitchen installers arrive?
Before the Kitchen installation process begins, empty every cabinet, clear worktops, move fragile items, and create safe access through your home. Set up a temporary kitchen with basic appliances and simple food storage. Confirm delivery dates, parking arrangements, utility shut-offs, and who is responsible for removing the old kitchen.
Can I stay at home during the Kitchen installation process?
Yes, many homeowners stay at home during the Kitchen installation process, but you should expect noise, dust, limited cooking facilities, and occasional interruptions to water or power. If you work from home, have pets, or have young children, plan a safe routine and keep the kitchen area off limits.
Do I need separate electricians and plumbers?
That depends on your installer and project scope. Some kitchen companies coordinate qualified electricians, plumbers, and gas specialists for you, while others expect you to arrange them separately. During the Kitchen installation process, regulated work must be completed safely and professionally, especially when moving sockets, connecting appliances, or altering water and gas lines.
Is professional fitting worth it compared with DIY?
Professional fitting is often worth it when the Kitchen installation process includes integrated appliances, heavy worktops, uneven walls, service changes, or tight tolerances. DIY may save labour costs, but mistakes can be expensive. A skilled fitter brings experience, sequencing, tools, and accountability, helping the finished kitchen look better and last longer.
About the Author