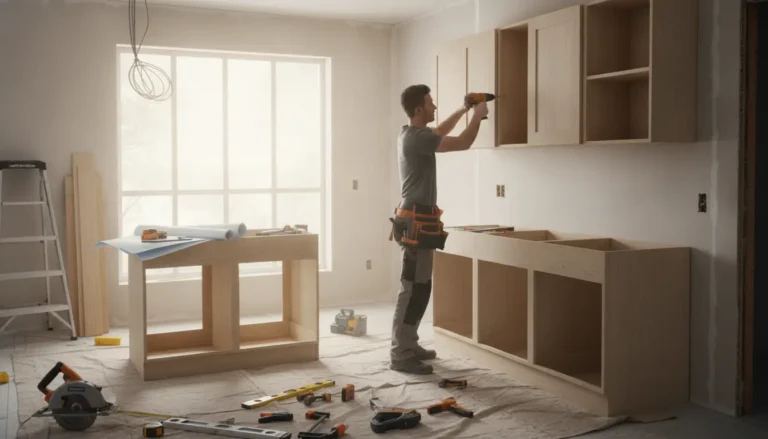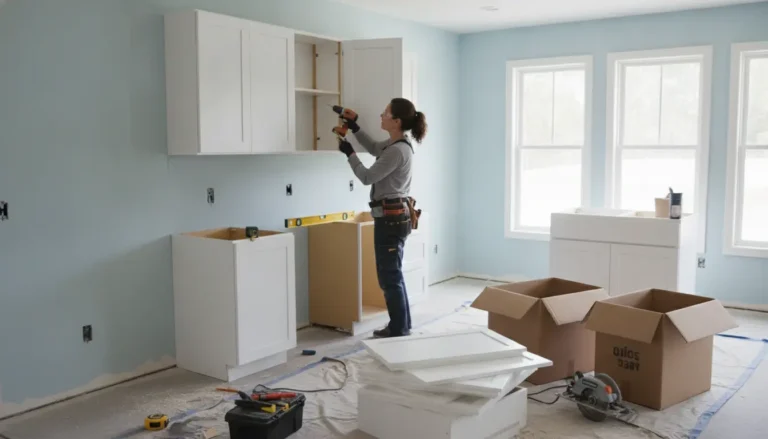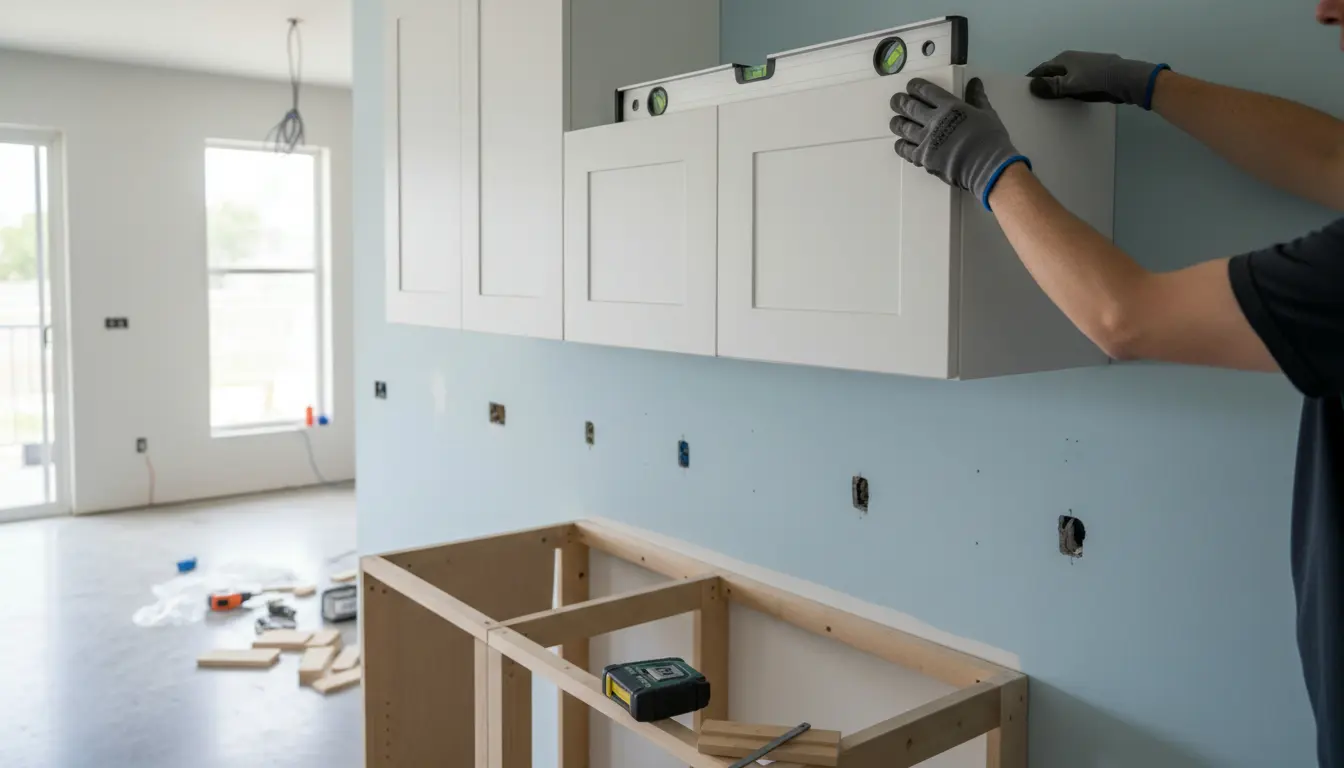
Kitchen cabinet installation instructions should make your project clearer, safer, and easier to finish with confidence. This guide gives you a practical, step-by-step approach to planning, positioning, leveling, securing, and finishing cabinets without guesswork. Built for homeowners comparing DIY and professional installation, it combines practical job-site logic with conversion-focused buying guidance, so you can avoid costly mistakes, choose the right support, and move from design plan to installed kitchen faster.
Install Cabinets With a Plan That Protects Your Budget
A successful cabinet installation starts long before the first screw goes into the wall. The biggest difference between a kitchen that looks professionally fitted and one that feels improvised is preparation. Accurate measurements, wall checks, floor checks, cabinet sequencing, and the right fixing method all work together. When these steps are skipped, small errors can become visible gaps, uneven doors, misaligned drawers, or a worktop that does not sit correctly.
These Kitchen cabinet installation instructions are designed to help you understand what needs to happen, in what order, and when it makes sense to bring in a specialist. If you are still selecting units, finishes, or layouts, review the cabinet options at Kitchen Cabinets before committing to an installation path. The better your cabinet specification matches your room, the smoother the installation will be.
What You Need Before Installation Begins
Before unpacking the cabinets, confirm that the room is ready. Walls should be finished, floors should be stable, electrical and plumbing points should be in their planned locations, and the layout should match the final cabinet order. This is especially important around sinks, dishwashers, ovens, extractor units, tall cabinets, and corner cabinets.
Essential preparation checks
- Confirm the kitchen layout against the delivered cabinet list.
- Mark the high point of the floor and use it as your base reference.
- Check walls for bowing, uneven plaster, pipes, cables, or hidden obstructions.
- Identify solid fixing points such as studs, masonry, or suitable wall anchors.
- Inspect each cabinet for damage before installation.
- Separate fillers, panels, kickboards, handles, hinges, and drawer runners.
For example, if your floor slopes toward the sink wall, starting from the wrong point can make the final base cabinet line too high or too low. By locating the highest floor point first, you can level the full run correctly and prevent problems when the countertop is fitted.
The Recommended Installation Order
Most cabinet projects follow a predictable sequence: set reference lines, install tall or corner units when required, fit wall cabinets, position base cabinets, secure everything level and plumb, then add panels, trim, kickboards, doors, drawers, handles, and final adjustments. Some installers prefer base cabinets first, while others hang wall cabinets first to avoid reaching over lower units. The best order depends on room size, wall strength, cabinet weight, and whether tall cabinets anchor the design.
Start with level reference lines
Use a laser level or a long spirit level to mark the finished height of base cabinets around the room. Then mark the lower edge or hanging line for wall cabinets. These lines become your visual guide throughout the installation. If the lines are wrong, everything that follows becomes harder to correct.
Install corner and tall cabinets carefully
Corner cabinets and tall cabinets often control the rest of the kitchen. A pantry cabinet beside a refrigerator, for instance, must be plumb from front to back and side to side, or the appliance gap may look uneven. A corner base cabinet must be positioned correctly so adjoining cabinets align and doors open without interference.
Hang wall cabinets securely
Wall cabinets must be fixed into strong structural points. Do not rely on weak plasterboard alone. Support rails, temporary ledgers, or an assistant can help hold weight while fastening. Check level after each cabinet, then clamp neighboring cabinets together before joining them. This prevents face frames or cabinet sides from drifting out of line.
Fit base cabinets with precision
Base cabinets carry worktops, sinks, cooktops, appliances, and everyday storage weight. Set each unit on adjustable legs or shims, then check front, back, and side levels. Join cabinets together only after they are aligned. Secure them to the wall without pulling them out of level. For a detailed installation service overview, see Kitchen Cabinet Installation.
Why Proper Installation Pays Off
Good installation is not just about appearance. It protects the investment you have made in the kitchen. Cabinets that are level and securely fixed last longer, doors close better, drawers glide more smoothly, and countertops have the support they need. The result is a kitchen that feels solid every time you open a drawer or prepare a meal.
- Cleaner alignment across doors, drawers, panels, and trim.
- Reduced risk of cabinet movement, sagging, or wall separation.
- Better appliance fit around ovens, dishwashers, refrigerators, and sinks.
- Fewer delays when countertops, plumbing, and electrical finishing are scheduled.
- A more polished finish that improves daily use and potential resale appeal.
Imagine two similar kitchens. In the first, cabinets are installed quickly without checking wall irregularities. The countertop reveals a gap, the corner filler looks uneven, and the dishwasher rubs against the side panel. In the second, measurements are checked, fillers are planned, and cabinets are adjusted before fixing. The final look is calmer, cleaner, and more premium, even if the cabinet range is the same.
DIY or Professional Installation?
DIY cabinet installation can work well for confident homeowners with the right tools, time, and patience. It is most suitable for straightforward layouts, flat-pack or modular cabinets, and rooms with relatively even walls and floors. Professional installation is usually the better choice for complex kitchens with tall cabinetry, integrated appliances, stone worktops, difficult corners, uneven surfaces, or custom panels.
DIY may suit you if
- You are comfortable measuring, leveling, drilling, cutting fillers, and adjusting hinges.
- Your kitchen layout is simple and the wall structure is easy to fix into.
- You can dedicate enough uninterrupted time to work carefully.
- You understand when plumbing or electrical work requires a qualified trade.
Professional support is smart if
- Your design includes tall cabinets, heavy wall units, island cabinets, or custom trim.
- Your walls or floors are visibly uneven.
- You need the project completed quickly and predictably.
- You want a warranty-backed finish and fewer installation risks.
If you are unsure, a hybrid approach can be effective. You might handle demolition, unpacking, sorting hardware, and basic preparation, then hire a professional for cabinet setting, wall fixing, scribing, and final adjustment. This gives you cost control without risking the most visible parts of the kitchen.
Common Mistakes That Cost Time and Money
Many cabinet problems are preventable. The most common issues come from rushing the layout, assuming walls are straight, using the wrong fixings, or failing to check alignment after each cabinet. Another frequent mistake is installing cabinets before confirming appliance dimensions. A small measuring error around a refrigerator or oven tower can force costly rework.
- Do not install from an unverified corner without checking the full run.
- Do not tighten cabinets to uneven walls so aggressively that the boxes twist.
- Do not cut fillers until the cabinets are fixed in their final position.
- Do not assume handles, hinges, and drawer fronts will hide poor alignment.
- Do not schedule countertop templating before base cabinets are fully secured.
For example, a homeowner installing a sink base cabinet may focus only on centering the sink under a window. That seems logical, but if the dishwasher gap beside it is too narrow, the appliance may not slide in later. Always check the full cabinet and appliance chain, not just the most obvious focal point.
How to Get a More Professional Finish
The finishing stage turns a functional installation into a kitchen that looks intentional. Doors and drawers should be adjusted after cabinets are fully secured, not before. Handles should be marked with a template so spacing remains consistent. Fillers should be scribed to walls where needed, rather than forced into gaps. End panels, crown details, light rails, and kickboards should align with the design style.
Small kitchens benefit from especially careful finishing because every line is visible. In a narrow galley kitchen, even a slight variation in handle height can stand out. In an open-concept kitchen, island panels and exposed ends often become focal points. If your installation is part of a wider remodel, the planning resources at Kitchen Renovation can help connect cabinet work with flooring, lighting, appliances, and overall project timing.
What Homeowners Value Most
Homeowners who compare cabinet installation options often care about three things: confidence, time, and final appearance. They want to know the cabinets will be secure. They want the project to move forward without repeated corrections. They want the finished kitchen to look worth the investment. Clear instructions, expert guidance, and the right installation route deliver all three.
Many successful projects begin with a simple decision: do not treat cabinet installation as a small afterthought. The cabinets define storage, workflow, appliance placement, countertop support, and the visual rhythm of the room. When installed properly, they make the whole kitchen feel more expensive, more usable, and more reliable.
Ready to Move From Plan to Installed Kitchen?
If you already have a layout, start by checking measurements, cabinet sizes, wall conditions, and appliance requirements. If anything feels uncertain, get advice before drilling, cutting, or fixing. A short review at the planning stage can prevent expensive changes later.
Whether you choose DIY, assisted installation, or a fully professional service, use these Kitchen cabinet installation instructions as your quality checklist. Work in the right order, confirm every level, and protect the final finish. When you are ready to compare cabinet options or installation routes, take the next step and choose a solution that gives you confidence from the first measurement to the final handle adjustment.
Kitchen cabinet installation instructions give you the structure to avoid guesswork, reduce mistakes, and achieve a cleaner, stronger finish. With accurate preparation, secure fixing, careful leveling, and the right choice between DIY and professional help, your kitchen can look better and perform longer. If you want a smoother project with fewer costly surprises, review your layout, confirm your cabinet plan, and take action today with expert installation support.
Frequently Asked Questions
Are Kitchen cabinet installation instructions enough for a DIY project?
Kitchen cabinet installation instructions can be enough for a simple DIY project if you have solid measuring skills, the right tools, and a straightforward layout. However, heavy wall cabinets, uneven walls, integrated appliances, and custom panels can make installation more complex. If accuracy or safety is uncertain, professional support is usually the smarter choice.
Should I install wall cabinets or base cabinets first?
Many installers prefer wall cabinets first because there are no base cabinets in the way while lifting and fastening. Others begin with tall or corner cabinets to control the layout. The best choice depends on the room, cabinet type, and fixing method. Always establish level reference lines before installing either section.
What tools are needed for Kitchen cabinet installation instructions?
Common tools include a laser level or spirit level, drill, driver, clamps, measuring tape, stud finder, shims, screws, wall anchors, pencil, square, and saw for fillers or panels. Safety equipment is also important. For heavy wall units, a support rail or a second person can make the work safer and more accurate.
How do I avoid gaps between cabinets and walls?
Gaps often happen because walls are not perfectly straight. The solution is to plan fillers and scribe them to the wall profile after the cabinets are fixed in position. Do not force cabinets out of square to close a gap. Proper fillers create a cleaner finish while keeping cabinets level and functional.
When should I hire a professional installer?
Hire a professional if your kitchen includes tall cabinets, heavy wall units, stone countertops, complex corners, integrated appliances, or uneven floors and walls. Kitchen cabinet installation instructions help you understand the process, but professional installers bring experience, speed, and precision that can protect your cabinet investment and reduce rework.
About the Author