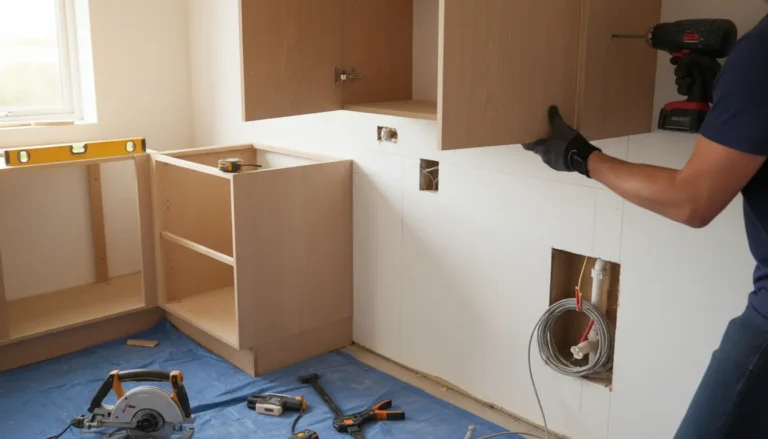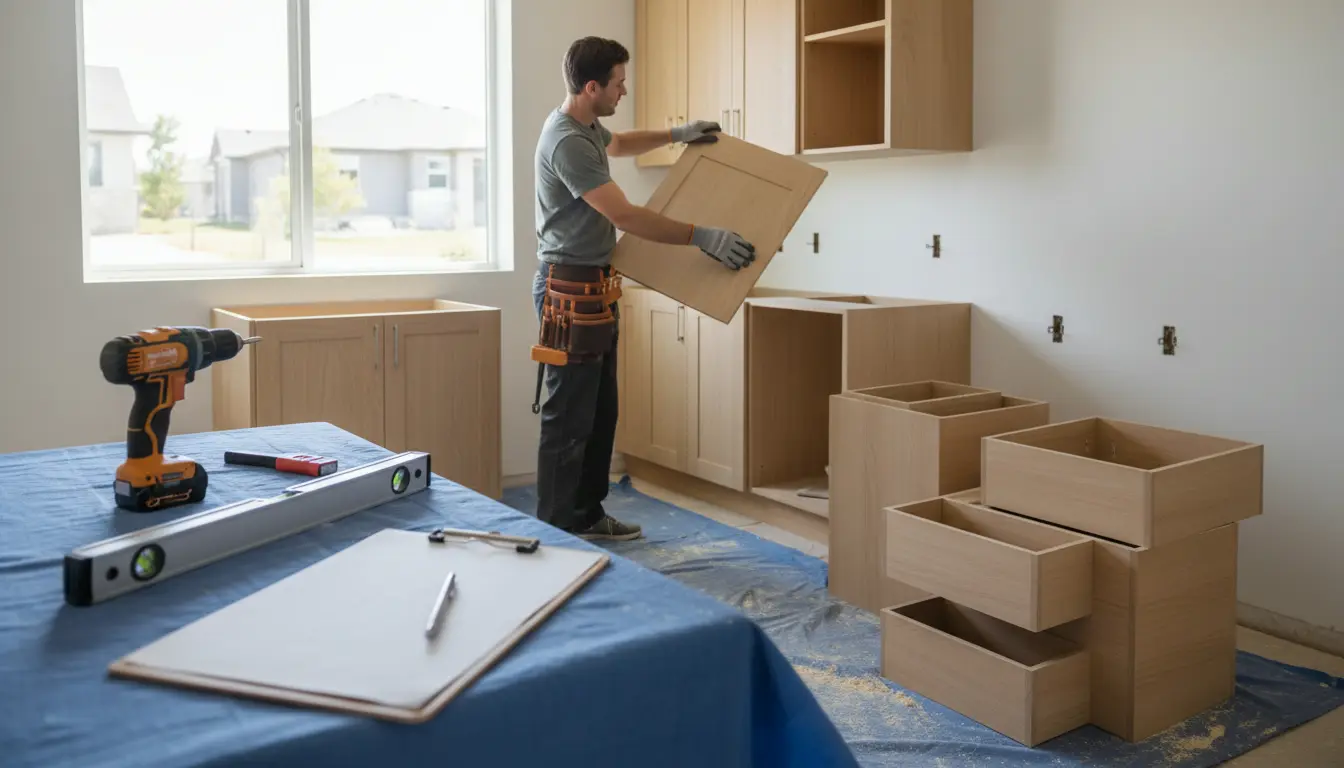
A Kitchen cabinet installation checklist gives you a clear, reliable way to inspect every cabinet before, during, and after installation. This page helps you prevent uneven runs, appliance clearance issues, damaged finishes, poor fastening, and costly rework before countertops and final finishes lock problems in place. Built from practical installation standards and real kitchen renovation scenarios, it shows exactly what to check so you can move forward with confidence, protect your budget, and get a kitchen that looks professionally finished.
Start With a Kitchen That Is Ready for Cabinets
Successful cabinet installation begins before the first wall cabinet is lifted. The room must be measured, cleared, and checked against the final layout. If the space is not prepared, even premium cabinets can look misaligned or function poorly. A careful pre-installation review helps you catch problems while they are still simple to fix.
Start by comparing the cabinet plan with the actual room. Check the full cabinet run, corner positions, appliance openings, sink base location, tall cabinet placement, and any exposed finished panels. If the drawings show a refrigerator opening, confirm the real refrigerator dimensions, not just the advertised size. If the plan includes a dishwasher beside the sink, verify that plumbing and electrical access are correctly positioned before the base cabinets are secured.
- Confirm room width, wall lengths, and ceiling height.
- Check that floors are dry, stable, and ready for cabinet bases.
- Inspect walls for bowing, uneven drywall, or out-of-square corners.
- Make sure plumbing, electrical, gas, and ventilation points match the layout.
- Unpack and inspect cabinet boxes, doors, shelves, panels, hinges, and hardware.
This first step protects your investment. A cabinet that fits on paper may still fail in the real room if the wall is not plumb, the floor has a high point, or appliance doors cannot open fully. If you are still comparing cabinet options, materials, and layouts, review kitchen cabinets before installation begins.
Check the Layout Before Anything Is Fastened
The most expensive installation mistakes usually happen when cabinets are attached before the layout is verified. Once several cabinets are joined together, a small error can spread across the entire run. Before fastening, place the cabinets according to the plan and confirm the relationship between base units, wall units, tall cabinets, and appliances.
Practical layout checks
Imagine a kitchen where the sink base is shifted slightly to the left. The cabinet may still appear acceptable at first, but the dishwasher may no longer align with the plumbing opening, and the countertop cutout may be affected. In another common scenario, a corner cabinet may fit the wall but leave too little clearance for drawer pulls. These are exactly the issues a checklist prevents.
- Match every cabinet to the final layout.
- Confirm fillers are planned where cabinets meet walls.
- Check that doors and drawers have room to open without hitting handles, walls, or appliances.
- Verify that finished end panels are included on visible cabinet sides.
- Mark wall studs or approved structural fixing points.
Do not assume that an existing backsplash line, tile edge, ceiling, or old trim is level. Use a laser level or long level to create a reliable reference line. Base cabinets should be adjusted from the floor high point so the top surfaces create a flat and consistent support plane for the countertop.
Install Wall Cabinets With Structural Confidence
Wall cabinets carry weight and must be secured correctly. The fastening method depends on the cabinet system, wall construction, and manufacturer instructions. Some cabinets are fixed through the cabinet back into studs, while others use rails or brackets. The key is not just that the cabinet looks level; it must be safely supported.
Before final fastening, check each wall cabinet for level from side to side and plumb from front to back. Then recheck after fastening. A cabinet can shift when screws pull it against an uneven wall. If one cabinet twists, the next cabinet may appear stepped, leaving visible gaps between doors or uneven shadows along the bottom line.
- Mark stud positions clearly before lifting cabinets.
- Use fasteners suitable for the cabinet system and wall type.
- Support cabinets temporarily while positioning and fastening.
- Keep adjacent cabinet faces flush before joining them.
- Recheck the full wall run from multiple viewing angles.
For homeowners choosing between doing the work themselves and hiring a professional, the wall cabinet stage is often the point where experience matters most. Heavy cabinets, uneven walls, and hidden structural conditions can quickly turn into costly errors. If you want a deeper installation overview, visit kitchen cabinet installation for related guidance.
Make Base Cabinets Countertop-Ready
Base cabinets do more than provide storage. They support countertops, define appliance openings, and set the working height of the kitchen. If the base run is uneven, the countertop installer may face gaps, stress points, or extra adjustments. That can delay the project and increase costs.
Check every base cabinet individually and as part of the full run. The cabinet tops should form a consistent plane. Adjacent faces should be flush. Doors and drawers should sit square before final hardware adjustment. Shims should be used where needed, but they should support the cabinet properly rather than forcing the box out of shape.
Example: the dishwasher opening
A common problem appears when base cabinets are installed too low, too high, or slightly out of square around the dishwasher. The appliance may slide in during installation but bind against the countertop, scrape a side panel, or leave an uneven reveal. Before the cabinets are secured, measure the opening width, height, and depth against the actual appliance specification sheet. Include flooring height, countertop thickness, and any side panels in your thinking.
Example: the range or cooktop area
Cooking appliances need accurate openings and safe clearances. If cabinets are too close to the range, handles or doors may interfere. If the opening is too wide, the finished look can appear careless. Check the appliance manual, utility connection location, ventilation requirements, and nearby drawer clearances before approving the cabinet run.
Protect Your Budget by Preventing Rework
A checklist is not only about appearance. It is a cost-control tool. When cabinets are inspected before countertops, backsplash, appliances, and trim are installed, corrections are usually easier. After those finishes are complete, a cabinet adjustment can affect several trades and create avoidable delays.
Budget protection matters whether you are installing affordable stock cabinets, semi-custom units, or a high-end kitchen. A small misalignment may lead to additional labor, replacement panels, extra filler work, or countertop template changes. If you are still planning your project spend, compare the broader cost factors on kitchen cabinets cost before signing off on installation.
- Less risk of countertop delays.
- Fewer appliance fit problems.
- Cleaner door and drawer alignment.
- Better long-term cabinet performance.
- More predictable final project cost.
What Sets a Professional Result Apart
A professional-looking installation is not defined by one single detail. It is the combination of straight cabinet runs, even reveals, secure fastening, functional clearances, and clean finishing pieces. The difference is often visible in everyday use: drawers glide smoothly, doors do not rub, toe kicks sit tight, and panels align naturally with the design.
Look closely at fillers, toe kicks, finished ends, and hardware. These finishing details are easy to overlook, but they strongly influence the final impression. A kitchen can have beautiful cabinet doors and still look unfinished if toe kicks are loose, exposed sides are missing panels, or fillers are unevenly cut.
Final fit and finish checks
- Open and close every door and drawer.
- Check that soft-close hinges and slides work smoothly.
- Inspect handle placement for consistent height and straight alignment.
- Confirm toe kicks are secure and visually continuous.
- Look for scratches, chips, dents, or damaged corners under normal room lighting.
- Make sure utility cutouts are neat and not oversized.
Do not rely on hinge adjustments to hide cabinet boxes that are out of level or out of square. Hinges are for final fine-tuning, not for correcting poor installation. If a door remains visibly uneven after normal adjustment, recheck the cabinet box, fastening points, and adjacent alignment.
Why Homeowners and Installers Use a Checklist
Homeowners use a checklist because it gives them the confidence to ask the right questions. Installers use it because it reduces misunderstandings and helps document the work before the next phase begins. Designers and project managers use it because cabinet placement affects countertops, appliances, lighting, flooring, and storage performance.
In real projects, the checklist often prevents disputes. For example, if a cabinet face is scratched before installation, photos and notes make it clear that the damage occurred before fitting. If an appliance opening is confirmed before the cabinets are secured, everyone knows whether the space matches the model requirements. This shared visibility creates smoother communication and faster decisions.
Many homeowners are surprised by how much depends on the cabinets being right early in the process. Countertop templates, sink cutouts, backsplash lines, and appliance installations all rely on accurate cabinet positioning. A final walkthrough before moving forward is one of the simplest ways to protect the entire kitchen project.
DIY Checklist or Professional Installation?
A do-it-yourself approach can work for experienced homeowners with the right tools, accurate plans, and enough time. It is best suited to simple layouts, standard cabinets, and rooms with relatively straight walls and level floors. The trade-off is responsibility: you must measure, support, fasten, align, and inspect every cabinet yourself.
Professional installation is usually the stronger choice for complex kitchens, heavy wall cabinets, tall pantry units, custom panels, integrated appliances, or uneven rooms. A skilled installer can anticipate filler needs, shim properly, correct wall irregularities, and coordinate the cabinet run for countertop templating. The value is not only speed; it is reduced risk.
Choose DIY when
- The layout is simple and well documented.
- You have accurate tools and installation experience.
- Walls and floors are in good condition.
- You can safely lift and support cabinets.
Choose professional help when
- The kitchen has corners, tall units, panels, or integrated appliances.
- The walls or floors are uneven.
- You need the work completed quickly.
- You want a warranty-backed, inspection-ready result.
Use This Final Walkthrough Before Approval
Before you approve the work, review the full kitchen as one connected installation. Stand back and look across the cabinet runs. Then inspect individual doors, drawers, panels, and openings. This combination of broad and close inspection is the best way to catch both visual and functional issues.
- Confirm every cabinet is in the correct location.
- Check that wall and base cabinets are level, plumb, and securely fastened.
- Verify cabinet-to-cabinet alignment and even visible seams.
- Confirm appliance openings and service access.
- Inspect plumbing, electrical, gas, and ventilation cutouts.
- Test all doors, drawers, hinges, slides, and soft-close parts.
- Review fillers, panels, toe kicks, trim, and exposed sides.
- Document any damage or remaining adjustment before final approval.
If anything feels uncertain, pause before countertops or appliances are installed. A short inspection now can save days of disruption later. Use the checklist as your decision point: approve the work only when the cabinets are aligned, secure, functional, and ready for the next stage.
Ready to Move Forward?
If you want a kitchen that looks polished and functions well every day, do not leave cabinet installation to chance. Use this checklist during planning, fitting, and final inspection. When the cabinets are installed correctly, the rest of the kitchen project becomes easier, cleaner, and more predictable.
A strong cabinet result starts with preparation, accurate layout checks, secure fastening, level base runs, correct appliance clearances, and a careful final walkthrough. This checklist helps you avoid expensive rework, protect your finishes, and approve the installation with confidence. If you are planning a new kitchen or reviewing work already completed, use it before the next trade begins. Ready for a cleaner, safer, better-finished kitchen? Start your cabinet inspection today.
Frequently Asked Questions
What should I check first on a Kitchen cabinet installation checklist?
Start by confirming the layout, room measurements, cabinet sizes, appliance openings, and utility locations. Then inspect all cabinet parts for damage before installation begins. This prevents confusion later and helps separate product or delivery issues from installation-related problems.
How do I know if my cabinets were installed correctly?
Cabinets should be level, plumb, square, securely fastened, and aligned with neighboring units. Doors and drawers should open smoothly without rubbing. A Kitchen cabinet installation checklist also verifies fillers, toe kicks, hardware, finished panels, and appliance clearances before final approval.
Should cabinets be inspected before countertops are installed?
Yes. Cabinets should always be inspected before countertop templating or installation. Countertops depend on stable, level, properly aligned base cabinets. If cabinet height, fastening, or appliance openings are wrong, corrections become more difficult and more expensive after countertops are installed.
Can I use a Kitchen cabinet installation checklist for DIY work?
Yes, especially if you have the right tools and a simple layout. The checklist helps you verify measurements, fastening points, alignment, clearances, and final hardware adjustments. For heavy wall cabinets, uneven rooms, or integrated appliances, professional installation may reduce risk.
What are the most common cabinet installation mistakes?
Common mistakes include ignoring the floor high point, fastening cabinets before checking alignment, relying on doors to hide box issues, leaving appliance openings too tight, and forgetting fillers near walls. A Kitchen cabinet installation checklist helps catch these issues before they affect countertops, appliances, or final finishes.
About the Author