New kitchen installation should feel exciting, not stressful. This page gives you a clear, practical route from design approval to final handover, so every cabinet, appliance, worktop, socket, and finish is planned in the right order. With experienced guidance, reliable coordination, and detail-led fitting, you can avoid delays, hidden mistakes, and costly rework. Discover how a professionally managed installation turns your ideas into a kitchen that looks beautiful, works smoothly, and adds lasting value to your home.
Turn Your Kitchen Plans Into a Finished Space With Confidence
A new kitchen is one of the most important improvements you can make to your home. It affects how you cook, store, clean, entertain, and move through the space every day. The difference between an average result and a kitchen you genuinely love often comes down to planning, sequencing, and precision during installation.
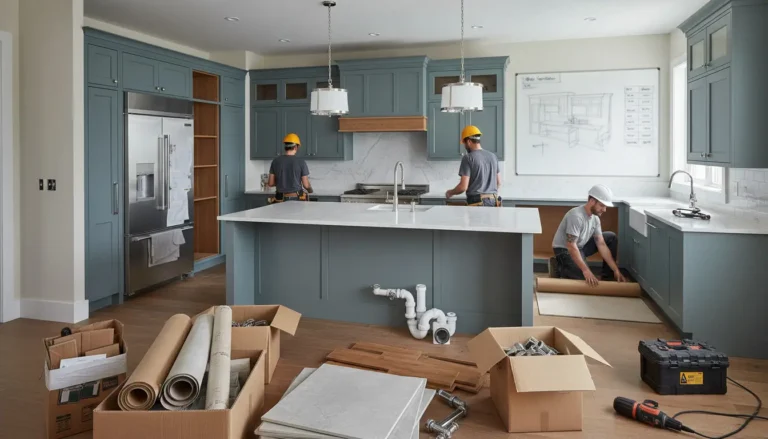
A well-managed new kitchen installation brings together design, removal, electrical work, plumbing, plastering, flooring, cabinet fitting, worktop preparation, appliance connection, tiling, decoration, sealing, and final checks. When these steps happen in the right order, the project feels smoother, the finish looks sharper, and avoidable disruption is reduced.
Whether you are replacing a tired kitchen, renovating a newly purchased home, or upgrading to a more practical family layout, the goal is the same: a kitchen that fits your lifestyle as well as your room. That means the installer must understand not only the drawing, but also how you use the space.
Why Professional Installation Makes a Noticeable Difference
Kitchen fitting is not simply a matter of placing cabinets against a wall. Real homes have uneven floors, walls that are not perfectly square, service routes in awkward places, and design choices that must be translated into exact measurements. A professional installation team anticipates these details before they become problems.
Good installation helps you achieve:
-
Accurate alignment: doors, drawers, wall units, tall units, plinths, cornices, and panels sit cleanly and consistently.
-
Reliable functionality: appliances, taps, sockets, lighting, extractors, and waste connections are positioned for practical use.
-
Better durability: worktop joints, sink cut-outs, hob areas, splashbacks, and seals are finished to resist everyday moisture and wear.
-
Less disruption: trades are scheduled in a sensible order, so you are not waiting unnecessarily between stages.
-
A higher-end look: small details such as filler panels, end panels, handle alignment, silicone lines, and door adjustments create a polished finish.
If you are also choosing or replacing cabinetry, it is worth reviewing options such as kitchen cabinets before installation begins. Cabinet style, material, storage features, and dimensions influence the fitting process and the final look of the room.
The Right Order of Work for a Smooth Installation
One of the most common questions homeowners ask is what should happen first. The answer depends on your property, but most successful installations follow a logical sequence.
Design confirmation and site survey
Before anything is removed, the design should be checked against the actual room. Measurements, appliance positions, plumbing points, extractor routes, lighting plans, and worktop requirements must be confirmed. This is the time to identify potential clashes, such as a socket behind a tall unit, a pipe where a dishwasher should sit, or a wall that needs preparation before cabinets can be fitted.
For example, if you want an integrated dishwasher next to the sink, the installer needs to know where the water supply, waste, and power point will be. If you want under-cabinet lighting, cable routes should be planned before plastering and tiling. These decisions are easier and cleaner when made early.
Removal and preparation
The old kitchen is removed, including units, worktops, appliances, tiles, damaged plaster, and sometimes flooring. The room is cleared so the hidden condition of the walls, floor, pipes, and wiring can be assessed. This stage can reveal issues that were not visible during design, such as poor previous plumbing, uneven surfaces, or damaged plasterboard.
A careful strip-out protects the surrounding home as much as possible. Floors, doorways, and access routes should be treated with respect, especially in occupied properties where the household continues to live around the work.
Electrical and plumbing preparation
Electrical rough-in usually comes before plastering and cabinet fitting. This may include socket positions for appliances, cooker supply, extractor wiring, lighting, switches, and under-unit illumination. Plumbing rough-in follows the confirmed layout for sink, tap, dishwasher, washing machine, fridge water supply, or other connected appliances.
This stage is where a lot of future convenience is created. A family that uses several small appliances may need more accessible sockets. Someone who loves a clean worktop may prefer discreet power locations. A keen cook may need task lighting exactly where food preparation happens. Planning these details makes the kitchen easier to live with.
Walls, ceilings, and surfaces
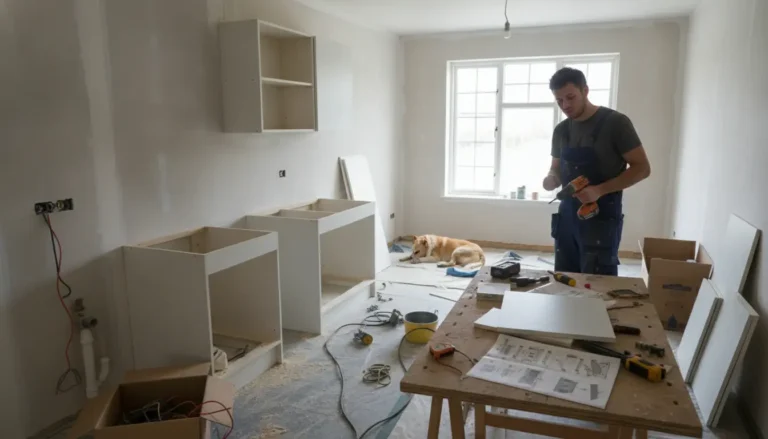
Plastering, skimming, boarding, or surface repair should be completed before final cabinet installation. Drying time matters. Fitting cabinets against damp plaster can compromise the finish, delay decoration, and create unnecessary risk. Once the walls are ready, a mist coat or base decoration can be applied where appropriate, while final decoration is often best left until heavy installation work is complete.
Cabinets, worktops, and appliances
Base units, tall units, and wall units are installed with careful attention to level, height, spacing, and appliance integration. Worktops are then fitted or templated, depending on the chosen material. Laminate and timber may be cut on site, while stone, quartz, or similar surfaces often require templating and a separate fitting visit.
Appliances are installed and connected at the correct stage. Integrated products need accurate door alignment, ventilation gaps, and service access. Hobs and sinks require precise cut-outs, moisture protection, and clean sealing. A rushed worktop cut or poorly sealed sink area can cause problems later, so this part deserves patience and skill.
Flooring, tiling, finishing, and final checks
Flooring timing depends on the product and design. Some floors are laid before plinths and up to cabinet legs, while others may need expansion space. Splashbacks, tiles, decorative wall panels, and final painting are completed once the main fitting is stable. Handles, plinths, cornices, pelmets, shelves, end caps, and trims are then adjusted and finished.
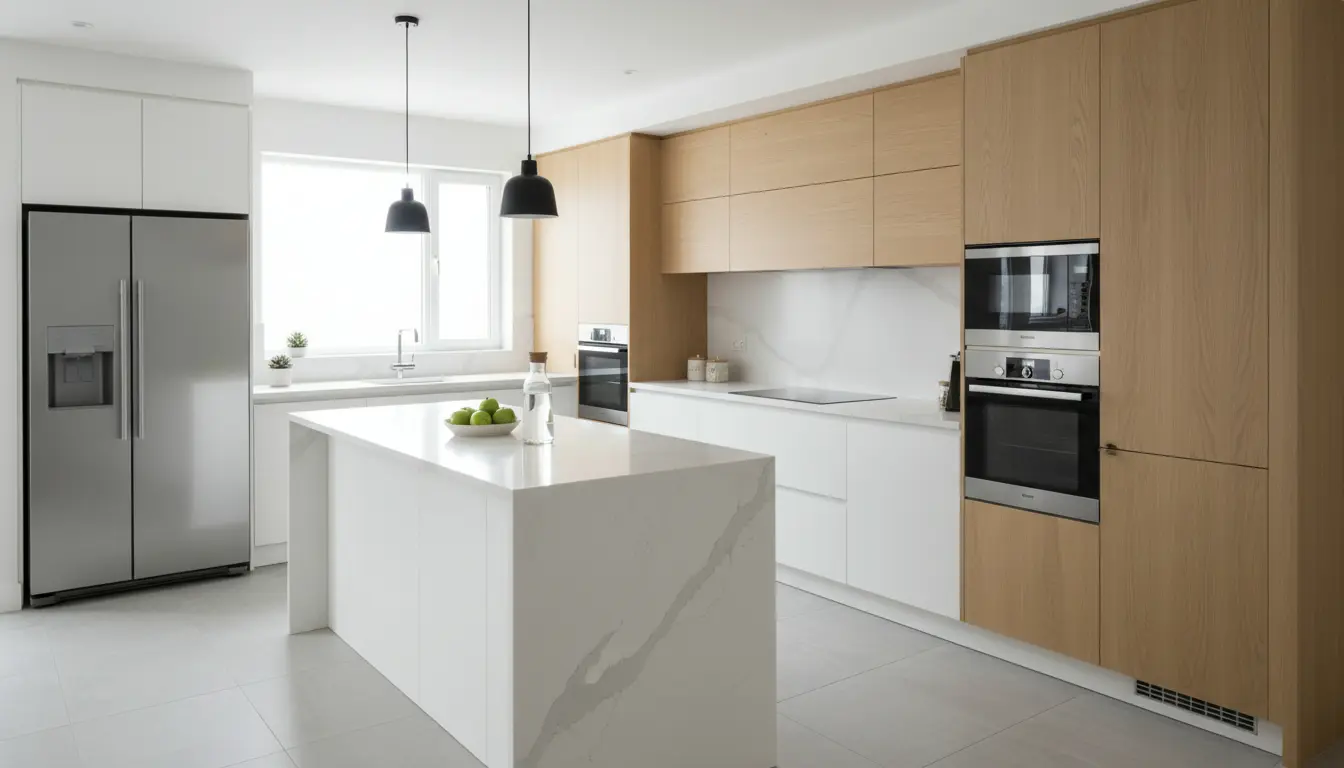
The final check should include doors and drawers, appliance operation, plumbing connections, socket function, lighting, extractor performance, silicone seals, visible joints, and general cleanliness. A proper handover gives you confidence that the kitchen is ready for daily use.
Built Around Your Home, Not a Generic Template
Every kitchen project has its own priorities. A compact apartment kitchen may need clever storage, slim appliances, and exact cabinet planning. A family home may need durable surfaces, wider walkways, a larger fridge freezer, and hard-wearing flooring. A luxury renovation may focus on premium worktops, bespoke cabinetry, concealed lighting, and seamless appliance integration.
Professional installation adapts to these scenarios. In a small galley kitchen, millimetres matter because a poorly placed handle or appliance door can interrupt the walkway. In an open-plan space, visual alignment becomes crucial because the kitchen is always on show. In an older property, preparation may be the biggest factor because walls, floors, and services often need correction before fitting begins.
If your installation is part of a broader upgrade, a structured kitchen renovation plan can help connect design, budget, building work, and installation into one clear process.
What Sets a Better Installation Experience Apart
The best kitchen installation experience is calm, organised, and transparent. You should know what is happening, when it is happening, and why each stage matters. That does not mean there will never be surprises, especially in older homes, but it does mean challenges are handled professionally.
Look for an installation approach that includes:
-
Clear communication: you are kept informed before decisions affect cost, timing, or finish.
-
Trade coordination: electricians, plumbers, plasterers, decorators, and fitters work in the right order.
-
Design awareness: the installer understands the intended final appearance, not just the component list.
-
Respect for your home: tidy working habits and sensible protection reduce stress during the project.
-
Detailed handover: the finished kitchen is checked, cleaned, adjusted, and explained before completion.
These qualities matter because installation is where the investment becomes visible. Expensive cabinets can look poor if fitted badly, while thoughtfully installed mid-range products can look excellent when every line, joint, and detail is considered.
Real-World Situations Where Planning Saves Money
Imagine a homeowner ordering a kitchen before confirming appliance locations. Once the old kitchen is removed, it becomes clear that the dishwasher cannot be placed where planned without moving both pipework and a socket. That can delay the schedule and increase costs. A pre-installation survey reduces this risk.
Another common situation involves tiling and sockets. If splashback tiles are installed before final socket planning, faceplates may sit awkwardly or cuts may look untidy. When electrical preparation is completed first, the tile finish can be much cleaner.
Worktops create another important example. A sink cut-out that is not sealed properly can allow moisture to enter the material. Over time, this may cause swelling or damage. A skilled fitter protects vulnerable edges, positions the sink correctly, and seals the joint neatly.
Even lighting benefits from early planning. Downlights, under-cabinet lights, and plinth lights all need suitable cable routes. Deciding after plastering or cabinet fitting can mean visible cables, extra disruption, or compromises in placement.
Professional Installation Compared With Doing It Yourself
A capable homeowner may be able to handle some preparation tasks, but a full kitchen installation requires a wide mix of skills. Measuring, levelling, cutting, scribing, plumbing, electrical coordination, appliance integration, worktop finishing, and moisture sealing all affect the result.
Doing it yourself can appear cheaper at first, especially if the room is simple. However, the hidden cost is risk. A miscut worktop, damaged panel, uneven cabinet run, or incorrect appliance connection can quickly remove any saving. Professional fitting is often the better choice when the kitchen includes integrated appliances, stone worktops, new electrics, altered plumbing, or a complex layout.
A managed installation also saves time. Instead of trying to coordinate multiple trades yourself, you benefit from a sequence that has already been tested on many kitchen projects. For homeowners with work, family, or limited DIY experience, that peace of mind is valuable.
How to Prepare Before Installation Day
You can make the process easier by preparing your home and decisions in advance. Confirm your design, appliance specifications, handle choices, worktop material, sink and tap model, lighting preferences, splashback finish, and flooring selection before the schedule is locked in.
It also helps to clear access routes, decide where delivered items can be stored, protect nearby rooms, and plan a temporary cooking setup. A microwave, kettle, small fridge, and basic washing-up arrangement can make the installation period more comfortable.
If timing is a concern, review a realistic kitchen renovation timeline before committing to dates. The schedule can vary depending on plaster drying, worktop templating, flooring type, and the availability of specialist trades.
Ready to Create a Kitchen That Works Beautifully?
Your kitchen deserves more than a quick fit. It deserves a planned installation that protects your investment and improves everyday life. From the first survey to the final seal, every stage should move you closer to a space that feels practical, durable, and personal.
If you are planning a new kitchen installation, now is the right time to get expert guidance. Share your layout, goals, and concerns, and take the next step toward a kitchen that is fitted with care, finished with precision, and ready to enjoy.
A successful new kitchen installation combines smart planning, skilled fitting, reliable trade coordination, and a careful finish. When every stage is handled in the right order, you reduce stress, avoid costly mistakes, and enjoy a kitchen that looks great and works beautifully. If you want a smoother route from design to completion, speak with an installation expert today and start turning your kitchen plans into a finished space you will love.
Frequently Asked Questions
How long does a New kitchen installation usually take?
A New kitchen installation can vary depending on the room condition, worktop choice, electrical changes, plumbing alterations, and drying time for plaster or flooring. A straightforward replacement may be quicker, while a full renovation with new services and premium surfaces takes longer. The best approach is to confirm a realistic schedule after a site survey.
What should happen before the old kitchen is removed?
Before removal, the design, measurements, appliance positions, socket plan, plumbing routes, worktop material, and delivery details should be confirmed. This reduces the chance of discovering problems once the room is empty. A good installer will check the layout against the actual space and highlight anything that may affect timing, cost, or finish.
Can I live at home during a New kitchen installation?
Yes, many homeowners stay at home during a New kitchen installation, but you should expect some disruption. There may be noise, dust, limited access, and a period without normal cooking or washing facilities. Setting up a temporary food preparation area with basic appliances can make the project much easier to manage.
Do I need separate electricians and plumbers?
Most kitchen projects need qualified electrical and plumbing work, especially when sockets, lighting, appliances, sinks, taps, or waste routes are being moved. Some installation companies coordinate trusted trades for you, while others ask you to arrange them separately. Clear scheduling is essential so preparation, fitting, and final connections happen in the correct order.
What causes extra costs during New kitchen installation?
Extra costs often come from hidden issues such as damaged plaster, uneven floors, outdated wiring, poor pipework, missing parts, design changes, or worktop complications. A detailed survey and clear quotation reduce surprises, but older properties can still reveal problems after strip-out. Keeping a sensible contingency helps protect your budget.
About the Author