Kitchen cabinets vinyl wrap is the fast, cost smart way to transform tired cabinet doors without a full remodel. This page helps you choose the right wrap, understand the benefits, and feel confident before you buy. With practical guidance, finish comparisons, and application tips, you can refresh your kitchen with a durable, washable surface that looks made to measure. Explore why homeowners choose vinyl wrap for a cleaner look, lower disruption, and a more flexible makeover.
Refresh Your Cabinets Without Replacing Them
A kitchen can feel outdated long before the cabinets stop working. The boxes may still be solid, the layout may still suit your routine, and the hinges may be in good condition, yet the surface color or finish can make the entire room look worn. Vinyl wrap solves that problem by covering visible cabinet fronts with a fresh decorative surface. Instead of removing perfectly usable cabinetry, you can upgrade the appearance with a smooth, modern finish.
This approach is especially appealing when you want visible results quickly. A self adhesive wrap can be applied to clean, flat, sealed surfaces with careful preparation. It is suitable for renters who need a removable option, homeowners planning a budget refresh, or anyone who wants to test a new color before committing to a bigger renovation.
If you are comparing wrap with other cabinet updates, start with the broader guidance on kitchen cabinet wrapping. It helps you understand when wrapping is the right choice and when a different upgrade may be more suitable.
Why Vinyl Wrap Works So Well in Busy Kitchens
Kitchen cabinets face daily contact from hands, steam, splashes, utensils, and cleaning cloths. A good vinyl wrap is designed to create a protective decorative layer that is easy to wipe and simple to maintain. It can make old cabinet doors look brighter, smoother, and more consistent while helping hide minor visual imperfections.
- Lower cost than replacement: You keep the existing cabinet structure and improve the surface you actually see.
- Less mess: There is no need to remove the entire kitchen or live through heavy building work.
- Flexible style: Choose from white, matte, gloss, wood effect, marble look, concrete inspired, or solid color designs.
- Easy care: Most vinyl surfaces can be cleaned with a soft cloth and mild household cleaner.
- Removable on suitable surfaces: Many wraps can be removed carefully, making them useful for temporary or low commitment makeovers.
For example, a dark brown rental kitchen can be lightened with a clean white wrap. A dated high gloss red kitchen can become calm and contemporary with a warm greige finish. A small apartment kitchen can look more spacious with pale oak effect doors and simple handles. The transformation is visual, but the impact on how the room feels can be significant.
Choose the Finish That Supports Your Goal
The best wrap is not only about color. It is also about the finish, texture, and how it behaves under light. Gloss finishes reflect light and can make compact kitchens feel brighter. Matte finishes reduce glare and suit calm, minimalist interiors. Wood effect finishes add warmth, especially when paired with simple worktops and soft lighting. Stone and marble looks can create a more premium impression on feature panels, islands, or open shelving backs.
For a brighter kitchen
White or soft cream wrap works well when the room has limited natural light. It pairs with many handles, worktops, and wall colors. If your cabinets are dark underneath, choose a wrap with strong coverage and test a small area first so the original color does not dull the finish.
For a modern design
Flat matte colors, handleless fronts, and deep neutrals create a clean designer look. Charcoal, sage, taupe, and muted blue are popular options for people who want a current finish without making the kitchen feel too trend driven. For more palette ideas, see kitchen cabinet color inspiration.
For a warm natural style
Wood effect wrap can soften a plain kitchen and make it feel more inviting. Light oak suits Scandinavian interiors, medium wood tones work well with white walls, and darker wood effects can add depth when balanced with bright counters or splashbacks.
What Makes a Better Cabinet Wrap
Not all wraps feel the same once installed. A quality cabinet wrap should feel substantial, adhere evenly, resist everyday moisture, and allow clean trimming around edges. The backing paper should be easy to measure and cut. The adhesive should grip properly once smoothed, while still allowing careful repositioning during application when handled patiently.
Look for these features before buying:
- Durable vinyl material: It should feel stable and suitable for furniture surfaces, not flimsy or overly transparent.
- Washable surface: A kitchen wrap should tolerate routine wiping after cooking.
- Water resistant finish: Splash zones need a surface that handles normal kitchen moisture.
- Clean adhesive backing: Self adhesive wrap saves time because no separate glue is required.
- Accurate cutting support: Grid lines or a clear backing help you measure straight panels more confidently.
- Consistent pattern or color: This matters when several doors sit next to each other.
It is also worth ordering enough material from the same design batch when possible. Cabinet doors, drawer fronts, side panels, and kickboards can use more material than expected, especially when you wrap around edges for a more finished look.
Realistic Results Homeowners Appreciate
People who choose vinyl wrap often value three things: speed, visual impact, and budget control. Customer feedback across cabinet wrap products commonly highlights that peel and stick films can be surprisingly easy to apply when the surface is smooth and clean. Many users also like the way a glossy or subtly textured surface can revive old furniture, appliances, shelves, or work areas.
At the same time, the best results come from realistic expectations. Wrap is not a structural repair. It will not fix swollen chipboard, loose veneer, cracked doors, or deep dents. It also performs best on flat, sealed, smooth surfaces. If the underlying cabinet is rough, greasy, dusty, or uneven, adhesion may suffer. That is why preparation is just as important as the product itself.
A practical scenario: imagine a family kitchen with sturdy cabinets but yellowed cream doors. Replacing everything may be expensive and disruptive. Painting may require sanding, priming, drying time, and careful brushwork. Wrapping allows the family to update visible fronts in stages, perhaps starting with the most visible wall units first, then moving to base units and side panels.
Vinyl Wrap Compared With Painting and Replacement
Every cabinet upgrade has its place. The right choice depends on your budget, cabinet condition, timeline, and desired finish. Vinyl wrap is strongest when the cabinet structure is sound and you want a fast cosmetic transformation. Painting is strong when you want a traditional hand finished look and have time for preparation and curing. Replacement is best when the layout, storage, or cabinet boxes no longer meet your needs.
Vinyl wrap
Choose wrap when you want a clean, modern surface with limited disruption. It is ideal for smooth slab doors, rental friendly refreshes, and cost conscious makeovers. It is also useful if you want to try a color or finish before a larger commitment.
Painting
Choose painting when you want a custom color and are ready for sanding, priming, and careful drying. Paint can look beautiful, but it needs patience and good technique to avoid visible brush marks, chips, or uneven coverage.
Replacement
Choose replacement when cabinets are damaged, poorly planned, or no longer functional. If you are unsure whether to wrap, repaint, or replace, compare options in this guide to kitchen cabinet renovation.
How to Get a Cleaner Application
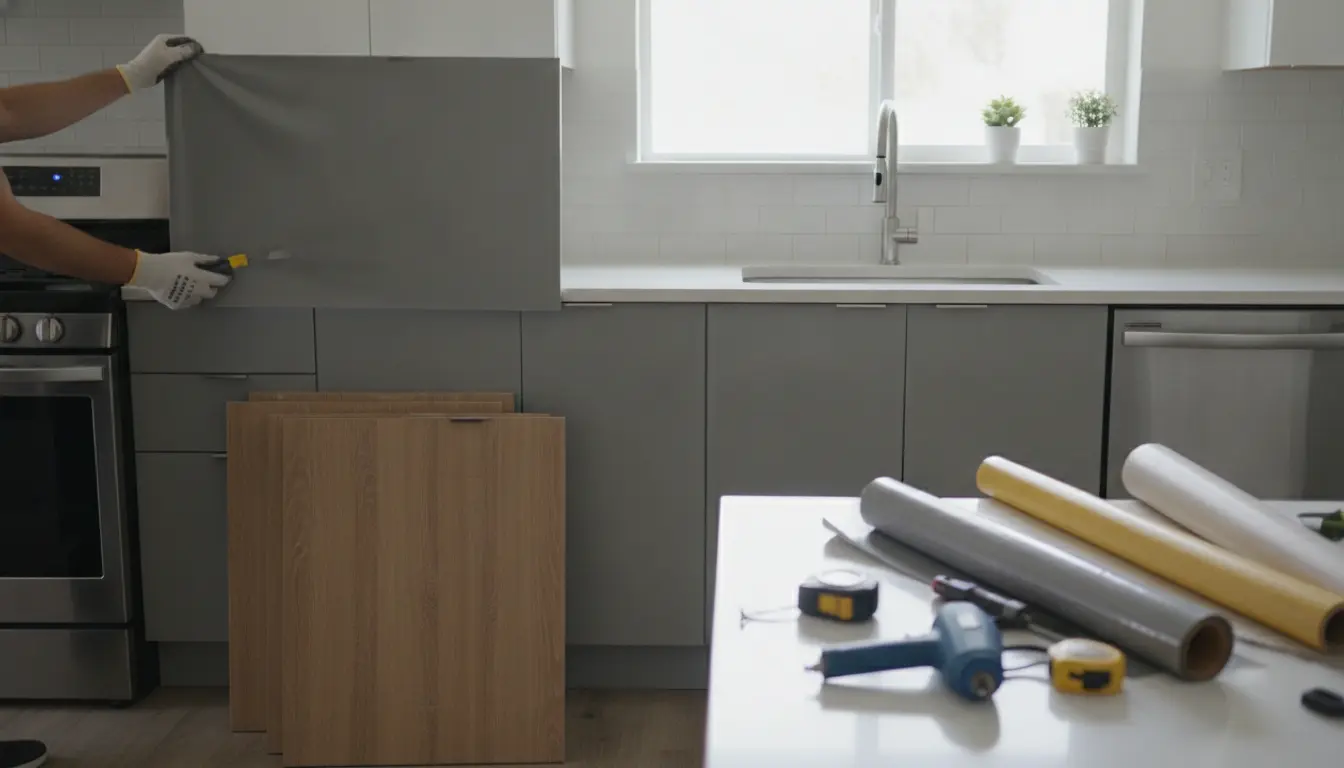
A professional looking wrap project starts before you peel the backing. Clean every surface thoroughly to remove grease, dust, and residue. Remove handles where possible. Measure each door carefully and cut with extra material around the edges. Apply slowly from one side to the other, smoothing as you go with a soft squeegee or cloth.
- Clean and dry: The surface should be smooth, sealed, and free from oil.
- Measure twice: Plan the direction of any grain or pattern before cutting.
- Peel gradually: Remove a small section of backing first rather than exposing the whole sheet.
- Smooth outward: Push air toward the edges to reduce bubbles.
- Warm corners gently: Light warmth can help vinyl settle around edges, but avoid overheating.
- Trim carefully: Use a sharp blade for crisp lines around hinges, corners, and openings.
If a bubble appears, do not panic. Lift the film gently if the adhesive still allows it, then smooth again. For a tiny trapped air pocket, a fine pinhole and careful smoothing can help. Work patiently, especially on wide doors, glossy finishes, or visible central panels.
Where Cabinet Wrap Delivers the Most Value
Vinyl wrap is not limited to cabinet doors. It can also refresh drawer fronts, pantry doors, open shelf backs, side panels, refrigerator surrounds, kitchen islands, desks, utility room storage, and smooth furniture. A small amount of material can make a strong design statement when used on an island panel or a row of upper cabinets.
For a compact kitchen, wrapping only the upper cabinets in white and leaving lower cabinets in a darker tone can create a lighter, more spacious feel. For a family kitchen, a washable matte finish can reduce the visual impact of fingerprints compared with a high shine surface. For a budget property refresh, wrapping worn but functional cabinets can help present the room more attractively without overinvesting.
Ready to Upgrade Your Kitchen Surface
If your cabinets are structurally sound, vinyl wrap can give you the kind of transformation that feels immediate and practical. Choose a finish that matches your kitchen style, order enough material for all visible panels, and prepare the surface carefully. The result can be a cleaner, brighter, more contemporary kitchen without the cost and inconvenience of a full replacement.
Start with the cabinet doors you see first, test your chosen finish in natural and evening light, and move forward once you feel confident. Your kitchen can look refreshed sooner than you think.
Kitchen cabinets vinyl wrap gives you a fast, flexible, and budget friendly way to refresh your kitchen without replacing solid cabinetry. With the right finish, careful preparation, and patient application, you can create a cleaner look that suits modern, classic, or rental friendly spaces. Choose a durable, washable wrap, plan your panels, and start your cabinet transformation today with confidence.
Frequently Asked Questions
Is Kitchen cabinets vinyl wrap durable enough for daily use?
Kitchen cabinets vinyl wrap can be durable for everyday kitchen use when applied to smooth, clean, sealed cabinet fronts. It is designed to handle regular wiping, light splashes, and frequent contact. The key is proper preparation, careful edge sealing, and gentle cleaning. Avoid harsh abrasives, standing water, and rough scrubbing to help the finish last longer.
Can I apply Kitchen cabinets vinyl wrap myself?
Yes, many homeowners apply Kitchen cabinets vinyl wrap themselves, especially on flat doors and simple drawer fronts. You need patience, clean surfaces, accurate measuring, a sharp blade, and a smoothing tool. Work slowly, peel the backing gradually, and remove handles first. A second pair of hands can help with larger panels or glossy finishes.
Will Kitchen cabinets vinyl wrap cover dark or damaged cabinets?
Kitchen cabinets vinyl wrap can cover dark colors visually, but coverage depends on the thickness, opacity, and finish of the film. Test a sample first if your cabinets are very dark. Wrap can hide minor visual wear, but it will not repair swelling, deep dents, loose veneer, or uneven surfaces. Damaged areas should be fixed before wrapping.
Is vinyl wrap better than painting kitchen cabinets?
Kitchen cabinets vinyl wrap is often better when you want a faster, cleaner surface update with less drying time and less mess. Painting can be better for detailed wood doors or custom color work. Wrap suits smooth modern doors, rental friendly makeovers, and quick visual upgrades. The best option depends on cabinet condition and your desired finish.
Can Kitchen cabinets vinyl wrap be removed later?
Kitchen cabinets vinyl wrap can often be removed from suitable sealed surfaces, especially when warmed gently and peeled slowly. Removal results depend on the adhesive, surface condition, age of the wrap, and how it was applied. Always test carefully in an inconspicuous area. Painted, weak, or poorly sealed surfaces may be more vulnerable during removal.
About the Author