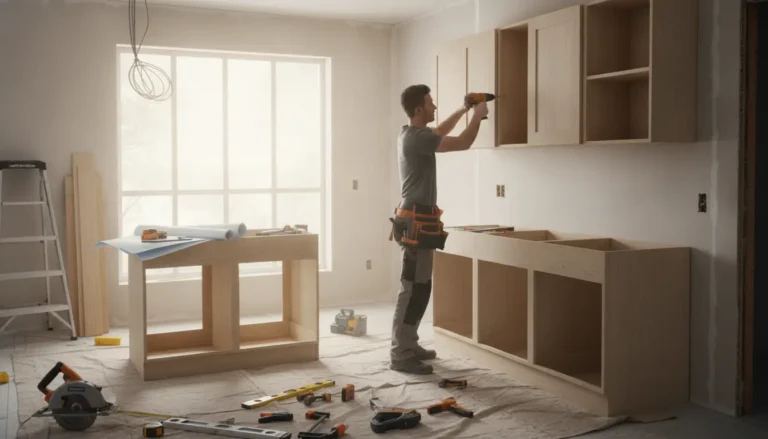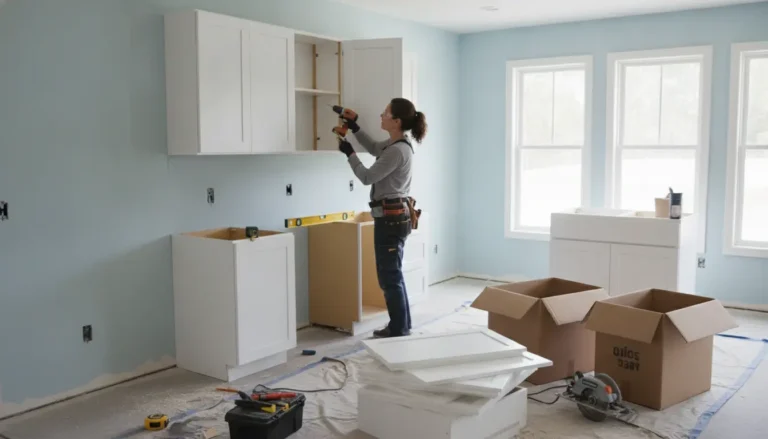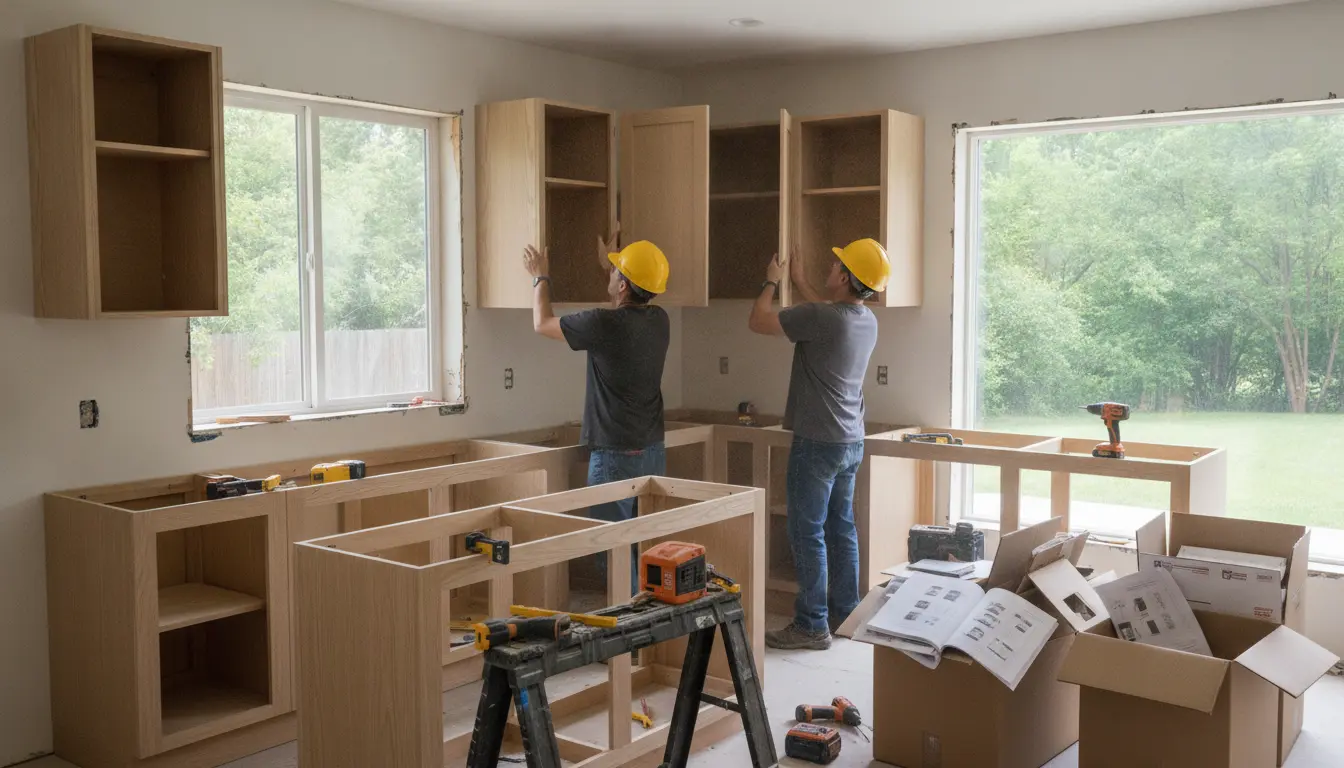
Kitchen cabinet installation tips can help you get a straighter, safer, better looking kitchen without wasting money on avoidable fixes. This guide shows you how to plan the layout, level base and wall cabinets, choose the right fasteners, and know when professional installation is the smarter choice. Built from practical installer experience, it focuses on fewer delays, cleaner finishes, stronger cabinets, and a smoother path from empty wall to finished kitchen.
Start With a Plan That Protects Your Budget
A successful cabinet installation starts before the first cabinet is lifted. The biggest mistakes usually come from rushing the layout, ignoring uneven floors, or assuming walls are square. Before you buy, move, or fasten anything, confirm the cabinet order, appliance openings, finished floor height, countertop thickness, and any plumbing or electrical locations.
If you are still choosing cabinets, compare styles, construction quality, and measurements before installation day. A reliable starting point is the kitchen cabinets guide, especially if you want to match cabinet type with your kitchen size, storage needs, and renovation budget.
Measure the room, not just the plan
Kitchen drawings are useful, but real rooms often have bowed walls, uneven corners, sloped floors, and ceilings that are not perfectly level. Walk the room with a long level, laser level, tape measure, and pencil. Mark the high point of the floor first. This matters because base cabinets are usually shimmed up from the highest point, not cut down from random low spots.
- Check wall flatness where upper cabinets will sit.
- Mark every stud clearly before cabinets are lifted.
- Confirm appliance clearances before fastening base cabinets.
- Measure the lowest ceiling point if tall or stacked cabinets are planned.
- Look for plumbing, outlet, vent, and hood locations that may interfere with cabinet backs.
A simple example: if the floor rises near the sink wall and you begin on the low side, the final run may end too high for the dishwasher or too tight for the countertop. Starting from the high point keeps the entire cabinet line predictable.
Install in the Right Order for Your Kitchen
Many installers prefer wall cabinets first because base cabinets are not in the way and are less likely to be scratched. Others install base cabinets first when countertop templating is urgent or when upper cabinet height must align with a specific backsplash or tile pattern. The best choice depends on your project.
When upper cabinets first makes sense
Install upper cabinets first when you want more room to lift, clamp, and fasten safely. This is helpful in compact kitchens, galley layouts, and projects with heavy wall cabinets. Remove doors, drawers, and adjustable shelves before lifting. The cabinets become lighter, easier to align, and less likely to be damaged.
Use a temporary ledger board or cabinet lift to support the cabinet while fastening. The ledger takes weight off your body and helps keep the bottom edge on the layout line. If the wall finish will remain exposed, place supports where screw holes will later be hidden by base cabinets, backsplash, or trim.
When base cabinets first makes sense
Install base cabinets first when the countertop fabricator needs to measure quickly or when the finished distance between counter and uppers is critical. For example, if a decorative tile layout requires a precise vertical space, setting bases first gives you a dependable reference point. This can prevent awkward tile cuts or a backsplash that feels squeezed.
For a deeper project overview, the kitchen cabinets installation resource can help you understand how cabinet work fits into the larger renovation sequence.
Use the Right Fasteners and Support
Cabinets are not just boxes on a wall. They hold dishes, cookware, food, and daily wear. Fasteners must reach solid framing, blocking, or a rated mounting system. Avoid weak screws that are not intended for cabinet loads. Use cabinet screws or structural screws with suitable washer heads, and always follow the cabinet manufacturer’s guidance.
Do not rely on drywall alone. If studs are difficult to locate, take the time to confirm them accurately. In a remodel, a stud finder, small test holes in hidden areas, and layout measurements can prevent costly mistakes. In new construction, adding blocking before drywall is one of the best ways to make wall cabinet installation faster and stronger.
Support tools that improve the result
- A laser level keeps long runs consistent.
- Cabinet clamps pull face frames or box sides flush before fastening.
- Shims correct wall bows and floor dips without twisting the cabinet.
- A cabinet jack or lift makes upper cabinet positioning safer.
- A soft mallet helps fine tune alignment without damaging the finish.
Picture a heavy refrigerator cabinet or tall pantry cabinet. Trying to hold it in place with one shoulder while searching for a screw is risky and inaccurate. A temporary support, lift, or second person can be the difference between a clean installation and a cabinet that is slightly twisted forever.
Level, Plumb, and Straighten Before Final Tightening
One of the most valuable kitchen cabinet installation tips is to avoid fully tightening screws too early. Set the cabinet, fasten it loosely, check level and plumb, add shims, clamp adjacent cabinets, and then tighten gradually. This method keeps the cabinet from being pulled into a wavy wall.
On a long wall run, use a straight reference line along the front edges. Even if each cabinet is technically level, small differences can show across the doors and reveals. Sight down the run before final fastening. If one cabinet face sits proud, shim behind neighboring boxes or adjust before the problem repeats.
Focus on the first cabinet
The first cabinet controls the rest of the run. Whether it is a corner wall cabinet, sink base, or tall pantry, make it perfect before moving on. Check it in every direction. A slightly out of plumb first cabinet can create uneven door gaps, filler issues, countertop problems, and trim headaches later.
For corner layouts, dry fit the cabinet and fillers before fastening. Corners are rarely exact. A wall that looks square may be open or tight enough to affect cabinet depth. If you force the cabinet tight to both walls, you may twist the box. Instead, keep the front true, shim the back as needed, and hide controlled gaps with fillers or scribe trim.
Compare DIY and Professional Installation
Doing the work yourself can save labor cost, but cabinet installation demands accuracy, strength, and patience. A small error can affect countertops, appliances, doors, drawers, and finished trim. Professional installation often pays for itself when the kitchen has tall cabinets, custom panels, uneven walls, expensive finishes, or a tight project schedule.
| Option | Best for | Main risk |
|---|---|---|
| DIY installation | Simple layouts, handy homeowners, flat walls, standard cabinets | Misalignment, slow progress, cabinet damage |
| Professional installation | Custom kitchens, heavy uppers, complex corners, premium finishes | Higher upfront labor cost |
| Hybrid approach | Homeowners who prepare the room and hire help for setting cabinets | Coordination between tasks |
If your goal is a fast, polished result with fewer surprises, consider a professional for the critical setting phase. You can still reduce cost by handling demolition, room clearing, or hardware installation, as long as it does not compromise measurements or finish quality.
Need a broader view of labor, timing, and planning? Review kitchen installation guidance before committing to a full DIY approach.
Details That Make Cabinets Look Custom
The difference between average and premium installation is often in the final details. Clean reveals, consistent gaps, straight crown, tight fillers, and aligned hardware make standard cabinets look far more expensive. Take time to pre fit fillers, scribe exposed ends, and check door swing before final trim.
- Install fillers before a tight cabinet is trapped between walls.
- Use scribe molding where walls are noticeably uneven.
- Keep cabinet fronts straight even when the wall behind is not.
- Confirm handles and pulls with a template before drilling.
- Adjust hinges and drawer fronts after all cabinets are secured.
For example, a pantry at the end of a cabinet run may need its side panel scribed to the floor. Without that step, the gap at the bottom can make the whole kitchen feel unfinished. A small amount of careful trimming creates a built in appearance and improves perceived value.
Common Mistakes to Avoid
Most cabinet installation problems are preventable. The most common include using the wrong screws, skipping stud layout, tightening cabinets before shimming, ignoring floor height, and failing to check appliance openings. Another common mistake is assuming caulk or trim will solve structural alignment problems. Trim should finish the installation, not hide poor cabinet setting.
Also avoid installing around long or crooked plumbing stub outs without planning the cutouts. Oversized holes weaken cabinet backs and look messy. If plumbing interferes, coordinate corrections before cabinets are permanently set. Clean preparation saves time and protects cabinet value.
Ready for a Straighter, Stronger Kitchen?
If you want cabinets that close properly, support daily use, and look professionally finished, slow down at the layout stage and be selective about where you spend effort. Accurate measuring, strong fastening, careful shimming, and patient alignment are the real shortcuts. For homeowners who want peace of mind, getting expert help for the cabinet setting phase can protect the entire kitchen investment.
Great cabinet installation is about more than lifting boxes onto a wall. With the right layout, strong fasteners, careful shimming, and smart sequencing, your kitchen will look cleaner, function better, and avoid costly corrections. Use these steps to plan confidently, or bring in an experienced installer for the critical work. Ready to upgrade with less stress? Start planning your cabinet installation today.
Frequently Asked Questions
Should I install upper or base cabinets first?
Many installers prefer upper cabinets first because there is more room to work and less chance of damaging base cabinets. However, base cabinets may come first when countertop measurement is urgent or backsplash height must be exact. The best Kitchen cabinet installation tips always start with your layout, schedule, and finish requirements.
Can I install kitchen cabinets by myself?
You can install simple cabinet runs yourself if you have the right tools, patience, and basic carpentry skill. The challenge is lifting safely, finding studs, keeping cabinets level, and avoiding twisted boxes. For heavy wall cabinets, tall units, or custom finishes, professional help often prevents expensive mistakes.
What screws should I use for cabinet installation?
Use cabinet screws or structural screws designed for load bearing fastening into studs or blocking. Avoid relying on drywall alone, and do not choose weak fasteners simply because they are available. One of the most important Kitchen cabinet installation tips is to match the screw type to the cabinet weight and wall structure.
How do I deal with uneven floors and walls?
Find the highest point of the floor before setting base cabinets, then shim cabinets up to a consistent level line. For wavy walls, keep cabinet fronts straight and use shims behind the boxes before tightening screws. This protects door alignment, countertop fit, and the overall finished appearance.
When should I hire a professional installer?
Hire a professional when cabinets are expensive, heavy, custom built, or part of a tight renovation timeline. You should also consider help if walls are badly out of square, if tall pantry cabinets are involved, or if countertops will be templated soon. Expert installation can protect both the cabinets and the schedule.
About the Author