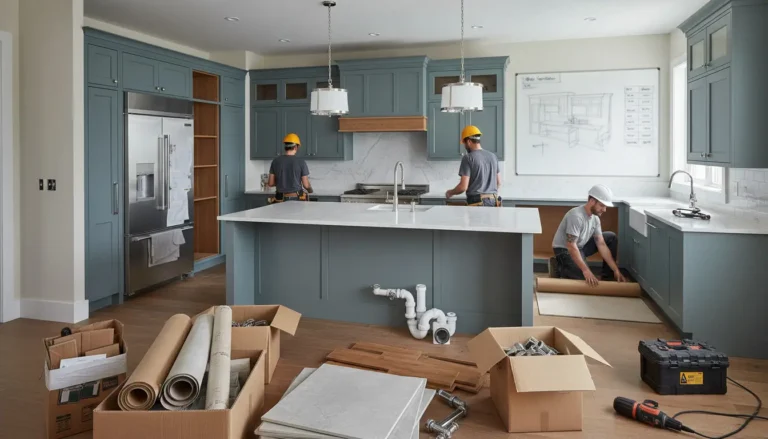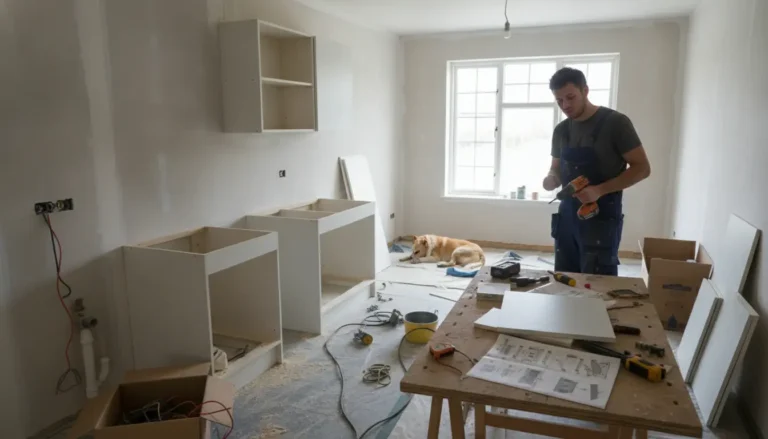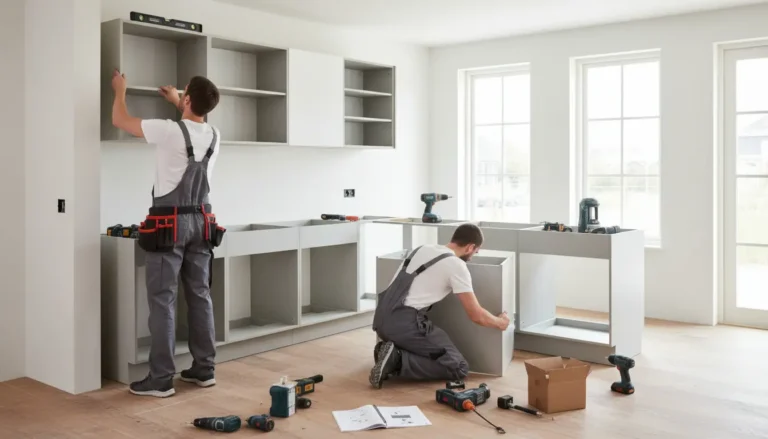
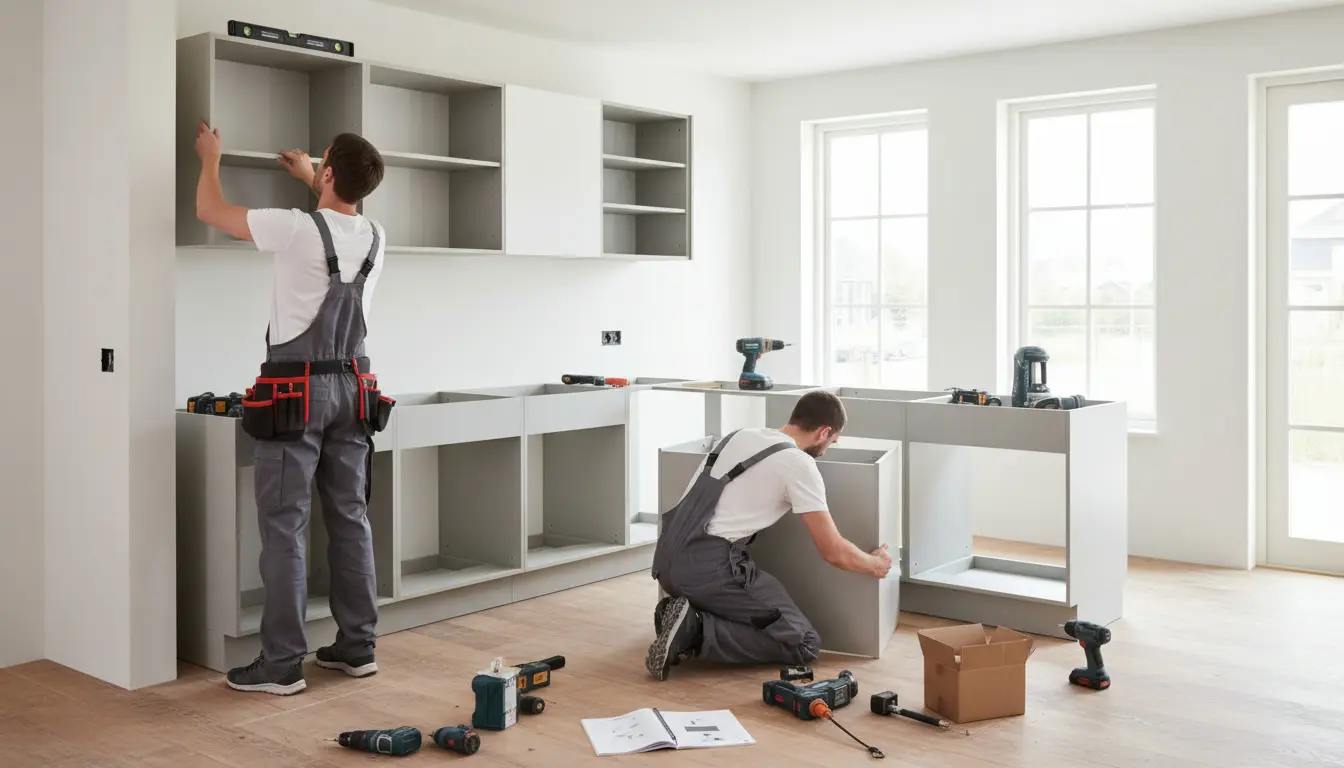
How to install a kitchen without costly mistakes starts with a clear plan, accurate measurements, and the right installation order. This guide gives you a practical, confidence-building route from empty room to finished kitchen, covering cabinets, worktops, plumbing coordination, finishing details, and when to call a professional. Whether you want a smooth DIY project or expert support, you will know what matters, what to avoid, and how to get a kitchen that looks built to last.
Start With a Kitchen Plan That Prevents Expensive Rework
A successful kitchen installation begins before a single cabinet is lifted into place. The best results come from confirming the room, services, product dimensions, and installation sequence in advance. Even a beautifully designed kitchen can become difficult to fit if the walls are out of square, sockets are in the wrong position, or the floor level changes across the room.
Before ordering or fitting anything, check the final layout against the actual space. Measure wall to wall, floor to ceiling, and corner to corner. Note window heights, door swings, pipe positions, extractor routes, radiator locations, and any boxed-in services. If you are replacing an old kitchen, do not assume the previous layout was correct. Older kitchens often hide uneven plaster, unsupported cabinets, or plumbing that should be improved before the new installation begins.
For homeowners still choosing cabinets, materials, or configurations, reviewing kitchen cabinets early helps align the design with the installation method. For example, tall pantry units need enough clearance to stand upright, handleless cabinets may require precise rail alignment, and corner units need careful positioning so doors and pull-outs open freely.
What You Need Before Installation Day
Preparation is where time is saved. A clear room, organized parts, and the right tools make the fitting process safer and more predictable. Lay out the cabinets by area, check all panels and fixings against the order, and keep fragile doors or drawer fronts protected until the carcasses are secure.
Essential tools and materials
- Spirit level or laser level for accurate horizontal lines
- Tape measure, pencil, square, and straightedge
- Drill, driver bits, wall plugs, and suitable screws
- Clamps for joining cabinets neatly
- Jigsaw or hole saw for service cut-outs
- Packers and shims for levelling cabinets
- Sealant, adhesive, and finishing trims
- Personal protection such as gloves and eye protection
If the project includes gas, electrical wiring, or significant plumbing changes, plan certified trades before and after cabinet fitting. Cabinets can be DIY-friendly, but unsafe service work can lead to leaks, failed inspections, or dangerous appliances. The smartest installation is not the one that avoids professionals entirely; it is the one that uses them at the right moments.
The Best Order to Install a Kitchen
The installation sequence matters because each stage affects the next. Rushing into doors, worktops, or appliances too early can create alignment issues that are hard to correct later. A reliable order keeps the structure square, level, and ready for finishing.
Prepare the room
Remove the old kitchen, repair walls, check the floor, and complete first-fix plumbing and electrical work. Mark a level reference line around the room. This line is your guide for base units, wall units, and worktop height. If the floor slopes, do not simply follow the floor; level the cabinets so the worktop sits correctly.
Fit base cabinets first
Start from a corner or a tall reference unit and work outward. Position each base cabinet, adjust the legs, clamp adjacent cabinets together, and fix them once faces are flush and tops are level. In a small galley kitchen, even a few millimetres of error can make the final appliance gap too tight. In an open-plan kitchen, the same issue can make an island look visually out of line with the back wall.
Install tall units and appliance housings
Tall cabinets for ovens, fridges, or pantry storage must be plumb and firmly fixed. Check appliance ventilation requirements and door clearances before securing them. A common scenario is an oven tower placed too close to a side wall, leaving the appliance door unable to open comfortably. Testing clearances before fixing saves frustration.
Fit wall cabinets safely
Wall units need secure fixings into suitable structural support. Use the level reference line, confirm wall type, and never rely on weak plaster alone. If the wall is uneven, use packers behind rails or cabinets so the fronts remain aligned. Leave enough space between worktop and wall units for comfortable use, especially around small appliances such as coffee machines, mixers, and kettles.
Measure and install worktops
Worktops are one of the most visible parts of a kitchen. Laminate worktops can often be cut on site, while stone, quartz, or compact surfaces usually require templating and specialist fitting. Sink and hob cut-outs must be measured carefully, sealed properly, and positioned so cabinet rails, drawers, and appliance clearances are not compromised. If you are planning a wider project, this is a good moment to compare the installation with a full kitchen renovation approach, especially if floors, lighting, or layout changes are involved.
Why a Careful Installation Pays Off Every Day
A well-installed kitchen is not only about appearance. It improves daily use, protects your investment, and can reduce maintenance over time. Doors close evenly, drawers glide smoothly, worktops stay supported, appliances sit correctly, and sealant lines keep water away from vulnerable materials.
Consider a busy family kitchen where breakfast, lunchboxes, homework, and evening cooking all happen in the same space. If the dishwasher door clashes with the bin cabinet, or the drawers hit the oven handle, the kitchen becomes frustrating fast. Careful installation checks these interactions before they become daily problems.
For a rental property or apartment, durability and speed may matter most. Strong cabinet fixing, wipe-clean finishes, and accurate plumbing connections reduce future call-outs. For a long-term family home, the priority may be premium alignment, integrated lighting, quiet drawer systems, and a finish that feels tailored.
DIY Installation or Professional Fitting?
Many homeowners can assemble and install cabinets with patience, the right tools, and good instructions. DIY can reduce labour costs and gives you full control over the pace of the project. However, professional fitting offers speed, precision, and accountability, particularly when the room is uneven or the design includes islands, tall banks, integrated appliances, or expensive worktops.
DIY may be suitable when
- The layout is simple and close to the existing kitchen footprint
- Walls and floors are reasonably straight and level
- You are confident using tools and reading installation drawings
- Service work is already completed by qualified trades
- You have time to work carefully without rushing
Professional installation is usually smarter when
- The kitchen includes stone worktops or complex joins
- Cabinets must be fitted around uneven walls or floors
- There are integrated appliances, tall units, or large panels
- You need the kitchen completed quickly
- You want a single point of responsibility for the final finish
If you are comparing routes, a dedicated kitchen installation service can help you avoid uncertainty. You can still stay involved in design choices while letting experienced fitters handle levelling, fixing, scribing, adjustments, and finishing.
Details That Make the Kitchen Look Bespoke
The difference between a basic installation and a polished kitchen often comes down to finishing details. End panels should be aligned with doors, fillers should be scribed neatly to walls, kickboards should sit straight, and handles should be positioned consistently. These details are small individually, but together they create the feeling of quality.
For example, in a period home with slightly bowed walls, forcing a straight filler into a crooked gap can leave a visible shadow line. A better approach is to scribe the filler to the wall shape, keeping the cabinet line straight while making the join look intentional. In a modern handleless kitchen, rail alignment is equally important because any inconsistency catches the eye immediately.
Common Mistakes to Avoid
- Installing before services are ready: Moving pipes or cables after cabinets are fixed can damage panels and delay the project.
- Ignoring wall and floor levels: Cabinets must be level even when the room is not.
- Forgetting appliance clearances: Fridges, ovens, dishwashers, and extractors all need space to function correctly.
- Cutting worktops too early: Final cabinet positions should be confirmed before cutting sink or hob openings.
- Skipping door and drawer adjustment: Fine tuning at the end gives the kitchen its finished look.
What Homeowners Value Most After Installation
Homeowners often notice three things once the kitchen is complete: how solid it feels, how easily it works, and how clean the finish looks. Positive feedback usually comes from practical details, such as a dishwasher placed close to storage, a bin near the prep zone, drawers that open without obstruction, and lighting that makes cooking easier in the evening.
A strong installation also supports future value. Buyers and valuers can spot a kitchen that has been fitted with care. Straight lines, consistent gaps, secure worktops, and tidy sealant suggest the rest of the project was handled responsibly too. That confidence can make the kitchen feel more premium without needing unnecessary extras.
Ready to Move From Plan to Finished Kitchen?
If you want a kitchen that looks good and performs well, do not leave installation to guesswork. Use a measured plan, confirm the sequence, choose the right level of support, and focus on the details that affect daily life. Whether your project is a compact apartment kitchen, a family renovation, or a complete new layout, the right installation approach gives you a smoother process and a better result.
Take the next step today: review your measurements, confirm your cabinet layout, and speak with an installation expert if anything feels uncertain. Getting advice before fitting begins is far cheaper than correcting mistakes after the worktop is installed.
Installing a kitchen successfully comes down to planning, accurate levelling, safe service coordination, and careful finishing. When every cabinet, worktop, appliance, and panel is fitted in the right order, the result is stronger, better looking, and easier to use every day. Whether you choose DIY or professional fitting, start with a clear plan and the right support. Ready to create a kitchen that feels built for your home? Take action now and plan your installation with confidence.
Frequently Asked Questions
How long does it take to install a kitchen?
Most kitchen installations take several days to a couple of weeks, depending on room condition, cabinet complexity, worktop type, and trade availability. A simple cabinet replacement is faster than a full renovation with new plumbing, electrics, flooring, and plastering. When planning how to install a kitchen, allow extra time for delivery checks, adjustments, and finishing.
Can I install a kitchen myself?
Yes, you can install a kitchen yourself if the layout is straightforward, you have the right tools, and plumbing or electrical work is handled safely by qualified trades. DIY is best for confident homeowners who can measure accurately and work patiently. For heavy worktops, uneven rooms, or integrated appliances, professional support is often worth it.
What is the first step in how to install a kitchen?
The first step in how to install a kitchen is checking the room against the final plan. Measure carefully, inspect walls and floors, mark service positions, and confirm cabinet dimensions before fitting begins. This prevents expensive surprises such as appliance gaps being too small, sockets sitting behind cabinets, or worktops not aligning properly.
Should base cabinets or wall cabinets be installed first?
Base cabinets are usually installed first because they set the worktop height, appliance spaces, and the main layout line. Wall cabinets can then be positioned accurately above the finished base run. Some installers mark all levels before fitting anything, but securing level base units first gives a dependable reference for the rest of the kitchen.
When should I hire a professional kitchen installer?
Hire a professional kitchen installer if your design includes tall units, stone worktops, complex corners, integrated appliances, or walls and floors that are not level. Professional fitting is also smart when you need a faster finish or want fewer risks. It can save money by avoiding damaged panels, poor alignment, and costly rework.
About the Author