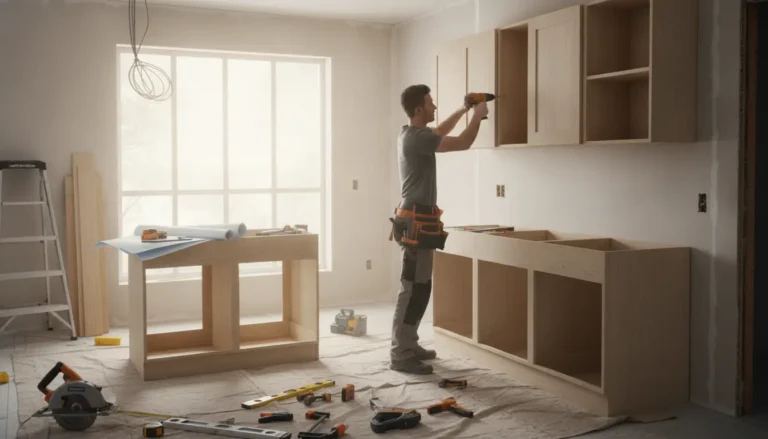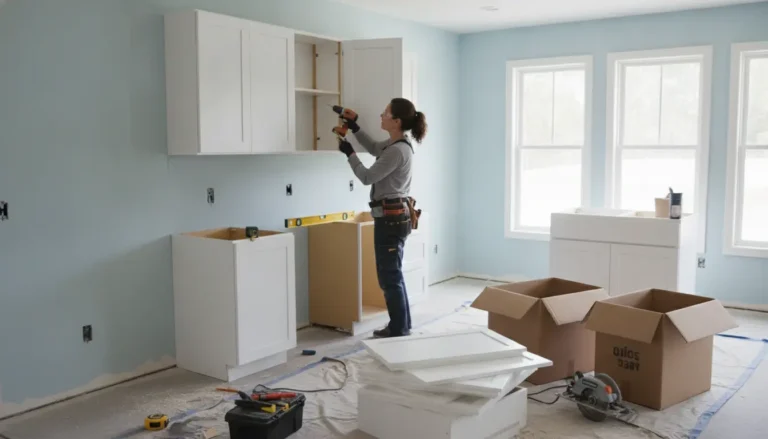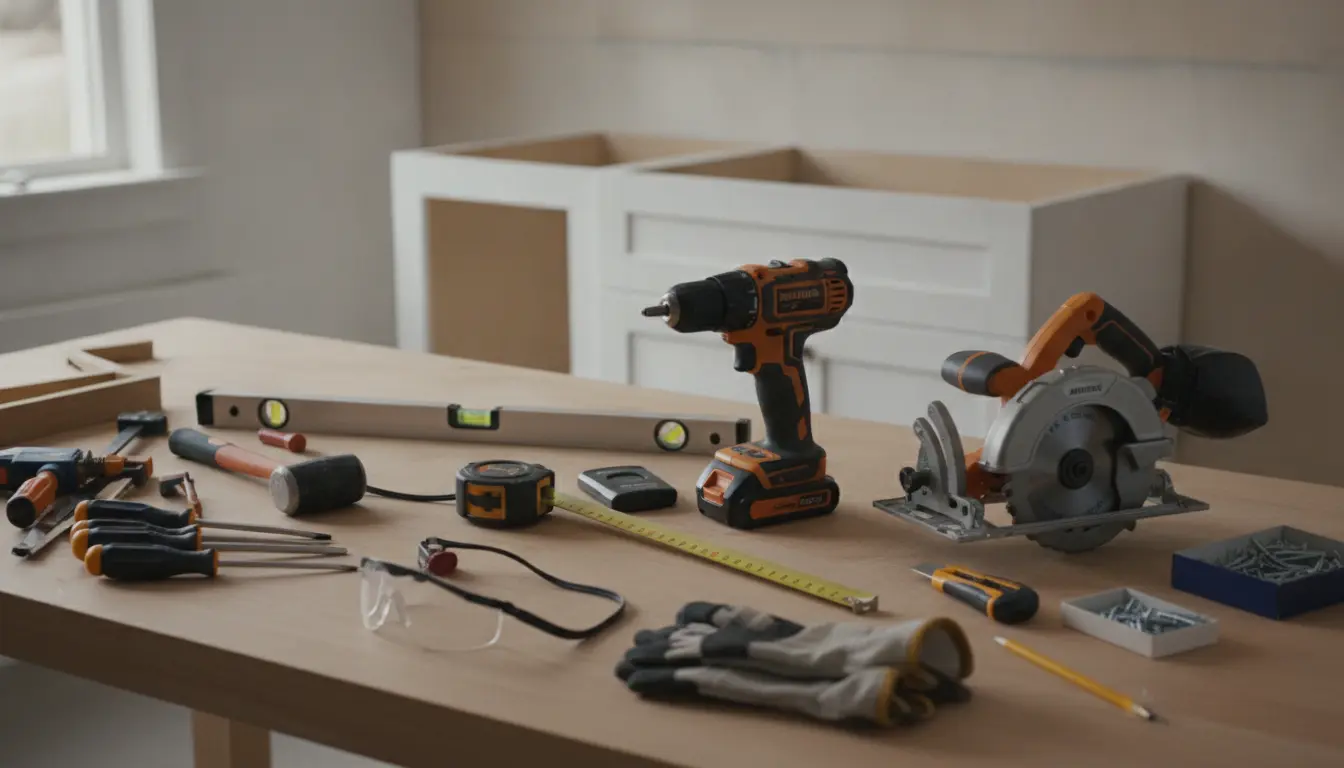
Tools needed to install kitchen cabinets can be the difference between a smooth, secure fit and days of frustrating rework. This guide gives you a practical, installer-informed checklist so you can measure accurately, hang cabinets safely, protect your walls, and avoid common mistakes. Whether you are planning a do-it-yourself upgrade or comparing professional help, you will know exactly which tools matter, which are optional, and when investing in expert support saves money.
Start with the tools that protect accuracy
Kitchen cabinet installation is not just about fastening boxes to a wall. It is about creating a straight, level, durable foundation for the busiest room in the home. A small measuring error can create uneven doors, awkward countertop gaps, or base cabinets that do not align with appliances. That is why the first group of tools is focused on layout and precision.
Measuring and marking essentials
A high-quality tape measure is the first item to reach for. Use it to check wall length, ceiling height, cabinet widths, appliance openings, corner clearance, and the distance between plumbing or electrical points. A locking tape measure is especially useful because it lets one person take consistent measurements without the blade retracting at the wrong moment.
You will also need a sharp pencil, painter’s tape, and a straightedge. Marking directly on walls can get messy, so painter’s tape gives you a visible, removable surface for notes and reference lines. For example, when installing upper cabinets, you can mark the bottom cabinet line on tape, then remove it after the cabinets are fixed.
-
Tape measure: for cabinet widths, appliance gaps, and wall runs.
-
Pencil: for precise marks that can be adjusted as needed.
-
Straightedge: for clean reference lines across uneven surfaces.
-
Painter’s tape: for temporary layout notes without damaging paint.
Level cabinets before you fasten anything
A level is one of the most important tools needed to install kitchen cabinets because cabinets must sit flat, square, and aligned. If the first cabinet is slightly off, every cabinet attached to it can carry that error forward. By the time you reach the end of the run, the difference may be obvious.
A long spirit level works well for base cabinets and long horizontal runs. A laser level is even better when you want a continuous reference line around the room, especially for upper cabinets. In older homes where floors slope or walls bow, a laser level helps you choose the best visual line instead of simply following an uneven floor.
Useful leveling tools
-
Long level: ideal for checking cabinet faces, tops, and side-to-side alignment.
-
Laser level: helpful for continuous wall lines and upper cabinet height.
-
Shims: essential for correcting uneven floors, walls, and cabinet gaps.
-
Ledger board: supports upper cabinets while you position and fasten them.
Imagine fitting base cabinets along a wall where the floor drops slightly near the refrigerator. Without shims, the cabinet run may look twisted and the countertop may not sit correctly. With shims and a level, you can lift the low points and create a reliable surface for the worktop.
Choose fastening tools that create a secure fit
A drill driver is the core power tool for most cabinet installations. You will use it to drill pilot holes, drive screws, attach cabinets to each other, install hinges, and fit pulls or knobs. A compact drill driver is usually easier to control than a heavy-duty tool, especially when working inside cabinet boxes or near finished surfaces.
Do not rely only on power. A manual screwdriver gives better control for final tightening, delicate hardware, or tight corners where a drill can strip screws. A countersink bit is also worth having because it helps screw heads sit flush without splitting wood or damaging cabinet material.
Fastening checklist
-
Drill driver: for pilot holes, hardware, and cabinet fastening.
-
Drill bits: matched to the screw size and wall material.
-
Countersink bit: for cleaner screw placement and reduced splitting.
-
Manual screwdrivers: for controlled final tightening.
-
Cabinet screws: strong enough for wall fastening and cabinet joining.
Before fastening upper cabinets, always locate solid framing. A stud finder helps identify where cabinet screws can grip securely. For heavy wall cabinets, especially those holding dishes or cookware, fastening into studs is not optional. If the wall construction is unusual, it may be safer to ask an installer to assess the fixing method.
If you are comparing installation options, review the practical guidance on kitchen cabinet installation before deciding whether to continue alone or bring in professional help.
Hold cabinets in position with support tools
Cabinets are bulky, awkward, and easy to scratch. Even a careful installer benefits from tools that hold pieces steady while measurements are checked. Clamps are especially valuable when joining adjacent cabinets. They keep face frames or cabinet sides aligned so the screw connection stays tight and clean.
For upper cabinets, a cabinet jack, temporary support, or ledger board can make the job safer. Trying to hold a wall cabinet with one hand while driving screws with the other is risky. A support system lets you focus on alignment instead of fighting gravity.
When clamps make a visible difference
Consider a run of three wall cabinets over a sink. If the first two cabinets are not clamped flush before joining, the doors may sit at slightly different depths. The gap looks small at first, but once handles and lighting are installed, the uneven face line becomes noticeable. Clamps prevent that problem and help deliver a more finished appearance.
-
Bar clamps: good for holding cabinet boxes together.
-
Face clamps: useful for keeping front edges aligned.
-
Cabinet jack: supports wall units during fastening.
-
Soft pads: protect cabinet finishes from clamp marks.
Cutting tools for real kitchen conditions
Most kitchens are not perfectly square, and cabinets often need small adjustments around pipes, outlets, uneven corners, or filler strips. A circular saw is useful for straight cuts in panels, fillers, and trim. A jigsaw is better for curved or irregular cutouts, such as plumbing openings under a sink base. An oscillating multi-tool can help with small notches or trimming existing materials without removing too much.
Use cutting tools carefully and measure twice before every cut. A filler panel that is too wide can be trimmed, but one cut too narrow may need replacing. When cutting finished panels, painter’s tape along the cut line can help reduce chipping. Use a fine-tooth blade for cleaner results.
Cutting scenarios you may face
-
Sink base installation: a jigsaw can create neat openings for water lines and drains.
-
End panel fitting: a circular saw can trim panels to match wall depth.
-
Outlet clearance: an oscillating tool can create controlled, small cuts.
-
Filler strips: a straightedge and saw help close gaps near walls.
If your project includes new cabinets, accurate sizing is just as important as cutting. Explore kitchen cabinet dimensions to better understand standard cabinet heights, widths, and depths before ordering or installing.
Do not skip safety and cleanup tools
Safety equipment is part of the tool list, not an afterthought. Installing cabinets can involve drilling overhead, cutting panels, handling sharp hardware, and lifting heavy boxes. Safety glasses protect your eyes from dust and debris. Gloves protect your hands from splinters and sharp edges. Ear protection matters when using saws or other loud power tools.
Keep a utility knife nearby for opening packaging, trimming shims, and scoring caulk lines. A vacuum or dust extractor helps keep the work area clean, which improves visibility and reduces the chance of scratching cabinet finishes with grit or debris.
-
Safety glasses: protect against drilling and cutting debris.
-
Work gloves: improve grip and reduce hand injuries.
-
Ear protection: useful when cutting or drilling for extended periods.
-
Utility knife: for packaging, trimming, and small adjustments.
-
Vacuum: keeps the site clean and protects finishes.
Essential tools versus nice-to-have upgrades
Not every homeowner needs a workshop full of equipment. The smartest approach is to separate must-have tools from optional upgrades. If you are installing a small base cabinet or replacing a single unit, you may need only measuring tools, a level, a drill driver, shims, screws, clamps, and basic safety gear. If you are installing a full kitchen, especially upper cabinets and filler panels, support tools and saws become far more important.
Simple replacement project
For replacing one damaged base cabinet, you may need a tape measure, level, drill driver, screwdriver, shims, clamps, utility knife, and safety glasses. Cutting may be minimal if the replacement cabinet matches the old size. The main goal is to keep the cabinet level with neighboring units and securely attached.
Full kitchen installation
For a complete kitchen, you should plan for a laser level, stud finder, multiple clamps, saws, cabinet screws, support boards, shims, and layout tools. The larger the run, the more every small alignment decision matters. This is where professional planning can save hours and reduce costly corrections.
Professional finish expectations
If you want tight reveals, consistent door gaps, clean filler strips, and a countertop-ready base, the right tools are only part of the equation. Experience also matters. Many homeowners can install cabinets successfully, but complex layouts, tall pantry units, frameless cabinets, stone countertop preparation, or uneven walls can justify hiring a specialist.
Why the right toolkit saves more than time
The right tools reduce damage, prevent delays, and protect your cabinet investment. A stud finder prevents weak wall fastening. A level prevents crooked cabinet runs. Clamps prevent uneven face lines. A clean saw cut prevents wasted filler panels. These practical advantages lead to a kitchen that looks better and performs better every day.
Homeowners often discover the value of preparation after the first cabinet is placed. When tools are ready, the installation feels controlled. When tools are missing, the project stops repeatedly for store runs, corrections, or improvised fixes. That is when a budget-friendly renovation can become more stressful than expected.
If you are still choosing cabinets, compare styles, materials, and ordering options at kitchen cabinets before finalizing your installation plan. Matching the right cabinets with the right installation approach gives you a stronger result from the start.
Ready to install with confidence?
Use this checklist before you begin: measure the room, confirm cabinet dimensions, identify studs, plan support for upper cabinets, organize screws and bits, prepare shims, protect finished surfaces, and check that cutting tools are suitable for the materials. If any part of the process feels uncertain, getting expert advice before installation is usually cheaper than repairing mistakes afterward.
Your kitchen cabinets carry weight, define the room’s layout, and influence the final countertop fit. Equip yourself properly, follow a careful sequence, and do not rush the layout stage. When you want a cleaner finish with less risk, consider professional installation support before the first screw goes into the wall.
The right tools needed to install kitchen cabinets help you measure accurately, level each run, fasten securely, and achieve a cleaner finish with fewer delays. From a tape measure and level to clamps, shims, saws, and safety gear, every tool has a clear purpose. Prepare well, protect your investment, and choose expert help when precision matters. Ready for a kitchen that fits beautifully? Start planning your cabinet installation today.
Frequently Asked Questions
What are the most important tools needed to install kitchen cabinets?
The most important tools needed to install kitchen cabinets are a tape measure, level, drill driver, stud finder, clamps, shims, cabinet screws, pencil, and safety gear. For full kitchens, a laser level, saws, and support tools are also valuable. These tools help you measure, align, secure, and adjust cabinets safely.
Do I need a laser level, or is a standard level enough?
A standard long level can work well for many cabinet projects, especially small base cabinet runs. A laser level is better for full kitchens, upper cabinets, or rooms with uneven floors and walls. It provides a continuous reference line, making it easier to keep all cabinets aligned across the entire space.
Can I install kitchen cabinets with only a drill?
A drill is essential, but it is not enough by itself. You also need measuring tools, a level, stud finder, shims, screws, clamps, and safety equipment. Without these, cabinets may be uneven, poorly secured, or difficult to align. A drill drives fasteners, but the other tools create accuracy and stability.
Which tools help prevent crooked cabinet doors and uneven gaps?
Clamps, levels, shims, and accurate measuring tools are the best way to prevent crooked doors and uneven gaps. Clamps hold cabinet faces flush while fastening, shims correct wall or floor irregularities, and a level keeps each cabinet aligned. Door hinges can be adjusted later, but cabinet boxes must start straight.
When should I hire a professional instead of buying more tools?
Hire a professional if the layout is complex, walls are uneven, cabinets are heavy, or the project includes tall units, upper cabinets, or expensive finishes. Buying every tool can cost more than expected, and mistakes may damage cabinets. Professional help is often worthwhile when precision, speed, and a polished result matter.
About the Author