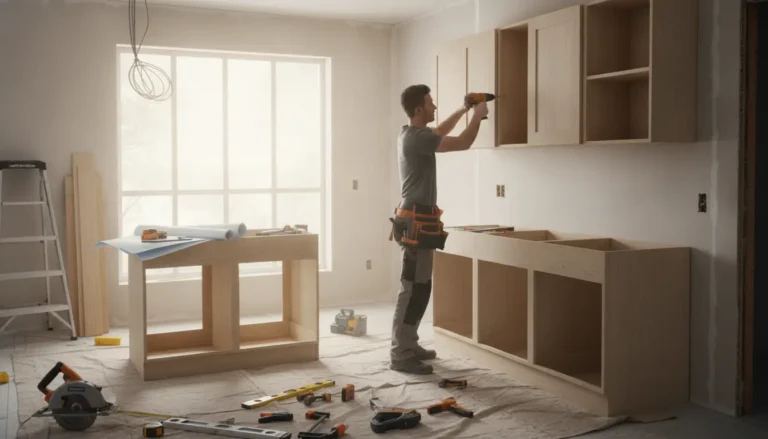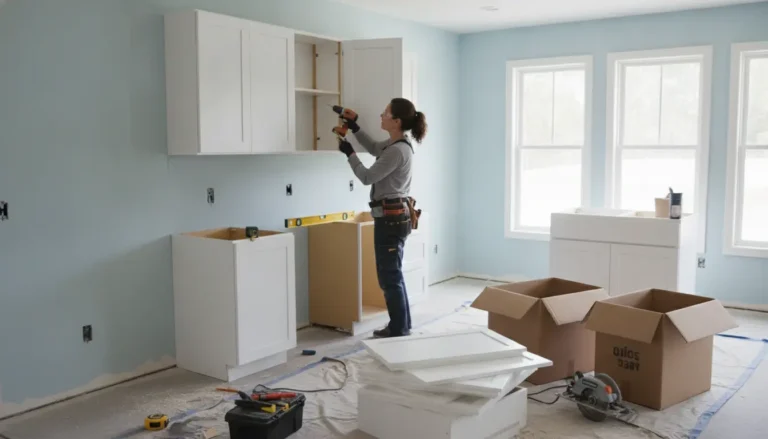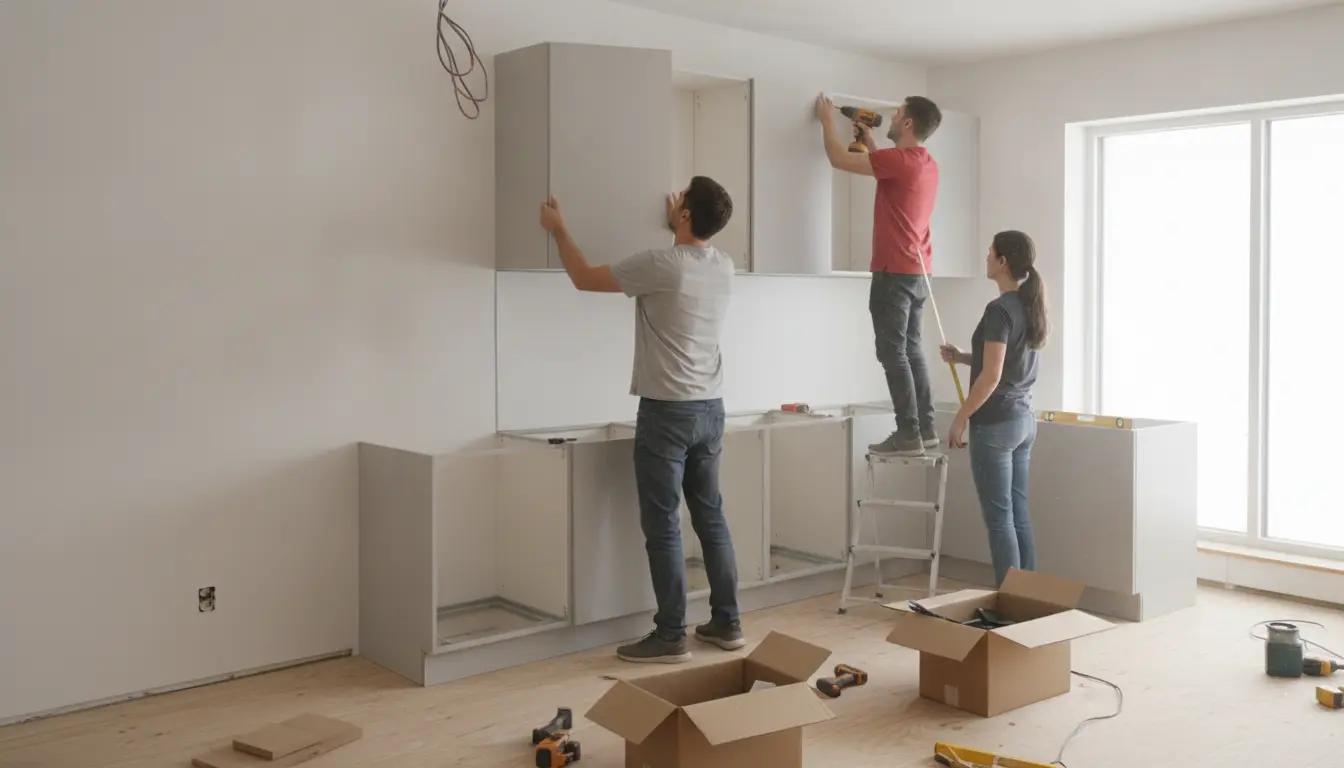
How to install kitchen cabinets correctly starts with a level plan, secure wall fixing, and the right order of work. This page gives you a practical, confidence-building guide for fitting base cabinets, wall cabinets, tall units, and finishing panels with fewer delays and cleaner results. Built around real installation scenarios, it helps homeowners decide what they can do themselves, where mistakes usually happen, and when expert cabinet installation is the smarter investment.
Start With a Cabinet Installation Plan That Protects Your Budget
Installing kitchen cabinets is one of the most visible parts of a kitchen project. If the cabinets are level, aligned, and securely fixed, the countertop fits better, doors open smoothly, appliances sit correctly, and the finished kitchen feels premium. If the first row is out of level, every following cabinet can magnify the problem.
Before you lift a cabinet, confirm the layout, measure the room, check the wall condition, and identify any pipes, cables, sockets, vents, or uneven floors. This is where many projects either become efficient or expensive. A careful plan helps you avoid buying the wrong filler panels, cutting decorative sides too short, or discovering too late that a dishwasher door cannot open fully.
If you are still comparing cabinet styles, sizes, or layouts, review the options on kitchen cabinets before installation day. A well-chosen cabinet system is easier to install and easier to enjoy every day.
Why Proper Installation Makes Such a Big Difference
A cabinet installation is not only about hanging boxes on a wall. It affects storage, safety, appearance, and long-term durability. Cabinets carry heavy dishes, cookware, pantry goods, stone worktops, sinks, and appliances. The fixings, brackets, screws, and supports must match the wall type and the load.
-
Cleaner alignment: Doors, drawer fronts, and reveal gaps look consistent when cabinets are carefully leveled and clamped before fastening.
-
Better countertop fit: A flat base cabinet run reduces gaps under laminate, wood, composite, or stone surfaces.
-
Safer wall units: Upper cabinets need secure fixing into suitable backing, studs, masonry, or approved anchors.
-
Fewer future adjustments: Correct installation reduces sagging, loose hinges, and doors that drift out of line.
-
Higher home appeal: Buyers and guests notice straight lines, flush panels, and smooth cabinet operation.
Think of installation as the foundation for everything that follows. A beautiful kitchen design can lose impact if the cabinets are poorly fitted. A more modest cabinet range, installed with precision, can look far more expensive than it is.
Tools and Preparation Before You Begin
Gather tools before the first cabinet enters the room. You will typically need a tape measure, long level, pencil, drill, drill bits for your wall type, clamps, stud finder, safety glasses, dust mask, screwdriver, shims, wall plugs, cabinet screws, brackets, and a saw for panels or service cut-outs. Manufacturer instructions should always guide the final fixing method.
Clear the room and protect the floor. If old cabinets are being removed, turn off water and power where necessary, then carefully disconnect appliances, sink plumbing, and lighting. Label any useful hardware and take photos before removal. Photos help when reinstalling similar features or explaining the project to a professional.
Check the walls and floor
Use a level to find the high point of the floor. Base cabinets should be installed from a reference line rather than blindly following an uneven floor. If the floor drops across the room, adjustable legs or shims help bring the cabinet run level. Check walls for bows or dips. A wall that curves outward can create gaps behind cabinets, while a hollow section may require extra backing.
Mark a reliable layout line
Mark the top height of the base cabinets on the wall, then confirm that this line is level across the run. Also mark appliance spaces, corner positions, sink center lines, and tall cabinet locations. For wall cabinets, mark the bottom line and the bracket or rail positions. A clear layout reduces guesswork while lifting heavy units.
How to Install Base Cabinets
Base cabinets usually set the rhythm for the entire kitchen. Start at a corner or at a tall cabinet if the design depends on that fixed position. Place the first unit, adjust the legs or shims, and check level from side to side and front to back. Do not rush this first cabinet. Every other cabinet will follow it.
Bring the next cabinet into position and clamp it to the first. Align the face frames or cabinet fronts carefully. Remove shelves or hinge plates if they block access to screw points. Drill pilot holes where recommended and join the cabinets together using suitable cabinet screws. Avoid over-tightening because it can distort the cabinet side or damage the material.
Once a short run is aligned, secure it to the wall using brackets, rails, or cabinet fixing points according to the cabinet system. Always use fixings suited to the wall construction. Masonry, plasterboard, timber studs, and older walls all need different approaches. Where plumbing enters a sink base, mark cut-outs precisely and cut neatly so the cabinet remains strong and tidy.
Practical scenario: an uneven floor
Imagine a kitchen where the floor drops slightly toward the exterior wall. If you place each cabinet directly on the floor without adjustment, the countertop will slope and cabinet doors will look uneven. Instead, locate the high point, set your level line, adjust legs, and use shims where needed. The toe kick can hide small height differences while the working surface remains straight.
How to Install Wall Cabinets Safely
Wall cabinets are usually easier to align when you have a helper. They are awkward to hold, and safety matters more than speed. Mark the bottom cabinet line and bracket positions. Use a stud finder or appropriate detector to check for studs, pipes, and cables before drilling. If using a hanging rail, ensure it is level and fixed securely across the correct points.
Lift the first wall cabinet slightly above the bracket or rail, then lower it into place. Check level and adjust using the cabinet adjustment blocks or mounting hardware. Continue with the next unit, clamp adjoining cabinets together, align the fronts, and fasten them to one another. Keep checking level as you go, especially across long runs.
For cabinets above a refrigerator, microwave, extractor, or oven tower, confirm appliance clearances before fixing. A few millimeters can decide whether a door opens properly or a trim panel fits cleanly. If your kitchen includes heavy upper cabinets or fragile wall construction, professional support is often worth it.
Finishing Panels, Fillers, Trim, and Door Alignment
The final look depends heavily on details. End panels cover exposed cabinet sides, fillers close gaps near walls, and trim gives the kitchen a built-in finish. Scribe panels carefully when walls are not perfectly straight. Cut slightly proud when possible, then refine the fit. Rushing filler pieces can make an otherwise precise installation look unfinished.
After cabinets are fixed, adjust hinges and drawer fronts. Most modern hinges allow small changes up, down, left, right, in, and out. Work methodically. Align one door with the cabinet box, then match the next door to it. For drawers, check reveals across the entire stack. Soft-close mechanisms should operate smoothly without rubbing.
DIY Installation Versus Professional Cabinet Fitting
DIY cabinet installation can be rewarding if you are patient, have the right tools, and the room is straightforward. It is often realistic for flat-pack base cabinets in a simple layout with level walls and floors. However, the project becomes more demanding when there are tall units, stone countertops, integrated appliances, hidden services, uneven walls, or complex corners.
Professional installation is usually the better choice when time, warranty, finish quality, and risk reduction matter. Experienced fitters know how to deal with out-of-square rooms, service cut-outs, filler alignment, heavy wall units, and cabinet-to-appliance clearances. They also work faster because they solve common problems every week.
If you want to understand the investment before deciding, compare typical ranges on kitchen cabinets cost. For a hands-off result, you can also explore professional kitchen cabinet installation and choose a route that balances budget, finish, and peace of mind.
What Homeowners Often Notice After a Quality Installation
Homeowners who invest in careful installation usually notice the benefits immediately. Doors close evenly. Drawers do not scrape. The countertop feels solid. Small gaps are controlled with tidy panels rather than random caulk. The kitchen looks intentional instead of assembled in a hurry.
In real renovation projects, the difference often appears in daily use. A family cooking every evening appreciates drawers that glide smoothly under load. A homeowner preparing to sell values the visual confidence of straight lines and clean appliance integration. A busy landlord benefits from durable fixing that reduces call-backs and repairs.
Common Mistakes to Avoid
-
Starting without a level reference: Floors are often uneven, even in newer homes.
-
Ignoring wall type: The wrong fixing can make wall cabinets unsafe.
-
Skipping clamps: Cabinets should be aligned and held firmly before fastening.
-
Over-tightening screws: This can crack material or pull cabinets out of square.
-
Forgetting appliances: Always check clearances for refrigerator doors, ovens, dishwashers, and handles.
-
Leaving panels until too late: End panels and fillers should be planned with the cabinet layout.
Ready to Get Cabinets That Fit the First Time?
If your project is simple, this guide can help you install with more confidence. If your kitchen has tricky walls, premium cabinets, heavy upper units, or expensive worktops, getting expert help can protect both your budget and your finish. The smartest next step is to assess your layout, confirm your cabinet system, and decide which parts you want to handle yourself.
For a kitchen that looks straight, works smoothly, and adds long-term value, choose careful planning over guesswork. Whether you install yourself or bring in a specialist, the goal is the same: cabinets that fit securely, align beautifully, and make the whole kitchen feel complete.
Learning how to install kitchen cabinets gives you more control over cost, quality, and timing. The key is a level layout, secure fixings, careful cabinet joining, and patient finishing. DIY can work well for simple projects, while professional fitting helps avoid costly errors in complex kitchens. Plan carefully, compare your options, and take the next step toward a kitchen that looks refined, functions smoothly, and lasts.
Frequently Asked Questions
Is How to install kitchen cabinets a realistic DIY project?
How to install kitchen cabinets can be realistic for confident DIYers with basic tools, a simple layout, and time to measure carefully. The project becomes harder with uneven floors, heavy wall cabinets, plumbing, integrated appliances, or expensive finishes. If mistakes would delay countertops or damage materials, professional fitting is usually the safer choice.
Should base cabinets or wall cabinets be installed first?
Many installers start with base cabinets because they establish the layout, appliance spaces, and countertop support. Others hang wall cabinets first to avoid working above newly fitted bases. The best order depends on access, cabinet weight, and room size. In either case, level reference lines and secure fixing points matter more than speed.
How do I handle uneven floors when installing kitchen cabinets?
Find the highest point of the floor and mark a level reference line around the wall. Set each base cabinet to that line using adjustable legs or shims, then secure the run only after the fronts and tops align. Toe kicks and trim can hide small floor differences while keeping the countertop level.
What fixings are needed for kitchen wall cabinets?
The correct fixings depend on the wall structure and cabinet system. Timber studs, masonry, and plasterboard require different anchors, screws, rails, or brackets. Always follow the manufacturer instructions and check for pipes or cables before drilling. Heavy wall cabinets should be fixed into strong structural points whenever possible.
When should I hire a professional for How to install kitchen cabinets?
Hire a professional if your kitchen has stone worktops, tall units, complex corners, fragile walls, hidden services, or tight appliance clearances. Expert fitters can solve alignment and support problems before they become expensive. Professional installation is also wise when you want warranty confidence, faster completion, and a polished final finish.
About the Author