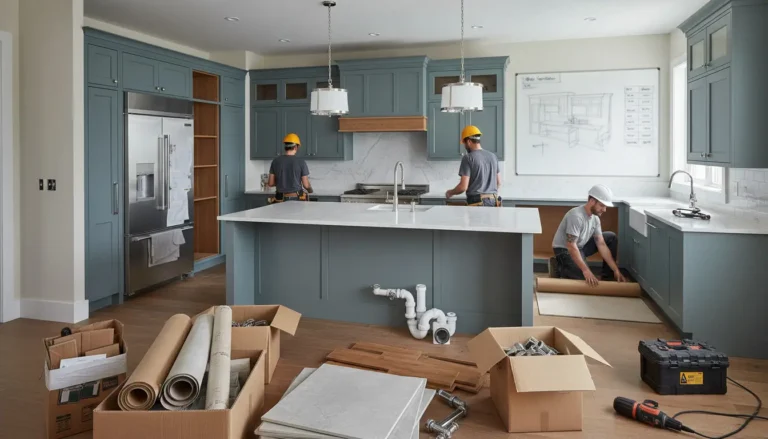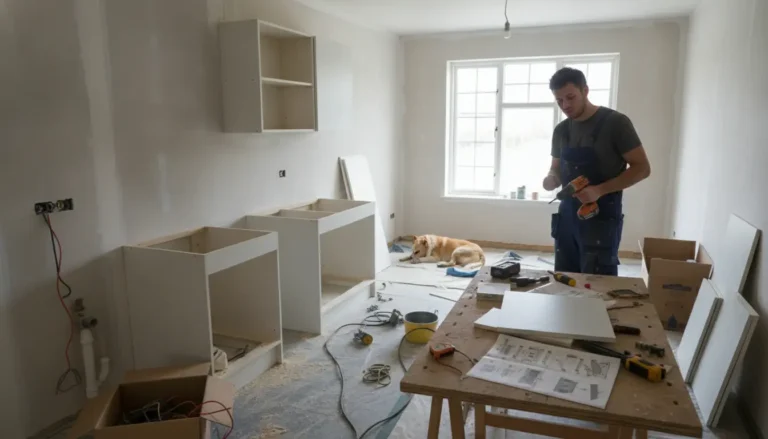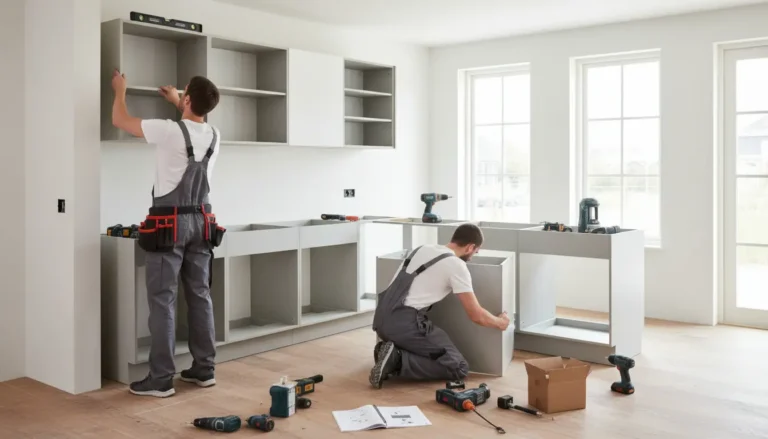

DIY kitchen installation gives you a practical way to reduce renovation costs while staying in control of the final finish. This page shows you how to plan, prepare, and fit your kitchen with confidence, from leveling cabinets to deciding when a specialist is worth bringing in. Built on real installation priorities and proven best practices, it helps you avoid costly mistakes, choose the right materials, and move from boxed cabinets to a kitchen that feels professionally finished.
Turn Your Kitchen Plan Into a Confident Installation
A successful kitchen fit does not begin when the first cabinet is screwed to the wall. It begins with a clear plan, accurate measurements, and a realistic view of your skills. DIY kitchen installation can be an excellent choice when you want to save on labor, understand every detail of your project, and create a kitchen that suits the way you actually cook, store, clean, and live.
The key is not to rush. Most problems in kitchen fitting come from small errors that multiply: a floor that is not checked, a wall unit that is slightly off level, a filler panel cut too short, or a worktop measured before base units are fixed in their final position. When you slow the process down and work in the right order, you make the installation easier, safer, and more predictable.
If you are still comparing layouts, cabinet styles, or renovation options, start with a broader planning resource such as DIY kitchen renovation guidance. A stronger plan makes every installation step simpler.
Why Homeowners Choose to Fit Their Own Kitchen
The most obvious reason is cost. Professional fitting can represent a large share of the total kitchen budget, especially when the project includes base cabinets, wall cabinets, tall units, panels, plinths, cornices, appliances, sinks, and worktops. By handling suitable tasks yourself, you can redirect money toward better cabinets, improved storage, premium hardware, better lighting, or durable work surfaces.
Cost saving is only one part of the value. A self-managed installation also gives you more control. You can spend extra time aligning doors, checking reveals, setting handle positions, and making sure filler panels follow the wall as neatly as possible. You decide when the finish is good enough, not someone working to a tight fitting schedule.
-
Lower labor costs: Keep more of your budget for materials, cabinets, and finishing details.
-
Better project control: Make careful decisions on alignment, trim, and cabinet placement.
-
Flexible timing: Work around deliveries, family life, and other trades.
-
Greater product knowledge: Understand how your kitchen is built, making future repairs easier.
-
Personal satisfaction: Enjoy a finished kitchen you helped create with your own hands.
Preparation Is Where the Best Results Are Made
Before you open every box and start moving units around, inspect the room. Check the floor level, wall straightness, corners, pipe positions, socket locations, extraction route, and the type of wall you are fixing into. A laser level is extremely helpful because it allows you to mark a consistent reference line around the room. A long spirit level is also valuable for checking runs of cabinets and confirming that your laser line makes sense in real conditions.
Measure more than once. Mark the planned top height of the base cabinets on the wall, allowing for the cabinet legs and the final worktop. Check whether tall units align with wall units. Confirm that appliance spaces are not too tight. Look at door swings, drawer clearances, corner access, and whether a handle might clash with a nearby wall or panel.
Tools That Make the Job Easier
You do not need a professional workshop, but you do need reliable tools. Poor cuts and weak fixings quickly affect the final look and safety of the kitchen. Invest in tools that help you work accurately rather than simply quickly.
-
Laser level and spirit level for consistent alignment.
-
Drill, driver, suitable wall plugs, and cabinet connector screws.
-
Clamps to hold cabinets together before fixing.
-
Fine-tooth saw blades for clean cuts on panels, pelmets, and plinths.
-
Jigsaw, circular saw, or track saw for controlled panel trimming.
-
Sealant, adhesive, and fixing blocks for finishing pieces.
-
Protective equipment, including eye protection and dust control.
Cabinet Installation: The Foundation of the Whole Kitchen
Cabinets must be level, plumb, square, and securely fixed. This is especially important if you plan to fit stone, quartz, or compact laminate worktops, because those surfaces depend on stable support. Even laminate worktops look better and last longer when the base units below them are perfectly aligned.
Many installers prefer to start with wall units so base cabinets are not in the way. Others begin with the base corner cabinet to establish the main run. The best choice depends on your layout, access, wall condition, and confidence. What matters is that you establish a level line and keep checking it as each unit is positioned.
When fixing wall cabinets, match the fixing method to the wall type. Solid masonry, timber studs, plasterboard, and dot-and-dab walls all need different approaches. Heavy wall units filled with plates and glassware require strong, appropriate fixings. If you are unsure about the wall structure, get advice before hanging cabinets above a work area.
Base cabinets are usually adjusted with their legs, then clamped and joined together. Fix them to the wall where appropriate, align the front edges, and check the top plane before moving on. A small dip or twist can create visible problems later when doors, drawers, plinths, and worktops are installed.
For more cabinet-specific fitting advice, explore kitchen cabinets installation tips before you begin cutting panels or drilling fixing points.
Finishing Details That Separate Good From Great
The visible finish often depends on the parts people underestimate: filler panels, end panels, cornice, pelmet, plinths, handles, knobs, and sealant lines. These details frame the kitchen and make the difference between a room that looks assembled and one that looks designed.
Filler panels are especially important where cabinets meet walls. Very few walls are perfectly straight, so gaps can vary from top to bottom. For the neatest result, scribing the panel to the wall profile is ideal. If the wall is nearly straight, a carefully measured straight cut may be acceptable, but never assume the gap is consistent without checking.
Handles and knobs deserve patience. A wrongly drilled door is frustrating and often expensive to replace. Use a template, test on scrap material if possible, and mark every position carefully. Stand back and confirm the visual line before drilling. On drawers, make sure handles sit comfortably for everyday use, not just symmetrically on paper.
Practical Scenario: A Slightly Uneven Floor
Imagine your floor drops slightly toward one corner. If you install each cabinet by simply following the floor, the worktop line will slope and appliances may not sit correctly. Instead, set a level reference line, raise or lower cabinet legs to match it, and keep checking the run as you go. The plinth can usually hide the variation at floor level, while the visible cabinet and worktop line stays crisp.
Practical Scenario: A Tricky Corner Cabinet
Corners often take longer than straight runs because posts, doors, fillers, and adjacent cabinets must work together. Do not cut the corner post until the neighboring units are positioned and checked. Dry-fit the pieces, open doors and drawers, confirm clearances, then cut. This extra time prevents awkward gaps and improves the final look.
When to Call in a Professional
DIY does not mean doing every task alone. The smartest homeowners choose where to save and where to spend. Electrical work, gas connections, major plumbing changes, and some worktop joints may need qualified trades. Heavy stone worktops, complex sink cut-outs, and precise corner joints are often worth outsourcing because mistakes can be costly.
A blended approach can deliver excellent value. You might assemble and fit cabinets yourself, then hire a specialist for worktop templating and installation. Or you may complete trim and doors after a plumber connects the sink. This approach keeps the project affordable while protecting the parts that require specialist tools, certification, or experience.
How DIY Installation Compares With a Full-Service Fit
A full-service installation is convenient. The fitter manages the practical sequence, handles difficult cuts, and usually completes the job faster. It is a strong option if you have limited time, little DIY experience, or a complex layout. However, it comes with higher labor costs and less hands-on control.
DIY kitchen installation is better suited to homeowners who are patient, practical, and willing to learn. It can take longer, but it allows you to put budget into quality cabinets, improved storage, or design upgrades. The best choice depends on your priorities: speed and convenience, or savings and involvement.
-
Choose DIY if your layout is straightforward, you have basic woodworking confidence, and you can work carefully.
-
Choose professional fitting if walls are difficult, services need moving, or the worktop is technically demanding.
-
Choose a hybrid route if you want to save money but still protect high-risk tasks.
Proof That Careful DIY Can Pay Off
Real homeowner experiences consistently highlight the same lessons: preparation matters, level cabinets are essential, and the right tools reduce stress. People who succeed with self-fitting usually spend extra time setting out the room, checking wall conditions, and test-fitting before making irreversible cuts. They also know when not to force a task beyond their skill level.
Visitors researching kitchen fitting often worry about whether the result will look professional. The honest answer is that it can, if you respect the process. Clean cuts, secure fixings, consistent gaps, aligned doors, and properly sealed edges are all achievable with patience. The difference is rarely luck; it is methodical checking.
Ready to Plan Your Installation?
If you want a kitchen that looks polished without losing control of your budget, start by mapping the work in stages: room checks, cabinet placement, fixing, panels, trim, doors, worktops, plumbing, appliances, and final adjustments. Break the project into manageable tasks and avoid treating installation as one huge job.
Before buying, compare cabinet quality, delivery details, dimensions, finishes, and installation requirements. If your cabinets are still undecided, browse kitchen cabinet options to align your design choices with your fitting plan. The right cabinets make installation easier and the finished kitchen more durable.
Your next step is simple: confirm your layout, check your room carefully, prepare the right tools, and decide which tasks you will complete yourself. With a clear plan and a measured approach, DIY kitchen installation can help you create a beautiful, functional kitchen while keeping more of your renovation budget where it belongs.
DIY kitchen installation can save money, improve project control, and give you a kitchen that feels genuinely tailored to your home. The best results come from accurate measuring, level cabinets, secure fixings, patient finishing, and knowing when to use a specialist. If you want a professional-looking kitchen without overspending, start planning your installation today and turn your renovation budget into lasting value.
Frequently Asked Questions
Is DIY kitchen installation realistic for beginners?
DIY kitchen installation can be realistic for careful beginners if the layout is simple and no major electrical, gas, or plumbing changes are required. The most important skills are measuring accurately, keeping cabinets level, drilling safely, and working patiently. For complex worktops, heavy wall units, or service connections, it is wise to bring in a qualified professional.
What is the hardest part of DIY kitchen installation?
The hardest part is usually getting everything level and aligned across the whole room. Uneven floors, slightly bowed walls, and awkward corners can make cabinet fitting slower than expected. Worktop joints, sink cut-outs, and filler panels also require precision. Taking time during setting out prevents many visible problems later in the project.
Can I save money by fitting kitchen cabinets myself?
Yes, fitting cabinets yourself can reduce labor costs significantly, especially in a straightforward kitchen. Many homeowners use the savings for better cabinets, improved storage, or upgraded finishes. The real value depends on your tools, available time, and confidence. Avoid false savings by hiring specialists for tasks where mistakes would be expensive or unsafe.
Do cabinets need to be perfectly level before worktops are fitted?
Yes, cabinets should be level, stable, and properly fixed before worktops are installed. Worktops depend on even support, and small cabinet errors can create gaps, stress points, or poor joints. Start with a reliable level reference line, adjust the cabinet legs carefully, and keep checking the run before securing everything permanently.
Which jobs should I not do during DIY kitchen installation?
Do not attempt regulated electrical work, gas connections, or major plumbing changes unless you are qualified. You may also want a specialist for stone worktops, precise corner joints, and complex appliance integration. A hybrid approach works well: complete suitable cabinet and trim tasks yourself, then pay professionals for high-risk technical work.
About the Author