How to properly install kitchen cabinets starts with a level plan, secure wall fastening, and the right order of work. This guide gives you a clear, professional approach for installing upper cabinets, base cabinets, tall units, corner cabinets, and island sections with fewer delays and cleaner results. Built from proven installation practices, it helps you avoid costly mistakes, protect your kitchen investment, and decide when expert support is the smarter choice.
Why Proper Cabinet Installation Changes the Entire Kitchen
Kitchen cabinets do more than hold plates and pantry items. They define the layout, carry the visual weight of the room, support countertops, and influence how smoothly the kitchen works every day. A cabinet that is slightly out of level can create uneven countertop seams, doors that swing open, drawers that rub, and gaps that are hard to hide later.
When cabinets are installed correctly, the benefits are immediate and long lasting. Doors align neatly, drawers glide properly, appliances fit as planned, and the finished kitchen feels custom rather than forced into place. Proper installation also protects your budget because it reduces the risk of cracked flooring, damaged panels, stripped screws, and expensive rework.
If you are still choosing cabinets before installation, compare construction quality, materials, and layout options through kitchen cabinets guidance before committing. The best installation starts with cabinets that suit your room, wall conditions, storage needs, and renovation goals.
Start With the Room, Not the Cabinets
The biggest installation mistake is assuming the room is square, level, and plumb. Most kitchens are not. Floors dip, walls bow, corners lean, and older homes often have surprising variations from one side of the room to the other. Before a single cabinet is lifted, map the space carefully.
Check the floor high point
Base cabinets should be installed from the highest point of the floor. Use a long level and measure several points around the room. The shortest measurement from your level reference line to the floor usually identifies the high point. Starting here allows the remaining cabinets to be shimmed upward so the tops meet one consistent level line.
Mark dependable layout lines
Create a level line for the top of the base cabinets, then mark a second line for the bottom of the upper cabinets. These lines become your installation roadmap. Do not rely only on the floor, ceiling, or existing backsplash because those surfaces can mislead you.
Locate and confirm studs
Cabinets must be fastened into wall studs, not just drywall. Use a stud finder, then confirm stud positions with small pilot holes where appropriate. Mark the stud locations on the wall and transfer them to the cabinet backs when needed. This step is especially important for heavy upper cabinets, pantry units, and wall cabinets that will hold dishes or glassware.
Prepare Tools, Materials, and the Work Area
A smooth installation depends on having the right tools ready before work begins. At minimum, prepare a long level, tape measure, drill, impact driver, stud finder, clamps, shims, cabinet screws, utility knife, pencil, and support cleat. A cabinet jack or a second person is strongly recommended for upper cabinets.
Clear the room as much as possible. Remove old cabinets, inspect the wall surface, and complete rough electrical, plumbing, venting, and lighting work before cabinets go in. If under cabinet lighting, a range hood, dishwasher, refrigerator panel, or pantry outlet is part of the plan, solve those details early. Once cabinets are secured, access becomes much harder.
For renovation planning, timing, and preparation, it can help to review a broader kitchen renovation checklist. Cabinet installation is often the stage where earlier planning either pays off or creates delays.
Install Upper Cabinets Before Base Cabinets
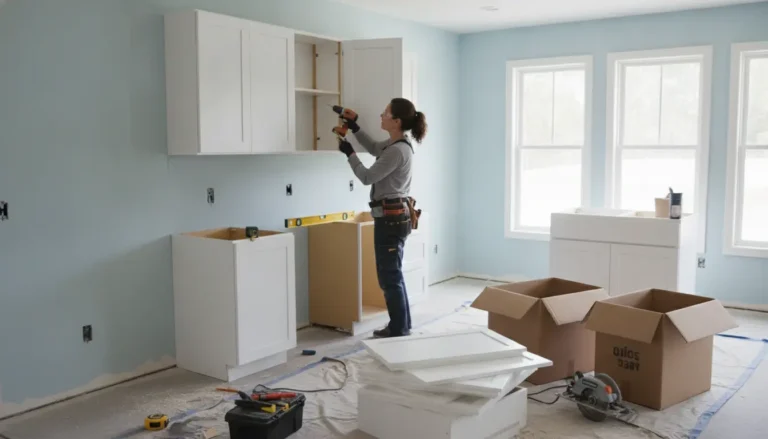
In most kitchens, upper cabinets should be installed before base cabinets. This gives you more floor space, easier ladder access, and less chance of damaging the base units while lifting wall cabinets. Remove cabinet doors, shelves, and drawers first to reduce weight. Label each part so it returns to the correct cabinet later.
Use a temporary support cleat
A straight support cleat fastened into studs just below the upper cabinet layout line can hold the weight while you position the cabinets. This is not a substitute for final fastening, but it makes alignment safer and more accurate.
Join face frames before lifting when practical
For framed cabinets, align neighboring face frames on the floor, clamp them together, drill pilot holes, and screw them together. This helps create a clean, flush front. If the cabinet run is too heavy, install smaller sections and connect them on the wall.
Fasten through shims into studs
Once an upper cabinet is resting on the cleat, check it for level and plumb. If the wall is uneven, insert shims behind the cabinet at stud locations before driving screws. Never pull a cabinet tight to a bowed wall without shims; that can twist the cabinet box and cause door alignment problems later.
Set Base Cabinets From the Corner Outward
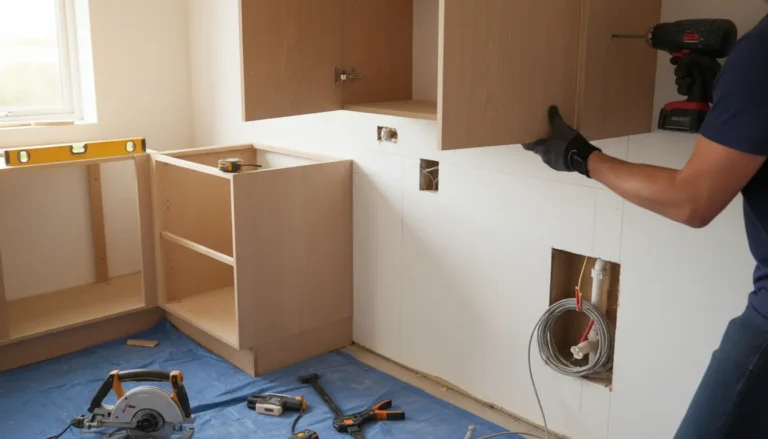
Base cabinets usually begin at a corner, especially if the design includes a corner cabinet, blind corner unit, or L shaped layout. Move the corner cabinet into position, raise it to the base layout line with shims, and check the face, sides, and top. When plumbing lines pass through the cabinet, mark and cut clean openings before fastening.
After the corner is set, work outward cabinet by cabinet. Clamp each new cabinet to the installed neighbor, align the face frames or front edges, and fasten the cabinets together before anchoring to the wall. At each stud location, place shims between the wall and cabinet back if a gap exists. This prevents the cabinet from racking when screws are tightened.
For example, imagine a sink base next to a dishwasher opening. If the sink base is not plumb, the dishwasher gap may become too tight at the top and too wide at the bottom. Correcting the cabinet first protects the appliance fit and avoids frustration at the final stage.
Handle Tall Cabinets, Refrigerator Panels, and Islands Carefully
Tall pantry cabinets and refrigerator panels require extra attention because their height makes even slight misalignment obvious. Set these units plumb on both sides and verify that appliance openings match manufacturer requirements. Leave the correct clearances for door swing, ventilation, and trim panels.
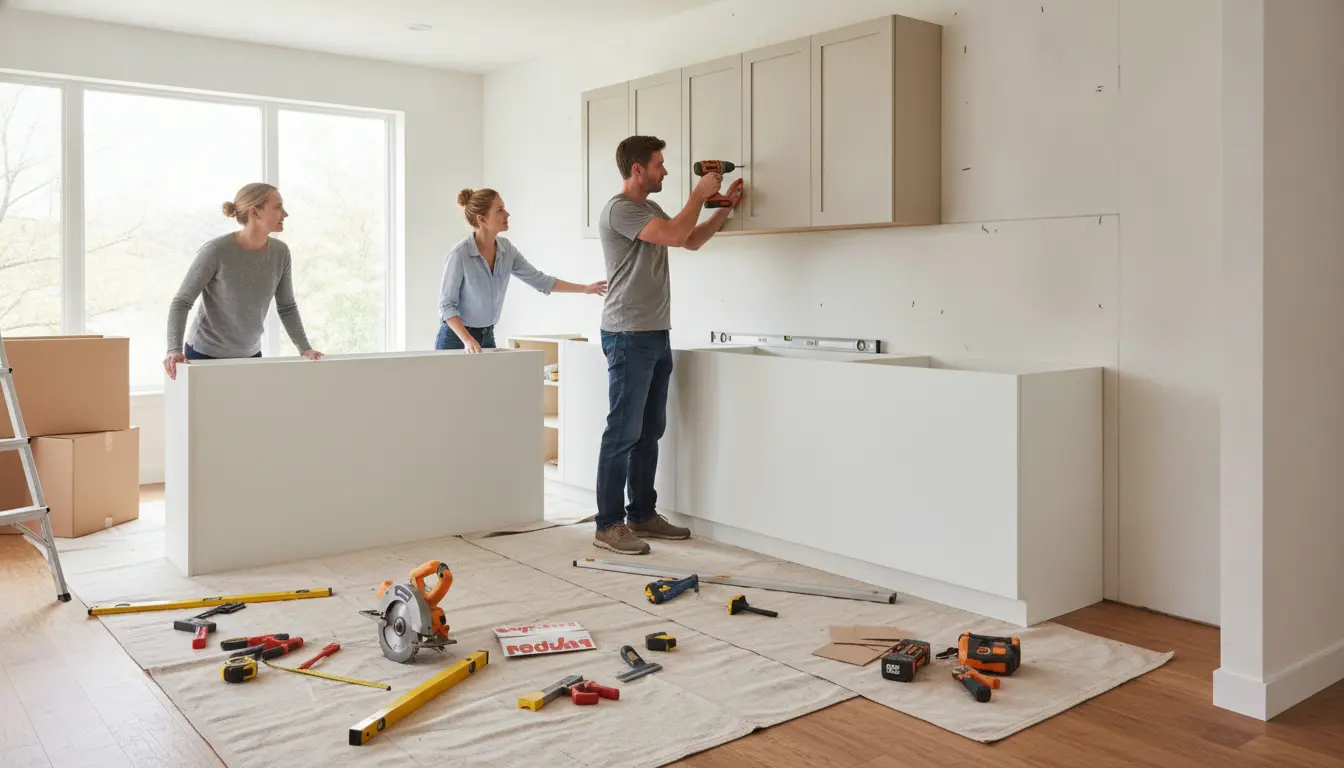
Kitchen islands are different because they are not fastened to a wall. They must be anchored securely to the floor using proper blocking, cleats, or manufacturer approved brackets. Before fastening an island, confirm walkway clearances, cabinet orientation, electrical requirements, and countertop overhang. A small shift at this stage can affect seating comfort and appliance access.
If your project includes an island, specialty cabinets, or built in panels, professional measurement is often worth it. A specialist can identify floor variation, service conflicts, and clearance issues before installation begins.
DIY Installation Compared With Professional Installation
A careful DIY installer can achieve strong results, especially in a simple straight run with standard cabinets and clear walls. The main advantages are labor savings, scheduling control, and hands on satisfaction. However, the work takes patience, accurate measuring, and confidence with structural fastening.
Professional installation is often the better choice when the kitchen includes tall units, stone countertops, uneven walls, complex corners, integrated appliances, lighting, or custom cabinetry. A professional team works faster, carries specialized tools, and understands how to solve unexpected wall and floor problems without compromising the finished look.
The decision should not be based only on labor cost. Consider the value of the cabinets, the cost of the countertop, and the consequences of a mistake. If you want help comparing installation routes, review kitchen cabinet installation options before you start.
Details That Make the Finish Look Professional
The final impression comes from details. Reinstall doors and drawers only after the cabinet boxes are secure. Adjust hinges so door reveals are even. Fine tune drawer fronts so horizontal lines remain consistent across the run. Trim visible gaps with scribed filler strips, end panels, crown molding, light rail, or toe kick material.
- Use color matched filler where cabinets meet uneven walls.
- Cut toe kick trim after cabinets are fully secured.
- Check appliance openings again before countertops are templated.
- Protect installed cabinets from dust, tools, and countertop work.
- Clean surfaces with mild products rather than abrasive cleaners.
One common scenario is a wall cabinet ending against a slightly wavy plaster wall. Instead of forcing the cabinet tight and distorting the box, leave the cabinet true and use a scribed filler. The result looks intentional, and the cabinet continues to function properly.
Confidence Comes From Process
Homeowners and installers consistently find that the best cabinet projects follow the same rhythm: plan, measure, mark, shim, fasten, verify, and finish. Skipping one of these steps usually creates more work later. Taking extra time with layout lines and shims may feel slow at first, but it saves hours when doors, drawers, countertops, and appliances are added.
If you want a kitchen that looks aligned, feels solid, and performs well for years, treat cabinet installation as precision work rather than simple assembly. Measure twice, lift safely, fasten into structure, and ask for expert help when the layout becomes complex.
Ready to move from planning to a secure, polished installation? Use this guide as your checklist, compare your cabinet and installation options, and choose the level of support that protects both your budget and your finished kitchen.
Install With Precision, Finish With Confidence
Proper kitchen cabinet installation gives you stronger storage, cleaner lines, better appliance fit, and a kitchen that feels professionally finished. By starting with accurate layout lines, fastening into studs, using shims correctly, and finishing with careful adjustments, you avoid the most common costly mistakes. If you want dependable results without guesswork, plan your installation carefully or speak with a cabinet installation expert before work begins.
Frequently Asked Questions
What is the most important step in How to properly install kitchen cabinets?
The most important step is creating accurate level layout lines before any cabinet is fastened. These lines guide the position of upper and base cabinets, even when the floor or walls are uneven. Once the layout is correct, shimming and fastening into studs becomes much more reliable.
Should I install upper or base cabinets first?
Upper cabinets are usually installed first because the floor area stays open and you have better access for lifting, leveling, and fastening. Removing doors and shelves reduces weight. A temporary support cleat or cabinet jack helps hold the cabinets safely while you secure them into wall studs.
Can I install kitchen cabinets myself, or should I hire a professional?
You can install cabinets yourself if the layout is simple, the walls are manageable, and you are comfortable measuring, drilling, shimming, and lifting heavy units. Hire a professional for complex corners, tall cabinets, integrated appliances, island anchoring, expensive materials, or when mistakes could affect countertops and final finishes.
How do I prevent gaps between cabinets and uneven walls?
Do not force cabinets to follow a crooked wall. Keep the cabinet boxes level and plumb, then use shims behind fastening points and scribed filler strips where visible gaps remain. This keeps the cabinet structure square while creating a clean finished appearance against imperfect walls.
What tools are needed for How to properly install kitchen cabinets?
Essential tools include a long level, tape measure, stud finder, drill, impact driver, clamps, shims, cabinet screws, pencil, utility knife, and a support cleat. For upper cabinets, a second person or cabinet jack is strongly recommended. Better tools improve safety, accuracy, and final alignment.
About the Author