How to install tall kitchen cabinets is exactly what this guide explains: a clear, reliable method for placing pantry cabinets, oven towers, and full height storage units securely and neatly. You will learn how to plan the layout, locate studs, level the cabinet, fasten it safely, and avoid costly mistakes. With practical installer tips and smart buying guidance, this page helps you move from uncertainty to a confident kitchen upgrade.
Start With a Cabinet Plan That Prevents Expensive Mistakes
Tall kitchen cabinets can transform a room because they add vertical storage, create a built in look, and make the kitchen feel more organized. They also demand more precision than base cabinets because their height makes every small error more visible. A cabinet that is slightly out of plumb can leave an uneven reveal next to a wall, a door that swings poorly, or a gap at the ceiling line.
Before installation, confirm the final position of the tall cabinet in relation to nearby base cabinets, countertops, appliances, trim, lighting, and doors. If the cabinet will sit beside a refrigerator, allow room for door swing and ventilation. If it is a pantry cabinet near a walkway, check that opened doors do not block movement. If it is an oven tower, confirm that the electrical supply and appliance dimensions match the cabinet opening.
A good plan should answer these questions before a single screw goes into the wall:
- Is the wall straight enough for a tall cabinet, or will shims be needed?
- Where are the studs behind the cabinet?
- Does the floor slope from side to side or front to back?
- Will crown molding, filler strips, or side panels be required?
- Can the cabinet be moved into the kitchen without damaging ceilings, door frames, or flooring?
If you are still choosing the right units, explore kitchen cabinets to compare styles, finishes, and storage options before committing to a final layout.
Gather the Right Tools and Prepare the Work Area
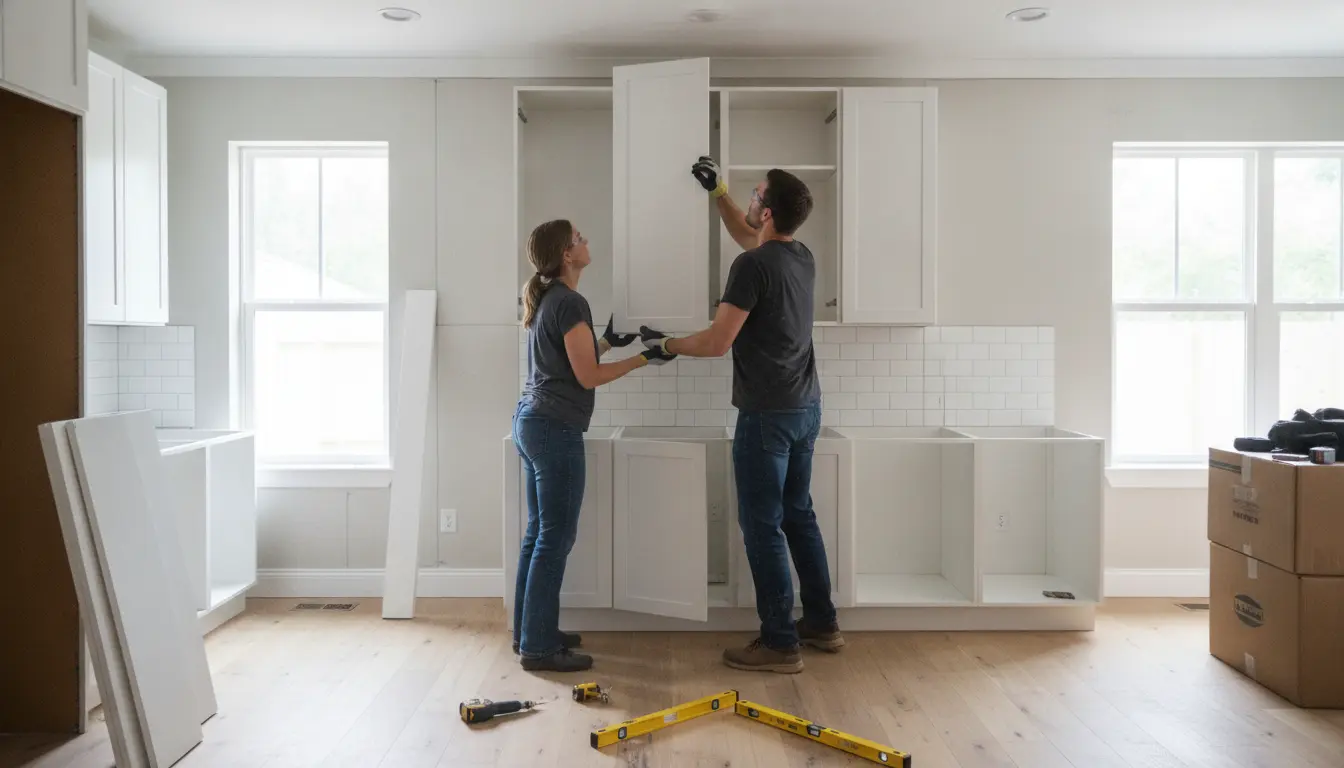
Successful installation depends on preparation. Clear the kitchen, protect the floor, and remove obstacles that make handling a tall cabinet unsafe. Tall units are heavy and awkward, so plan to work with a helper. Even a lightweight cabinet can twist or fall if it is lifted alone.
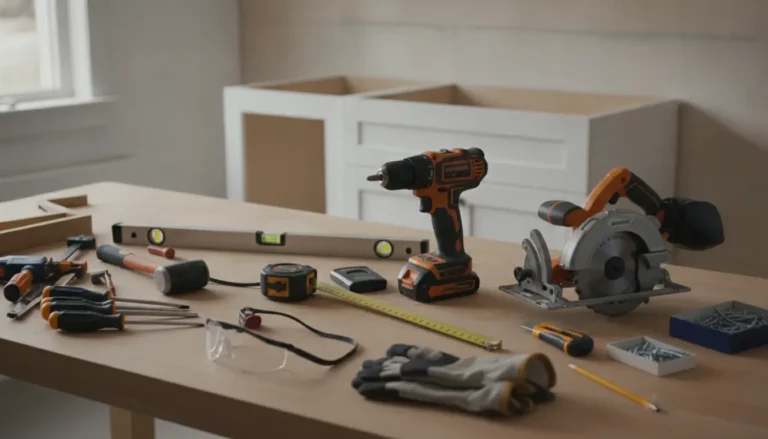
Useful tools include a stud finder, long level, tape measure, pencil, drill, driver bits, clamps, cabinet screws, shims, safety glasses, and a straightedge. A laser level can make the process easier, especially in older homes where floors and walls are rarely perfect. Keep the cabinet doors, drawers, and adjustable shelves removed during installation. This reduces weight, improves access, and protects the finish.
Mark the cabinet location on the wall and floor. Then use a stud finder to locate studs, marking each stud line where it will remain visible after the cabinet is moved into position. Do not rely on drywall alone. Tall cabinets should be fixed into structural framing, especially when they will store food, cookware, appliances, or cleaning supplies.
Check Floor Level Before Positioning the Cabinet
The floor is often the hidden reason tall cabinet installation becomes frustrating. A cabinet can be perfectly manufactured and still look wrong if the floor slopes. Set a long level along the cabinet footprint. Check both side to side and front to back. If the floor is uneven, plan shim placement before lifting the cabinet into position.
For example, imagine installing a tall pantry at the end of a cabinet run. The left side sits slightly lower because the floor slopes toward a doorway. If you fasten the cabinet without correcting that difference, the top will lean, the doors may not align, and the adjacent base cabinet reveal will look inconsistent. By placing shims under the low side first, you create a level starting point and a cleaner finished result.
Do not force the cabinet to follow an uneven wall or floor. The goal is to make the cabinet plumb, level, and square, then use trim, fillers, or caulkable gaps to handle surrounding imperfections.
Position, Level, and Plumb the Tall Cabinet
Move the cabinet into place carefully. Keep it slightly away from the wall while you check alignment, then slide it into its final position. Place the level on the front face, side panel, and inside back. Adjust with shims until the cabinet is plumb from front to back and side to side. Small adjustments now are far easier than correcting door alignment later.
If the tall cabinet sits beside another cabinet, clamp the face frames together once both units are aligned. Check the top and bottom reveals before fastening. Drill pilot holes where needed to avoid splitting the material. Fasten adjacent cabinets through the face frame or structural side area according to the cabinet design.
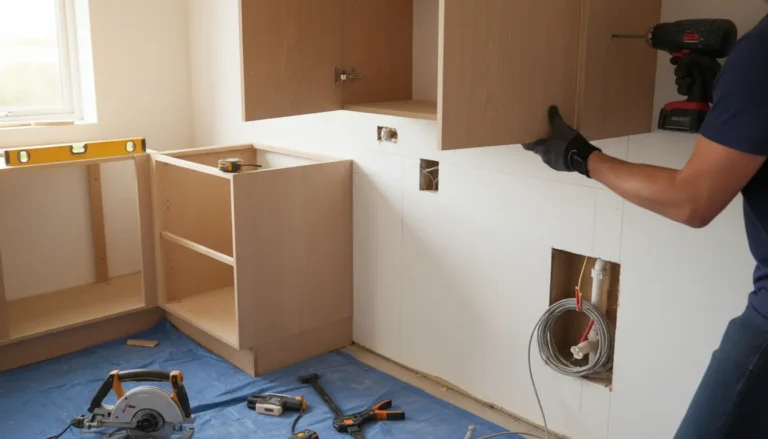
When the cabinet is correctly positioned, secure it to the wall studs. Use cabinet grade screws long enough to reach the framing. Place screws through the strongest rail or hanging strip, not through a thin back panel alone. Tighten gradually and avoid overdriving, which can pull the cabinet out of alignment or damage the material.
Why Tall Cabinets Are Worth Installing Properly
A well installed tall cabinet offers more than storage. It can make the whole kitchen feel custom built. Pantry cabinets keep dry goods in one accessible place. Utility cabinets can hide cleaning products, brooms, and small appliances. Oven towers can improve ergonomics by raising heavy appliances to a more comfortable height.
Proper installation also protects your investment. Doors close more smoothly, hinges remain easier to adjust, and shelves carry weight more safely. When the cabinet is plumb and anchored correctly, daily use feels solid instead of shaky. That sense of quality matters whether you are renovating for your own comfort or preparing a home for resale.
Homeowners often notice the biggest difference in small kitchens. A tall cabinet can replace scattered storage with one vertical solution, freeing up wall space and reducing countertop clutter. In open plan kitchens, a full height cabinet can also frame the room and create a more finished transition between cooking, dining, and living areas.
What Makes a Better Installation Experience
The best results come from combining sturdy products with careful installation. Look for cabinets with strong boxes, durable hinges, adjustable shelving, and finishes that suit your lifestyle. A busy family kitchen may benefit from easy clean surfaces and pull out organizers, while a design focused kitchen may prioritize seamless panels, handleless doors, or rich wood tones.
It also helps to choose cabinet sizes that match your ceiling height and appliance plan. If you want a fully built in appearance, plan filler pieces and crown details early. If your ceiling is uneven, a small top gap with trim may look cleaner than forcing a cabinet to meet the ceiling everywhere.
For broader project planning, the kitchen installation guide can help you understand how tall cabinet placement fits into the full installation sequence, from base units to finishing details.
DIY Installation or Professional Help?
Many confident homeowners can install a single tall pantry cabinet with the right tools, enough time, and a reliable helper. DIY can be a smart choice when the floor is reasonably level, the wall studs are easy to locate, and the cabinet is not supporting a built in appliance.
Professional installation is often the better choice when the project includes multiple tall units, integrated appliances, uneven walls, luxury finishes, or custom panels. An installer can scribe fillers, manage tricky wall conditions, and align the cabinet run so the finished kitchen looks intentional rather than improvised.
Consider these common scenarios:
- Single pantry replacement: A practical DIY project if measurements match and the wall structure is clear.
- Oven tower installation: Better suited to professional coordination because electrical, ventilation, and appliance fit are critical.
- Full renovation: Professional support can save time and reduce the risk of layout errors.
- Older home with uneven surfaces: Skilled scribing and leveling can make a major visual difference.
Common Errors to Avoid
One of the most common mistakes is fastening the cabinet before checking plumb and level in every direction. Another is assuming that a wall is straight because it looks straight. Drywall can bow, corners can lean, and floors can dip. Tall cabinets reveal these imperfections quickly.
Avoid using short screws, weak anchors, or random fixing points. The cabinet must be secured into studs or appropriate structural backing. Also avoid leaving doors and shelves in place during installation. The added weight makes the cabinet harder to control and increases the chance of scratches or hinge strain.
Do not skip the dry fit. Set the cabinet in position, test door swing, check appliance clearances, and confirm filler requirements before final fastening. A dry fit can reveal issues while they are still easy to solve.
How to Finish the Installation for a Built In Look
Once the cabinet is secured, reinstall shelves, drawers, and doors. Adjust hinges so the door gaps are even. Add toe kick, side panels, fillers, or crown molding as planned. If the cabinet meets a wall, a scribed filler can hide uneven gaps and create a polished transition. If the cabinet stands at the end of a run, a finished side panel may be essential for a premium appearance.
After installation, test the cabinet under normal use. Open and close the doors several times. Load shelves gradually rather than placing heavy items on one side immediately. Recheck the alignment after the cabinet has settled. Small hinge adjustments can make the final result look far more refined.
Ready to Upgrade With Confidence?
If you want a kitchen that feels organized, durable, and tailored to your home, tall cabinets are one of the most effective upgrades. The key is choosing the right cabinet and installing it with patience. When you are ready to compare options, review where to buy kitchen cabinets and choose a solution that matches your layout, budget, and design goals.
Whether you install the cabinet yourself or bring in a professional, the smartest next step is to plan carefully, measure twice, and use installation methods that protect both the cabinet and your home.
Installing tall kitchen cabinets the right way gives you safer storage, cleaner lines, better door alignment, and a more valuable kitchen upgrade. With careful measuring, stud fixing, leveling, and finishing, your cabinet can look built in instead of simply placed against a wall. If you want a result that feels solid every day, choose quality cabinets, plan the details, and start your installation with confidence today.
Frequently Asked Questions
Can I learn how to install tall kitchen cabinets without hiring a professional?
Yes, you can learn how to install tall kitchen cabinets if the project is simple, the cabinet is not appliance based, and you have a helper. You need accurate measuring, stud locations, a long level, shims, and proper cabinet screws. If walls are uneven or the cabinet is part of a full renovation, professional help is safer.
Should tall kitchen cabinets be installed before base cabinets?
In many kitchens, tall cabinets are positioned early because they define the end of a cabinet run and affect appliance spacing. However, the best sequence depends on the layout. Dry fit everything first, confirm clearances, and make sure the tall cabinet aligns with nearby base and wall cabinets before final fastening.
How do I secure a tall cabinet so it will not tip?
Secure the cabinet through its strongest back rail or structural fixing area directly into wall studs. Drywall alone is not enough for a loaded pantry or tower cabinet. Use suitable cabinet screws, check plumb before tightening, and avoid overdriving. A properly anchored cabinet should feel stable before shelves and doors are reinstalled.
What if my floor is not level when installing a tall cabinet?
If the floor is not level, use shims under the low points until the cabinet stands level and plumb. Never fasten the cabinet while it is leaning, because the doors may not align and gaps will look uneven. Once the cabinet is secure, trim excess shim material and cover exposed areas with toe kick or trim.
What tools do I need for how to install tall kitchen cabinets correctly?
For how to install tall kitchen cabinets correctly, you typically need a stud finder, long level, tape measure, drill, driver bits, clamps, shims, pencil, straightedge, safety glasses, and cabinet screws. A laser level is helpful for larger projects. Removing doors and shelves before lifting also makes the work safer and more accurate.
About the Author