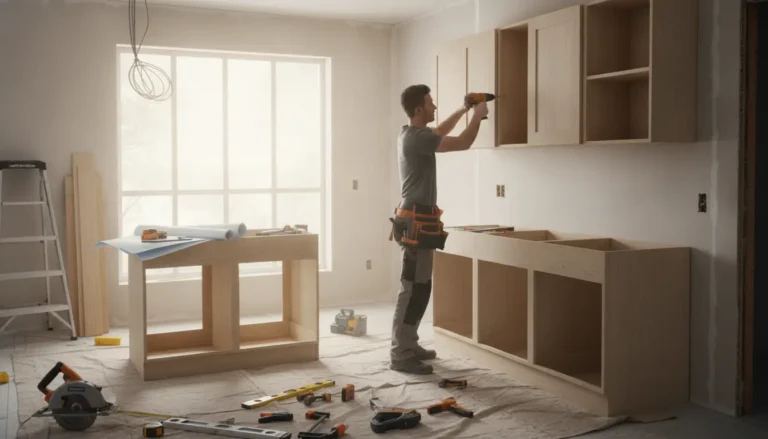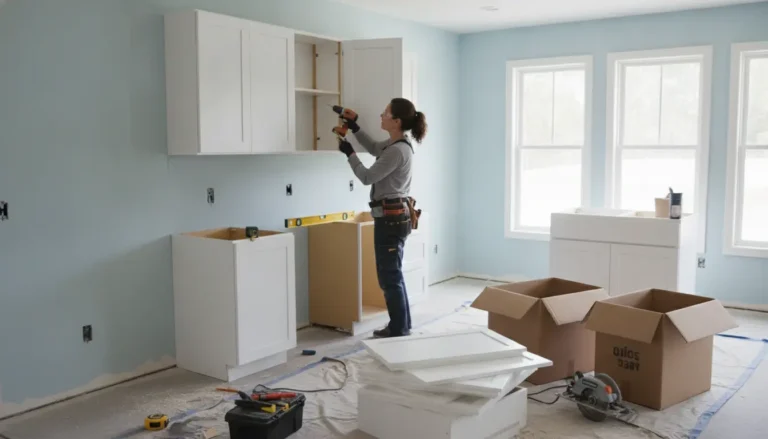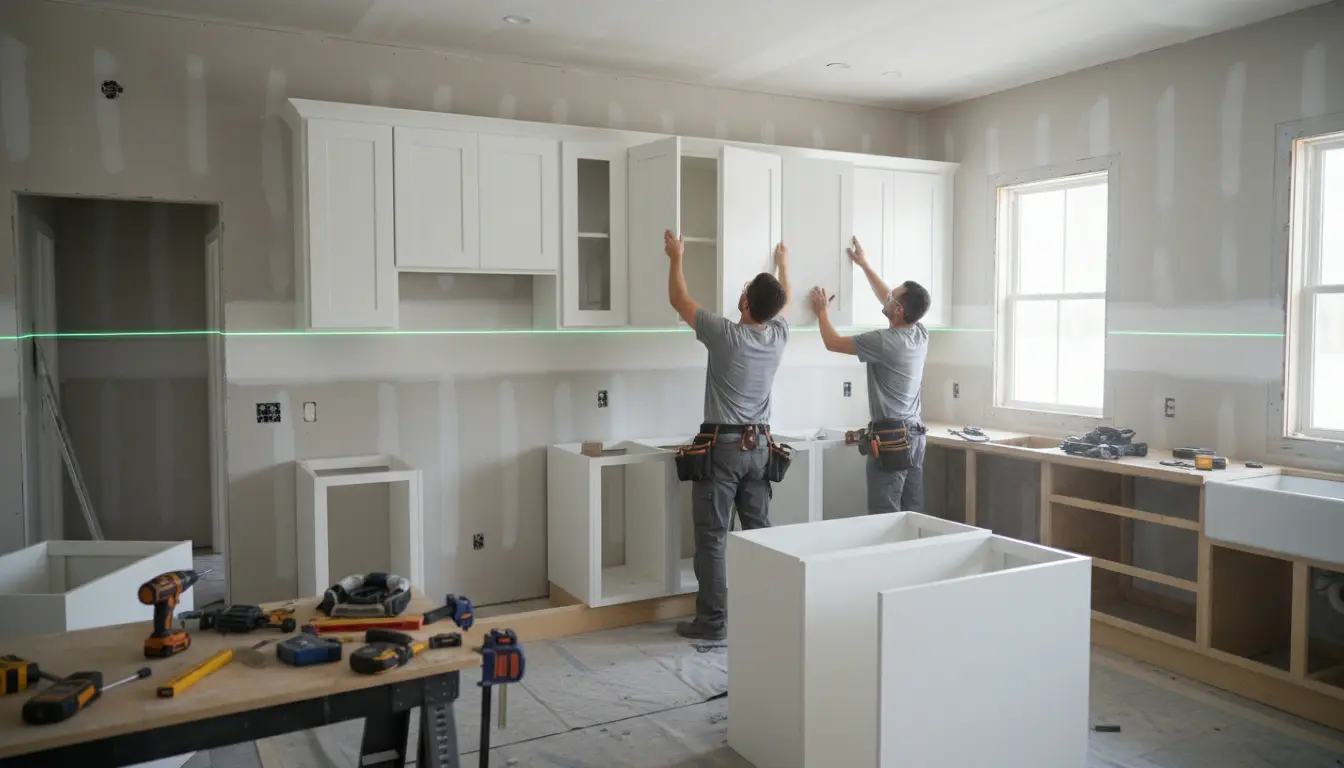
How to install upper kitchen cabinets is easier when you follow a clear, proven sequence: plan the layout, find the studs, set a level reference line, secure the cabinet boxes, and fine tune the doors. This guide gives you practical, installer style steps that help you avoid crooked frames, weak fixings, and frustrating gaps. Whether you are upgrading one wall or completing a full kitchen renovation, you will learn how to create a safer, cleaner, and more professional finish.
Start With a Plan That Prevents Costly Mistakes
Upper kitchen cabinets carry daily weight, sit at eye level, and visually define the entire kitchen. A small error in height, alignment, or wall fixing can become obvious once the doors are fitted and the countertop is installed. That is why the best installation starts before you lift a cabinet.
Begin by confirming the cabinet layout, appliance positions, ceiling height, extractor location, lighting, and any wall services. If you are still choosing cabinet sizes or planning a new layout, review practical options for kitchen cabinets before you install. A well chosen cabinet run is easier to hang, easier to align, and more useful in daily life.
Check the wall surface carefully. Drywall, masonry, plaster, and tile all need the correct fixings. Never rely on drywall alone for heavy wall cabinets. Upper cabinets should be fixed into studs, a secure rail system, or appropriate structural backing. If the wall feels uneven, use a long level or straight board to identify high and low spots before you begin.
Tools and Materials That Make the Job Easier
The right tools improve accuracy and reduce installation time. You do not need a workshop full of equipment, but you do need reliable measuring and fixing tools.
-
Laser level or spirit level for accurate horizontal lines.
-
Stud finder for locating secure fixing points.
-
Tape measure, pencil, and square for layout marks.
-
Drill driver with suitable bits for the wall type.
-
Cabinet screws, washers, shims, and wall plugs where appropriate.
-
Clamps for pulling face frames or cabinet sides flush.
-
Temporary support rail, ledger board, or cabinet lift for safer positioning.
-
Protective eyewear and gloves for drilling and handling cabinet boxes.
For a smoother project, remove cabinet doors and shelves before lifting. This makes each unit lighter, protects the fronts from damage, and gives you better access when driving screws through the back rail.
Set the Cabinet Height and Reference Line
A level reference line is the foundation of a clean installation. Most upper cabinets are positioned above the countertop with enough working space for food preparation and small appliances. The exact height can vary depending on cabinet size, ceiling height, backsplash plans, and user comfort.
Mark the bottom position of the upper cabinets on the wall. Use a laser level or long spirit level to carry that line across the full run. Then mark the top fixing line according to the cabinet construction. If you are fitting several cabinets together, this line helps keep every box aligned instead of chasing each cabinet separately.
For example, in a compact apartment kitchen, you may want the cabinet bottoms slightly higher to create a more open feel above the worktop. In a family kitchen with tall users, a higher mounting position may be more comfortable. In a rental renovation, standard heights often help future appliance and backsplash replacements fit more easily.
If you are unsure about heights, clearances, and cabinet proportions, compare your plan with detailed guidance on kitchen cabinet dimensions. Better measurements now mean fewer adjustments later.
Find Studs and Confirm Strong Fixing Points
Stud location is one of the most important parts of upper cabinet installation. Use a stud finder, then confirm the position by probing carefully or checking existing electrical box alignment. Mark each stud above and below the cabinet area so you can see the fixing path when the cabinet is held in place.
Cabinet screws should pass through the cabinet hanging rail and into solid structure. Where studs do not fall in ideal locations, you may need a continuous mounting rail, blocking behind the wall, or approved heavy duty fixings suitable for the wall type. When in doubt, choose stronger support rather than hoping the cabinet will hold.
This is especially important for cabinets that will store plates, glassware, or pantry items. A cabinet that feels secure when empty may be under serious strain once fully loaded.
Join Cabinets Before Lifting When It Makes Sense
For a straight run of several cabinets, joining units on the floor can improve alignment. Place the cabinets face down or upright on a protected surface, clamp adjoining frames or sides together, and check that the front edges are flush. Drill pilot holes where needed and fasten the cabinets together with suitable screws.
This method works well when you have enough help to lift the joined section safely. It reduces the chance of uneven face frames and creates a cleaner line across the cabinet fronts. However, for heavy cabinets, tight corners, or awkward rooms, hanging one cabinet at a time may be safer and more practical.
Use a Temporary Support for Safer Installation
A temporary ledger board or support rail can carry the cabinet weight while you secure the boxes. Fix the support along the bottom reference line, making sure it is level and anchored into studs. Rest the cabinet on the support, check plumb and level, then drive screws through the hanging rail into the studs.
If you are working without a second person, consider using a cabinet lift. Upper cabinets are bulky, and trying to hold one in position while drilling can lead to injury, wall damage, or poor alignment. Safety and accuracy are closely connected during this step.
Hang the First Cabinet With Extra Care
The first cabinet sets the standard for the whole run. Start at a corner if your layout includes one, or begin with the cabinet that anchors the longest straight section. Lift it into place, rest it on the support, and check level across the front, side, and bottom.
Use shims behind the cabinet if the wall is not perfectly flat. Do not force the cabinet to follow a wavy wall, because that can twist the box and cause doors to sit unevenly. Once the cabinet is level and plumb, fasten it securely into the marked studs. Recheck after the first screws are driven, then add the remaining fixings.
Add the Next Cabinets and Keep the Fronts Flush
Position the next cabinet against the first. Clamp the front edges together so the faces align. Check level, plumb, and flush before fastening the cabinets to each other and then to the wall. This sequence gives you better control than fastening everything to the wall first and trying to correct gaps afterward.
Repeat the process along the run. Keep stepping back to view the line from across the room. A level may say the cabinet is correct, but your eye will also notice door spacing, shadow lines, and how the cabinets relate to windows, tiles, or the ceiling.
Compare Rail Systems, Brackets, and Direct Fixing
Different cabinet systems use different installation methods. A metal rail system can be fast, adjustable, and useful on long runs. Brackets often allow small height and depth adjustments after hanging. Direct fixing through the cabinet rail is common, strong, and straightforward when studs are well positioned.
-
Rail systems: Good for speed and alignment, especially with modular cabinets.
-
Adjustable brackets: Helpful when small corrections are needed after lifting.
-
Direct fixing: Simple and strong when cabinet backs and wall structure are suitable.
The best method depends on cabinet design, wall construction, and your confidence level. If you want expert support, a specialist service for kitchen upper cabinet installation can help you avoid structural and alignment issues.
Fine Tune Doors, Gaps, and Finishing Details
After the boxes are secure, reinstall shelves and doors. Adjust hinges so the doors sit evenly, close smoothly, and reveal consistent gaps. Most modern hinges allow side to side, in and out, and up and down adjustment. Make small changes and check the full cabinet run before moving on.
Add side panels, fillers, crown trim, or light rails as needed. Fill small gaps with matching trim rather than excessive caulk. If under cabinet lighting is part of the design, plan wiring and placement before the final panels are fixed.
Why a Careful Installation Pays Off
A precise upper cabinet installation offers more than a neat appearance. It improves everyday function, protects your investment, and makes the kitchen feel more custom. Doors close properly, shelves remain stable, and the cabinet run looks intentional rather than improvised.
Homeowners often notice the difference most in real daily use: mugs are easier to reach, plates feel secure, lighting sits evenly, and the room looks calmer. Installers also know that a level upper cabinet run makes later steps easier, including backsplash fitting, trim work, and extractor alignment.
When to Do It Yourself and When to Call a Professional
A confident DIY installer can hang upper cabinets successfully with planning, patience, and help for lifting. This is a realistic project if the walls are straightforward, the cabinets are standard, and the layout is simple.
Professional help is worth considering when walls are masonry, studs are irregular, cabinets are oversized, ceilings are sloped, or the kitchen includes expensive custom finishes. It is also a smart choice if you need the project finished quickly with minimal risk.
If your goal is a kitchen that looks fitted rather than merely attached, do not rush the measuring stage. The difference between average and excellent installation often comes down to reference lines, shims, and the patience to correct small issues before they become visible problems.
Ready to Install With Confidence?
Before you lift the first cabinet, confirm your layout, mark the studs, prepare the fixings, and arrange help. If you want a reliable result without second guessing every step, compare installation options and choose the level of support that matches your project. A well installed upper cabinet run gives your kitchen better storage, stronger function, and a polished finish from the moment the doors close.
Installing upper kitchen cabinets successfully comes down to accurate layout lines, strong wall fixings, careful leveling, and patient door adjustment. When done well, the result is safer storage, cleaner sightlines, and a kitchen that feels professionally finished. Use this guide to plan each step, gather the right tools, and avoid common mistakes. Ready for a smoother result? Start your cabinet installation plan today and turn your kitchen wall into valuable, beautiful storage.
Frequently Asked Questions
How to install upper kitchen cabinets without them becoming crooked?
Use a level reference line, mark every stud clearly, and support the cabinets with a temporary ledger board or cabinet lift. Secure the first cabinet only after checking level and plumb from more than one direction. Then clamp each next cabinet flush before fastening it to the wall and adjoining cabinet.
Can I install upper kitchen cabinets by myself?
You can install upper kitchen cabinets alone only if you have safe lifting support, such as a cabinet lift or secure ledger board. However, a helper makes positioning easier and reduces the risk of injury or wall damage. Heavy, wide, or tall cabinets are better handled by two people or a professional installer.
What screws should I use when learning how to install upper kitchen cabinets?
Use cabinet installation screws designed to pass through the cabinet hanging rail and into solid studs or structural backing. The exact screw type depends on wall material and cabinet design. Avoid ordinary drywall screws, because they are not made for heavy cabinet loads and may fail under long term weight.
Do upper kitchen cabinets need to be fixed into studs?
Yes, upper kitchen cabinets should be secured into studs, blocking, a rated mounting rail, or another approved structural fixing. Drywall alone is not strong enough for loaded wall cabinets. If studs do not align with cabinet positions, add blocking, use a continuous rail system, or ask an installer to assess the wall.
How high should upper kitchen cabinets be installed?
The best height depends on countertop clearance, cabinet size, ceiling height, backsplash plans, and user comfort. Many kitchens leave enough space above the worktop for appliances and food preparation. Before drilling, mark the proposed cabinet bottom on the wall and test whether the storage feels reachable and visually balanced.
About the Author