Kitchen upper cabinet installation is easier, safer, and more accurate when you know the right sequence before drilling into the wall. This page gives you a clear, confidence-building guide to planning, positioning, securing, and finishing upper cabinets with a professional result. Whether you are upgrading storage, replacing outdated wall units, or preparing a full kitchen renovation, you will learn what matters most: alignment, strength, spacing, and a clean finish that protects your investment.
Install Upper Cabinets With Confidence From the Start
Upper cabinets do more than fill empty wall space. They define the look of the kitchen, create everyday storage, and influence how comfortable the room feels when you cook, clean, and move around. A cabinet that is slightly out of level, mounted too high, or poorly anchored can create long-term frustration. A cabinet that is installed correctly feels solid, looks intentional, and makes the entire kitchen appear more refined.
The most successful kitchen upper cabinet installation starts before the first screw goes into the wall. You need to understand the wall structure, cabinet layout, ceiling conditions, appliance clearances, and the way each cabinet connects to the next. This is where many rushed projects go wrong. Measuring once is not enough. Checking the level line, locating studs, and dry-fitting your cabinet sequence can prevent gaps, sagging, and misaligned doors.
If you are planning a broader cabinet project, you can compare layouts, materials, and installation options in this helpful cabinet installation guidance. It is especially useful when upper cabinets are part of a full remodel rather than a single replacement.
Why Proper Upper Cabinet Installation Pays Off
A well-mounted upper cabinet should feel like part of the architecture, not an added box on the wall. The difference comes from preparation, fastening, and finishing. When the installation is done correctly, you benefit from stronger storage, smoother door operation, and a cleaner visual line across the kitchen.
-
Better safety: upper cabinets carry plates, glasses, pantry goods, and small appliances. Secure anchoring into studs helps prevent movement and reduces risk over time.
-
Cleaner alignment: level cabinet runs make doors, crown trim, lighting, and backsplash lines look intentional.
-
More usable storage: correct height and spacing improve reach, access, and comfort for daily routines.
-
Higher perceived value: neat installation makes affordable cabinets look more premium and premium cabinets look truly custom.
-
Fewer repairs later: proper fastening, shimming, and cabinet-to-cabinet connection reduce stress on hinges, frames, and wall fixings.
What Makes a Professional Result Different
Many people think upper cabinet installation is simply a matter of holding a cabinet against the wall and driving screws through the back. In reality, the professional result comes from controlling several small details at the same time. The wall may not be perfectly flat. The ceiling may dip. The floor may slope. Even new cabinets can vary slightly from one unit to another.
A careful installer checks the cabinet plan against the real room. For example, in a compact apartment kitchen, the goal may be to keep wall cabinets high enough above the counter for a coffee machine while still reachable for daily dishes. In a family kitchen, the priority may be maximizing storage around the range hood and refrigerator. In a renovation, the installer may need to work around old plaster, hidden pipes, or electrical points for under-cabinet lighting.
Before installation, review important measurements such as cabinet height, depth, and spacing. If you are still choosing sizes, this overview of cabinet dimensions can help you plan a layout that fits both the room and the way you use the kitchen.
A Smarter Installation Sequence
Prepare the Wall and Layout
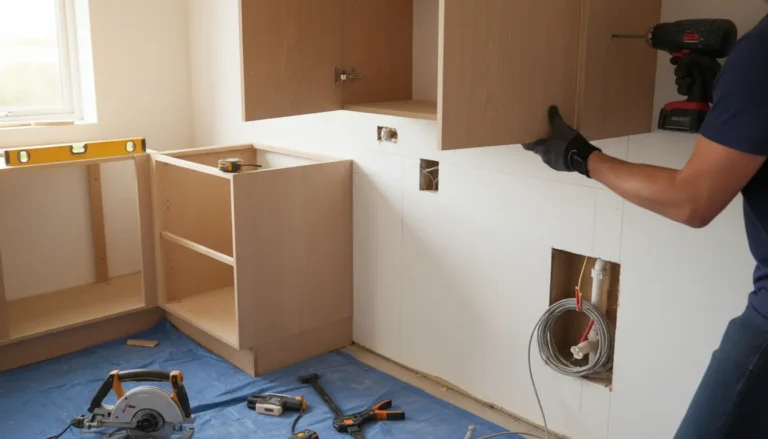
Start by clearing the work area and protecting countertops or flooring. Remove cabinet doors when possible, because lighter cabinets are easier to lift, hold, and align. Mark a level reference line across the wall where the bottom of the upper cabinets will sit. Then locate and mark wall studs. Stud placement matters because upper cabinets should be fastened into solid structure, not only into surface material.
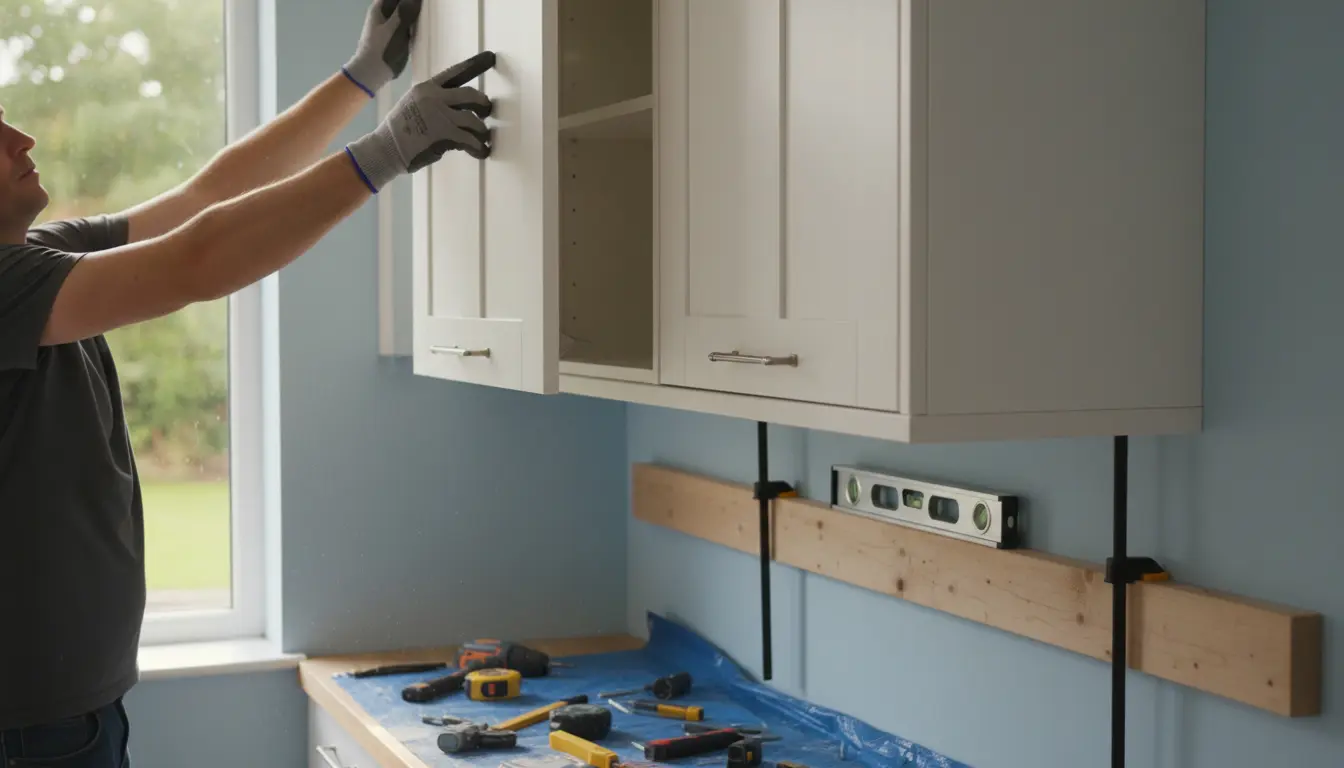
Many installers use a temporary ledger board to support the cabinet while positioning it. This straight support keeps the cabinet from slipping and makes it easier to work accurately. Even if you have a helper, a ledger can improve control, especially when mounting wider or heavier units.
Start With the Right Cabinet
The first cabinet sets the standard for the full run. If it is not level and plumb, every cabinet after it becomes harder to align. Begin with a corner cabinet if your kitchen layout includes one, or start at the most visually important end of the run. Clamp neighboring cabinets together before permanently connecting them, and check the face frames or front edges so they sit flush.
Fasten cabinets together at the front and back where appropriate, then secure them to the wall. This helps create one stable row rather than separate boxes fighting against each other. Use shims where the wall is uneven, and avoid over-tightening screws, which can pull the cabinet out of alignment or damage the cabinet back.
Check Doors, Gaps, and Function
After the cabinets are secured, reinstall doors and adjust hinges. This step is not cosmetic only. Door alignment reveals whether cabinets are square and level. Consistent gaps between doors create the polished appearance that homeowners expect from a professional installation. If doors swing into walls, appliances, or neighboring handles, solve the issue before adding trim, shelves, or lighting.
Practical Scenarios Homeowners Often Face
Replacing one upper cabinet: If you are replacing a single damaged wall cabinet, the challenge is matching the existing height, depth, and door reveal. Measure from nearby cabinets, not only from the floor, because older kitchens may have settled over time.
Adding cabinets above a counter: When adding storage over a worktop, check appliance clearance first. A tall blender, coffee maker, or stand mixer may need more vertical room than expected. A beautiful cabinet that blocks everyday use quickly becomes a design regret.
Installing cabinets in an older home: Walls in older homes are often out of square. In that situation, shimming and careful scribing matter. The goal is not to force the cabinet to follow the wall; the goal is to make the cabinet line look straight while safely attached.
Creating a premium look on a budget: Even affordable cabinets can look high-end when upper units are level, doors are adjusted, and trim is finished cleanly. Installation quality often has a bigger visual impact than the cabinet price alone.
Why Homeowners Choose Expert Help
Upper cabinets are awkward to handle, and mistakes are often visible immediately. Homeowners commonly ask for help after discovering that the wall is not flat, the studs are not where expected, or the cabinet run does not fit exactly as planned. A knowledgeable installer can solve these issues quickly because they understand both the cabinet system and the room conditions.
People who value speed, safety, and a guaranteed-looking finish often choose professional support instead of struggling through a weekend of lifting, leveling, and reworking. If your project includes several upper cabinets, tall units, panels, crown molding, lighting, or integrated appliances, the value of expert installation becomes even clearer. For a done-right approach, explore professional kitchen installation and avoid costly corrections later.
Professional Installation Versus Doing It Yourself
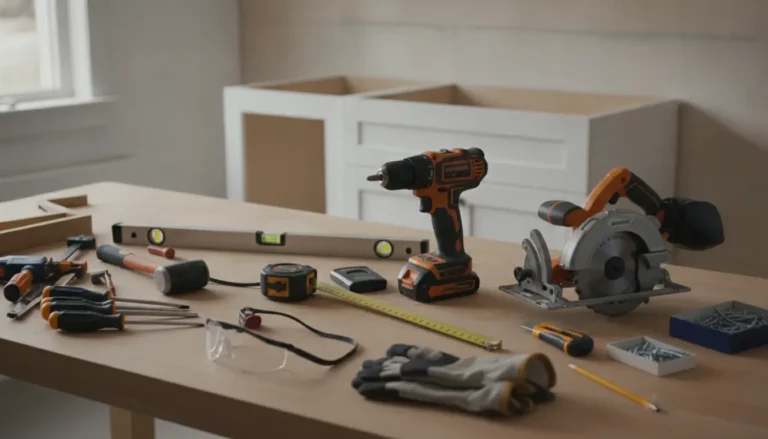
A hands-on homeowner with the right tools, a reliable helper, and patience can install upper cabinets successfully. The project becomes more demanding when the layout includes corners, uneven walls, heavy cabinets, or expensive finishes. The question is not only whether you can install them, but whether you can achieve the finish you want without damage, delays, or frustration.
-
Choose a self-install approach if the wall is straightforward, the cabinets are lightweight, and you are comfortable finding studs, drilling pilot holes, using levels, and making adjustments.
-
Choose expert installation if the kitchen is part of a larger renovation, the cabinets are custom or heavy, the wall conditions are uncertain, or you want a faster, cleaner result.
-
Consider a hybrid approach if you want to handle demolition and preparation yourself but bring in a professional for the final cabinet mounting and alignment.
What to Check Before You Book or Begin
Before starting, confirm that all cabinets, doors, shelves, panels, hinges, and fittings are present and undamaged. Compare the cabinet plan with the room, including ceiling height, window position, extractor placement, and electrical outlets. If under-cabinet lighting is planned, coordinate wiring before cabinets are fixed permanently.
Also think about how the upper cabinets will connect visually with the rest of the kitchen. Will there be open shelves at one end? Will the cabinets meet a tall pantry? Will crown molding continue across the run? These details affect where cabinets should start and stop. A small planning conversation before installation can prevent awkward fillers, uneven end panels, or trim that looks like an afterthought.
Ready for a Stronger, Cleaner Kitchen Finish?
Your upper cabinets should not feel uncertain, temporary, or poorly aligned. They should feel secure, balanced, and built for daily use. If you want a result that looks planned rather than patched together, now is the right time to take the next step. Review your layout, confirm your measurements, and choose the installation route that protects your cabinets, your walls, and your renovation budget.
For a smooth experience, request guidance before you begin or schedule professional support for the most demanding part of the project. A precise kitchen upper cabinet installation can transform the entire room, giving you storage that works beautifully and a finish you will notice every day.
Kitchen upper cabinet installation is worth doing carefully because it affects safety, storage, alignment, and the overall value of your kitchen. With accurate measuring, secure fastening, and clean finishing, your cabinets can look built-in and perform reliably for years. If you want the result without the stress of trial and error, choose expert guidance or professional installation and move forward with confidence today.
Frequently Asked Questions
How high should upper cabinets be installed?
For most kitchens, upper cabinets are positioned to leave comfortable working space above the countertop while keeping shelves reachable. The exact height depends on ceiling height, cabinet size, backsplash plans, and appliances. During Kitchen upper cabinet installation, always mark a level reference line and check appliance clearance before fastening anything permanently.
Do upper cabinets need to be screwed into studs?
Yes, upper cabinets should be secured into wall studs whenever possible because they carry significant weight once filled with dishes, glasses, or pantry items. Wall anchors alone are usually not enough for long-term reliability. A safe Kitchen upper cabinet installation includes stud location, pilot holes, correct screws, and careful tightening without pulling cabinets out of level.
Can I install upper cabinets without a helper?
It is possible in limited situations, but it is rarely ideal. Upper cabinets are awkward to lift, align, and secure at the same time. A ledger board can support weight temporarily, but a helper improves safety and accuracy. For larger units or premium finishes, professional Kitchen upper cabinet installation is often the smarter choice.
Should I install upper or base cabinets first?
Many installers prefer upper cabinets first because there are no base cabinets in the way while lifting and fastening. This can make positioning easier and reduce the chance of damaging lower units or countertops. However, the full kitchen plan matters, so confirm reference lines, appliance locations, and final cabinet heights before beginning.
What causes gaps between upper cabinet doors?
Gaps usually come from cabinets being slightly out of level, uneven walls, incorrect fastening pressure, or hinges that need adjustment. During Kitchen upper cabinet installation, cabinets should be clamped, aligned, shimmed, and checked before final tightening. After doors are reinstalled, hinge adjustments can fine-tune reveals for a cleaner, more professional finish.
About the Author