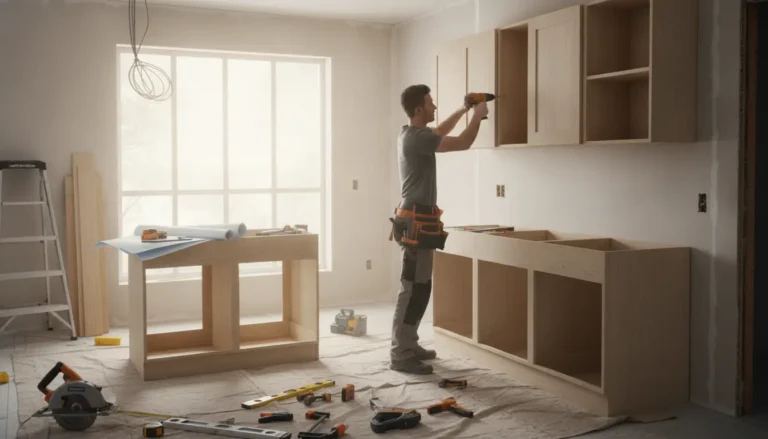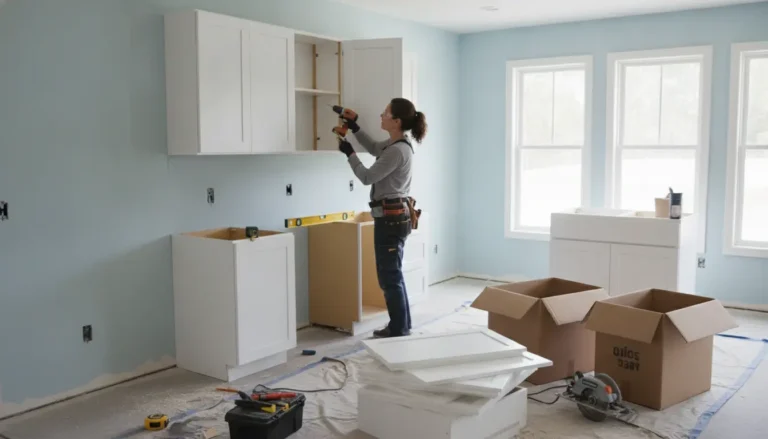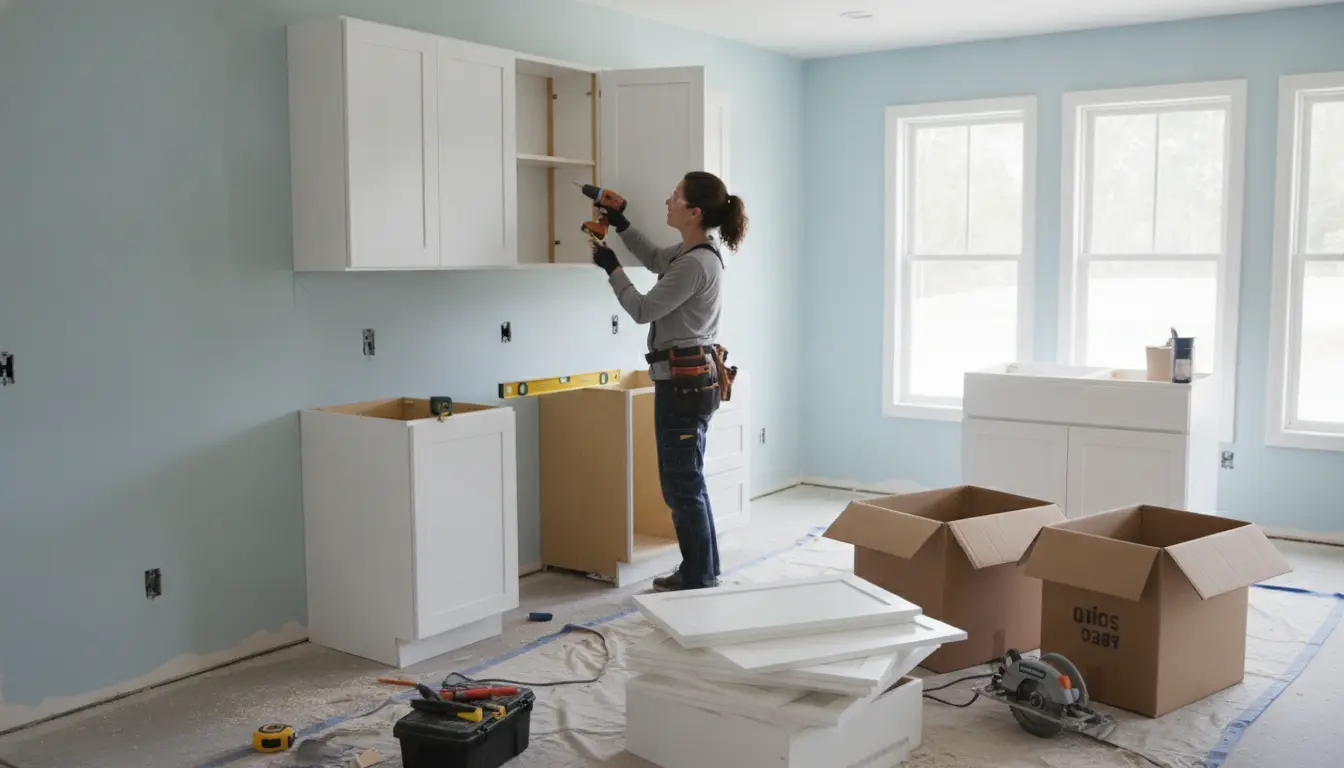
How to install kitchen cabinets yourself starts with a clear plan, the right tools, and a proven order of work. This guide gives you a practical, confidence-building path from wall preparation to final door adjustment, so you can avoid common DIY mistakes and achieve a cleaner finish. Built around real installation logic, it helps you save labor costs, protect your new cabinets, and decide when a task is safe to handle yourself or better left to a professional.
Start With a Kitchen Plan That Prevents Expensive Mistakes
Before you lift a single cabinet, confirm the layout, appliance openings, plumbing positions, electrical points, and finished floor height. Cabinet installation is less about strength and more about accuracy. A small measuring error near the start can become a crooked run, tight dishwasher opening, uneven countertop, or doors that never align properly.
Begin by emptying the room and checking the walls. Remove loose plaster, old backsplash adhesive, leftover fasteners, and anything that stops a cabinet from sitting flat. Then locate every wall stud and mark the stud centers clearly. These marks are your safety map; cabinets must be fastened into solid framing, not just drywall.
If you are still choosing units, compare sizes, materials, and layouts before installation day. You can explore cabinet options through kitchen cabinets to match your design with the space you actually have. The best DIY installation starts with cabinets that fit the room, not cabinets you must force into place.
Why Installing Cabinets Yourself Can Be Worth It
Installing kitchen cabinets yourself can reduce labor costs and give you more control over the finish. You decide how carefully every filler, reveal, and door gap is handled. For many homeowners, the biggest reward is not only saving money, but also understanding the structure of the kitchen before countertops, appliances, and lighting are added.
-
Lower project cost: You may be able to reserve more of your budget for better hardware, upgraded doors, or durable worktops.
-
Better control: You can take the time to level, shim, and adjust until the cabinet run looks right.
-
Flexible timing: You can work in stages instead of waiting for a single installer date.
-
Practical confidence: Once you understand cabinet boxes, rails, hinges, and fillers, future repairs become easier.
That said, DIY is not always the best choice. If walls are severely out of square, floors are badly sloped, or utilities must be moved, professional help can protect your investment. A confident DIYer knows when to continue and when to call in support.
The Tools and Materials That Make the Job Easier
A cabinet installation can become frustrating when the right tool is missing. Gather everything before the cabinets arrive. At minimum, you need a reliable level, drill, driver bits, stud finder, clamps, shims, measuring tape, pencil, screws suitable for cabinet installation, and a straightedge. A laser level is not mandatory, but it makes layout faster and more consistent.
For face-frame cabinets, cabinet clamps help pull neighboring boxes flush before fastening them together. For frameless cabinets, careful alignment is even more important because door gaps are highly visible. If you want a dedicated preparation list, review tools needed to install kitchen cabinets before starting.
Mark the Reference Lines Before Any Cabinet Goes Up
Find the highest point of the floor along the cabinet run. This matters because base cabinets must be leveled from the highest point, not from a low corner. If you start in a low spot, other cabinets may end up too high or too tight beneath windows, appliances, or countertop requirements.
Draw a level line on the wall that represents the top of the base cabinets. Then mark the bottom line for wall cabinets, allowing the correct clearance above the future countertop. Check the manufacturer’s instructions for exact spacing, especially if a microwave cabinet, range hood, refrigerator cabinet, or tall pantry is involved.
Install Upper Cabinets First When Possible
Many installers prefer upper cabinets first because the floor area remains open. Without base cabinets in the way, you can stand closer to the wall, use temporary supports, and fasten the cabinets more safely. If you are working alone, do not try to hold heavy wall cabinets above shoulder height without support. Use a ledger board, cabinet lift, or a capable helper.
Practical upper cabinet scenario
Imagine a straight wall with a sink below and two wall cabinets on either side of a range hood. Start with the corner or most visible cabinet, then work outward. Clamp the next cabinet to it, align the face edges, fasten the cabinets together, and then secure them into studs. This order keeps the visible front line consistent while the hidden back edges absorb minor wall irregularities.
Always pre-drill where needed, especially near cabinet edges. Overdriving screws can distort the cabinet box, pull it out of square, or damage the finish. Tight is good; crushed is not.
Set Base Cabinets With Shims, Patience, and Repeated Checks
Base cabinets create the foundation for the countertop, so accuracy matters. Start at the highest point of the floor, set the first cabinet, and level it front to back and side to side. Use shims under the cabinet and behind it where necessary. Once the first cabinet is correct, the rest of the run becomes easier to align.
Do not fasten every cabinet fully as soon as it touches the wall. Instead, place the neighboring cabinet, clamp the fronts flush, check the top edges, check the face line, and then fasten the boxes together. After the run is straight and level, secure it to the wall studs.
What to do with uneven floors
Uneven floors are common, especially in older homes. The solution is not to follow the floor, but to create a level cabinet line above it. Shims close the gaps and support the cabinets. Later, toe-kick trim hides most of the adjustment. If the floor drops dramatically, pause and assess whether structural repair or professional leveling is needed before continuing.
Handle Corners, Fillers, and Appliance Openings Carefully
Corners can make or break the look of a kitchen. Corner cabinets need enough clearance for doors, drawers, handles, and adjacent appliances. Do not assume that a corner unit can sit tight against a side wall. Many layouts require a filler strip to allow doors and drawers to open without rubbing.
Appliance openings need special attention. A dishwasher opening must be wide enough, square enough, and accessible after the countertop is installed. A refrigerator space should allow ventilation and door swing. A range opening must line up with power, gas, ventilation, and clearance requirements. Measure the real appliance, not just the brochure dimension.
DIY Installation Compared With Hiring a Professional
|
Option |
Best for |
Main advantage |
Main risk |
|---|---|---|---|
|
DIY cabinet installation |
Careful homeowners with time, tools, and a straightforward layout |
Lower labor cost and full control over details |
Errors can affect countertops, doors, and appliance fit |
|
Professional installation |
Complex layouts, heavy wall cabinets, uneven rooms, and tight deadlines |
Speed, experience, and problem-solving on site |
Higher upfront cost and less hands-on control |
If your kitchen is a simple run of base and wall cabinets, DIY may be realistic. If you have tall cabinets, stacked uppers, integrated lighting, custom panels, or expensive stone worktops, a professional check can be a smart investment. For a broader overview of the process, see this kitchen cabinet installation guide.
Common Mistakes That Make Cabinets Look Amateur
-
Skipping stud layout: Drywall alone cannot safely hold loaded wall cabinets.
-
Following an uneven floor: Cabinets should be level, even when the room is not.
-
Forgetting fillers: Doors and drawers need clearance near walls, corners, and appliances.
-
Ignoring cabinet square: A twisted box leads to uneven door gaps and drawer problems.
-
Rushing final adjustments: Hinges, drawer fronts, and handles define the finished look.
Finish With Door Alignment, Trim, and a Final Quality Check
Once the cabinet boxes are secured, reinstall shelves, drawers, and doors. Adjust hinges so the reveals are consistent. Check that drawers slide smoothly and do not rub neighboring fronts. Install toe kicks, side panels, crown molding, light rails, or filler pieces only after you are satisfied with the cabinet run.
Stand back and view the kitchen from the main entry point. This is how guests and buyers will see it. Look for uneven gaps, sloping lines, proud filler edges, or doors that sit slightly high or low. Small adjustments at this stage create a much more professional result.
Ready to Move From Planning to Installation?
If you want a kitchen that feels custom without unnecessary overspending, plan carefully, buy cabinets that suit your space, and follow a logical installation sequence. Start with measurements, verify the walls, secure to studs, level every base, and adjust the final details with patience. When you are ready, choose your cabinet style, prepare your tool list, and begin with confidence.
Installing kitchen cabinets yourself can save money, improve control over the final look, and give your renovation a stronger foundation. The key is preparation: measure carefully, mark studs, level from the highest floor point, and take time with fillers and adjustments. If your layout is manageable, this is a rewarding DIY project. Choose the right cabinets, follow the correct sequence, and start building your kitchen with confidence today.
Frequently Asked Questions
Is How to install kitchen cabinets yourself realistic for beginners?
How to install kitchen cabinets yourself is realistic for a careful beginner when the layout is simple and the walls are in good condition. The most important skills are measuring, leveling, drilling accurately, and working patiently. If the room is badly out of square or cabinets are very heavy, get help before continuing.
Should I install upper or base cabinets first?
Many DIYers install upper cabinets first because the base cabinets are not blocking access to the wall. This makes lifting, supporting, and fastening easier. However, the final choice depends on your layout, available help, and tools. Whatever order you choose, use clear reference lines and secure every cabinet into studs.
How do I deal with an uneven floor under base cabinets?
Do not follow the uneven floor. Find the highest point, mark a level reference line, and shim the base cabinets so the tops form a straight, level surface. The countertop depends on this accuracy. Toe-kick trim can hide many small gaps, but major slopes may need professional assessment.
What tools are essential for cabinet installation?
The essentials include a level, measuring tape, stud finder, drill, driver bits, clamps, shims, pencil, and suitable cabinet screws. A laser level and cabinet clamps make the work easier and cleaner. Good tools reduce frustration, but careful checking is more important than buying every specialist accessory.
When should I hire a professional instead of doing it myself?
Hire a professional if cabinets are oversized, walls need structural repair, utilities must move, or the countertop material requires extremely tight tolerances. You should also consider help for tall pantry units, stacked wall cabinets, or complex corner layouts. A hybrid approach can still save money while protecting the most difficult parts.
About the Author