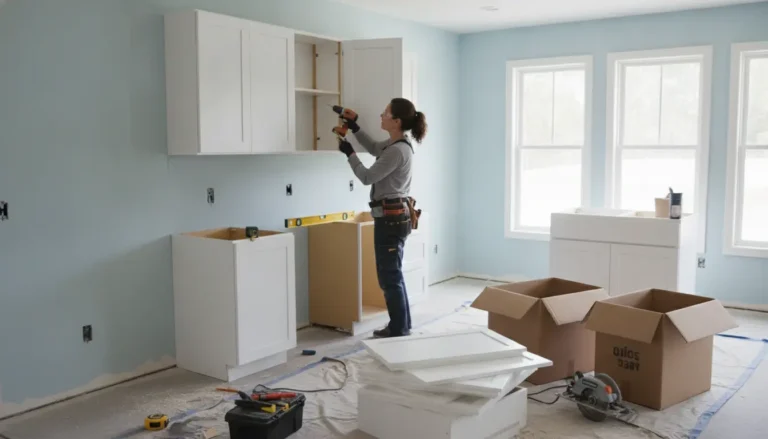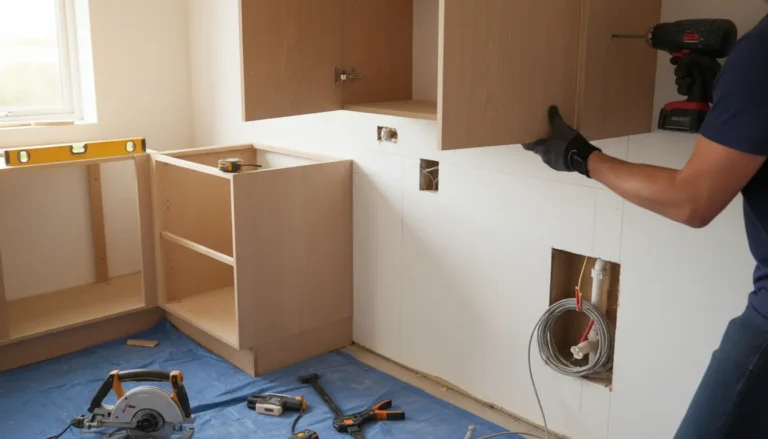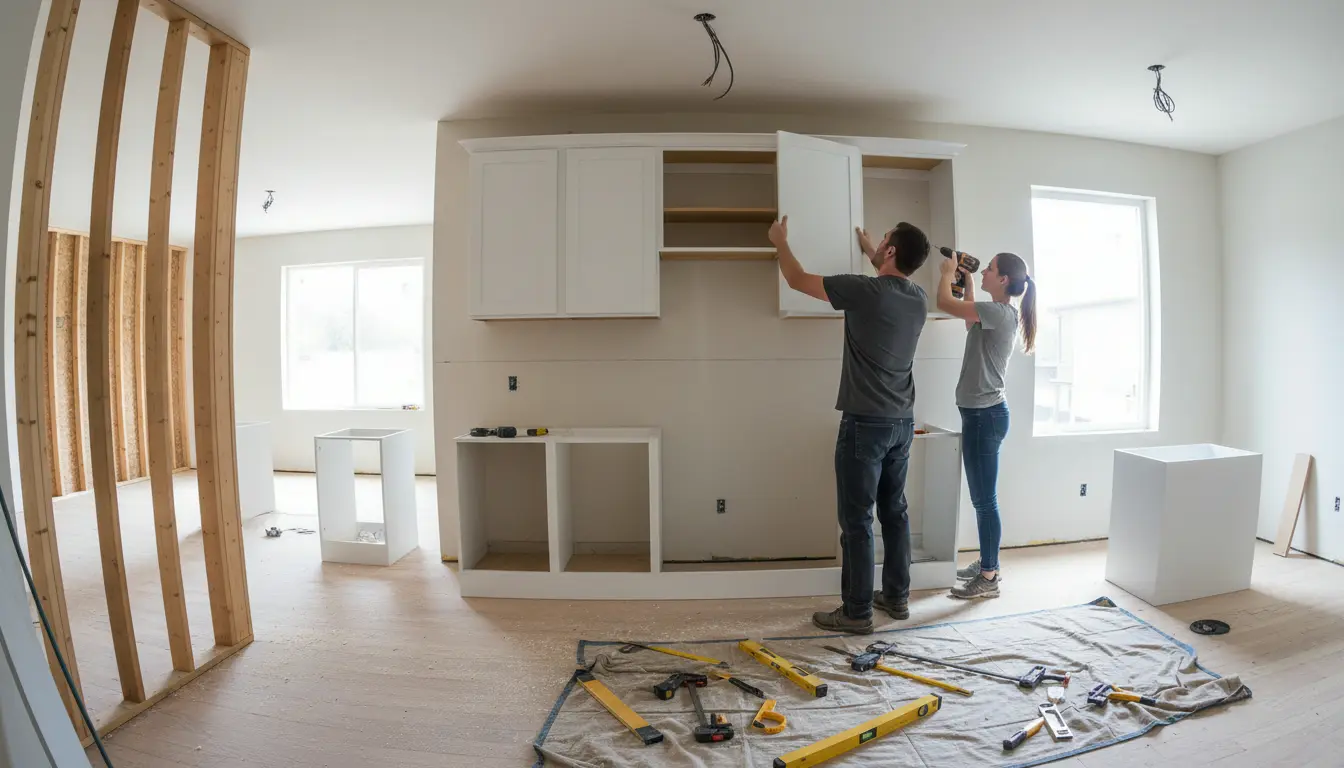
How to install kitchen wall cabinets becomes much easier when you follow a proven, installer-style process from layout to final adjustment. This guide shows you how to measure accurately, find solid fixing points, choose the right hardware, and hang cabinets level without costly mistakes. Whether you are upgrading a compact apartment kitchen or completing a full remodel, you will learn practical steps that improve safety, storage, appearance, and long-term value.
Start With a Wall Cabinet Plan That Prevents Rework
Wall cabinets look simple once they are in place, but the quality of the result is decided before the first screw goes into the wall. A strong plan helps you avoid uneven door lines, blocked appliances, awkward gaps, and cabinets that feel unsafe when loaded with plates or pantry goods. Begin by reviewing your kitchen layout, cabinet sizes, ceiling height, extractor position, lighting, and the distance between the worktop and the bottom of the wall units.
If you are still choosing units, compare sizes, finishes, and storage features before installation day. A helpful starting point is the overview of kitchen cabinets, especially if you want to match wall units with base cabinets, tall units, or a pantry section. Planning the cabinet run as one complete system gives you cleaner sightlines and fewer compromises during fitting.
Tools and Materials You Should Have Ready
Having everything on hand keeps the installation controlled and accurate. Stopping halfway through to find a stronger fixing or a longer screw often leads to rushed decisions. Prepare your tools, check your cabinet instructions, and confirm the wall type before you begin.
- Spirit level or laser level for horizontal and vertical alignment.
- Stud finder or wall scanner for timber studs, metal studs, pipes, and cables.
- Tape measure, pencil, and straight edge for layout marks.
- Drill and suitable drill bits for timber, masonry, or plasterboard fixings.
- Cabinet screws, wall plugs, rail brackets, or manufacturer-approved hanging plates.
- Clamps for holding cabinets together before joining them.
- Temporary support batten or adjustable cabinet props.
- Safety glasses, gloves, and a second person for lifting.
The most important material is the correct fixing. A heavy wall cabinet must be anchored into solid structure, not simply into weak plasterboard. When in doubt, choose a stronger solution or bring in a professional installer. The cost of proper installation is far lower than repairing a damaged wall, broken cabinet, or cracked tile splashback.
Measure the Height and Mark a Level Reference Line
Most wall cabinets are positioned so the lower edge sits at a comfortable height above the worktop. The exact height depends on cabinet depth, appliance clearances, the height of the people using the kitchen, and whether there is a cooker hood or open shelving in the same run. Mark the intended bottom line of the cabinets across the wall with a long level or laser.
In an older home, never assume the ceiling, floor, or worktop line is perfectly level. Use your level to establish a true horizontal reference. If the floor slopes, base cabinets may have been adjusted to compensate, so align the wall cabinets visually with the finished kitchen rather than blindly following the ceiling. A small difference hidden near the ceiling is often less noticeable than a crooked cabinet line above the worktop.
Locate Strong Fixing Points Before Drilling
The safest method for how to install kitchen wall cabinets is to fasten into studs, masonry, or a continuous hanging rail fixed to structural points. Use a wall scanner to locate studs and hidden services. Mark each stud position above and below your reference line so you can still see the marks when the cabinet is lifted into place.
For timber stud walls, cabinet screws should pass through the cabinet hanging rail or back fixing area and bite deeply into the stud. For masonry walls, use appropriate plugs or anchors designed for the cabinet load. For hollow plasterboard, standard plugs are rarely enough for loaded kitchen cabinets unless they are part of an engineered rail system supported at multiple structural points.
Example: Small Apartment Kitchen
In a narrow apartment kitchen, you may only have space for two wall cabinets above a short worktop. Because every centimetre matters, a level reference line and accurate stud marks help keep the units tight to each other and aligned with the base units below. This creates a cleaner look and avoids the common problem of doors opening into a wall or extractor hood.
Example: Full Renovation With New Cabinets
During a larger renovation, install wall cabinets after the base layout is confirmed but before final decorative trims are fitted. If you are coordinating cabinetry with flooring, worktops, plumbing, and lighting, the broader kitchen installation process can help you understand the right order of work. Good sequencing reduces delays and protects your new finishes.
Use a Support Batten or Cabinet Props
A temporary support batten is one of the simplest ways to improve accuracy. Fix a straight batten along the bottom reference line, making sure it is level and securely attached. The cabinet can rest on the batten while you fasten it, reducing strain on your arms and helping the unit stay aligned. If you do not want screw holes below the cabinets, use adjustable cabinet props instead.
Even experienced installers rarely try to hold, level, and fasten a wall cabinet alone without support. Kitchen wall units are bulky, and a small tilt during drilling can create a visible gap. A second person is strongly recommended, especially for wide cabinets, tall wall units, or cabinets with glass doors.
Hang the First Cabinet With Extra Care
The first cabinet sets the standard for the entire run. Place it on the support batten or lift it onto its hanging brackets. Check that it is level from side to side and plumb from front to back. Drive the first fixing securely, then recheck the level before adding the remaining fixings. Do not fully commit every screw until the cabinet position is confirmed.
If the wall is uneven, use packers or shims behind the cabinet fixing points rather than forcing the cabinet to twist. A twisted cabinet can cause doors to sit unevenly, hinges to strain, and shelves to look out of line. The goal is a square cabinet fixed firmly to a wall, not a cabinet bent to match an imperfect surface.
Join Additional Cabinets for a Seamless Run
Once the first unit is secure, position the next cabinet against it. Clamp the two cabinet frames together at the front, protecting visible surfaces with scrap wood or soft pads. Check that the face frames or front edges are flush, then drill pilot holes and join the cabinets with suitable screws. After the cabinets are connected, fasten the second cabinet to the wall.
This sequence matters because it prevents stepped edges between units. A row of cabinets can be technically level but still look poor if each box sits slightly forward or back from the next. Clamping, joining, and then fixing to the wall creates a more professional finish.
Adjust Doors, Hinges, and Gaps
After the cabinets are fixed, install shelves and doors if they were removed for lifting. Most modern hinges allow adjustment in several directions. Use these adjustments to create even gaps between doors, align top and bottom edges, and make sure doors close without rubbing. Take your time here; neat door alignment is one of the first details people notice.
If your cabinet doors are heavy or high gloss, handle them carefully and avoid placing them face down on rough surfaces. For handleless doors, gap alignment is even more important because shadows reveal tiny differences. For traditional shaker doors, focus on consistent reveals around each frame.
Why a Careful Installation Pays Off
Secure wall cabinet installation delivers more than a better-looking kitchen. It protects your investment and makes daily use easier. A level cabinet run gives you dependable storage, reduces hinge stress, and helps doors stay adjusted for longer. Solid fixings also provide peace of mind when cabinets are filled with crockery, jars, cookware, and small appliances.
Many homeowners choose a guided do-it-yourself approach for simple layouts, then use professional help for tricky sections such as masonry drilling, uneven walls, corner units, or integrated lighting. This balanced approach can control the budget while still delivering a safe result. If you want a clearer view of specialist fitting options, review kitchen wall cabinet installation before deciding how much of the work to handle yourself.
Do It Yourself or Hire a Professional?
A confident DIY installer can often handle a straight run of standard wall cabinets when the wall structure is known, the units are not oversized, and the right tools are available. Professional installation is usually the better choice when cabinets are very heavy, walls are out of square, services are hidden, tiles are already installed, or the layout includes tall end panels, lighting, cornices, or exact ceiling fillers.
DIY can save labour costs, but mistakes can become expensive quickly. A misplaced fixing may damage pipes or cables. An unlevel run may require cabinets to be removed and rehung. Weak anchors may fail after the cabinets are loaded. Professional installers bring speed, experience, and a trained eye for details that are hard to correct later.
Common Mistakes to Avoid
- Fixing cabinets into plasterboard without checking for structural support.
- Using the ceiling as a reference line instead of a true level line.
- Skipping clamps when joining cabinets together.
- Overtightening screws and pulling cabinets out of square.
- Forgetting appliance clearance around hobs, extractors, and tall taps.
- Installing doors before lifting, making cabinets heavier and harder to control.
- Ignoring manufacturer instructions for brackets, rails, and load limits.
Make Your Next Step Simple
If your kitchen wall is solid, your layout is straightforward, and you have a helper, this guide gives you a reliable path to a secure installation. If you are uncertain about the wall type, cabinet weight, or final finish, get expert advice before drilling. The best kitchen projects are not rushed; they are measured, supported, checked, and completed with the right fixing method.
Ready to move forward? Confirm your cabinet layout, gather the correct fixings, and decide whether you want a DIY installation or professional support. A properly installed wall cabinet run can transform storage, improve the room’s proportions, and make your kitchen feel finished from the first day.
Learning how to install kitchen wall cabinets gives you better control over safety, alignment, storage, and finish quality. With accurate measuring, strong fixings, support during lifting, and careful door adjustment, your cabinets can look built-in and perform reliably for years. If your layout is complex or the wall structure is uncertain, choose professional help. Plan your installation today and create a kitchen that is secure, practical, and ready to enjoy.
Frequently Asked Questions
Can I learn how to install kitchen wall cabinets without previous experience?
Yes, you can learn how to install kitchen wall cabinets if the layout is simple, the wall structure is clear, and you have the correct tools. Start with careful measuring, use a support batten, and get help lifting. If the wall is hollow, tiled, or uneven, professional guidance is safer.
What is the safest fixing method for kitchen wall cabinets?
The safest method is to fasten the cabinets into solid structural support, such as wall studs, masonry, or a properly installed hanging rail. Standard plasterboard fixings are usually not suitable for loaded kitchen cabinets. Always match screws, plugs, and brackets to the wall type and cabinet weight.
How high should I hang kitchen wall cabinets above the worktop?
There is no single perfect height, because it depends on worktop height, cabinet depth, user comfort, and appliance clearance. Many kitchens use a practical gap that keeps the worktop usable while keeping shelves reachable. Mark the bottom cabinet line first, then confirm it works with extractors, taps, and lighting.
Should I install upper cabinets before base cabinets?
Many installers prefer hanging upper cabinets before final worktops are fitted because it provides easier access and reduces the risk of damaging finished surfaces. However, the base cabinet layout should already be planned. When learning how to install kitchen wall cabinets, always coordinate upper positions with the base units below.
When should I hire a professional instead of doing it myself?
Hire a professional if the cabinets are heavy, the wall type is uncertain, hidden services may be present, or the design includes fillers, lighting, cornices, or corner details. Professional fitting is also wise when you want a flawless finish quickly and want to reduce the risk of costly rework.
About the Author