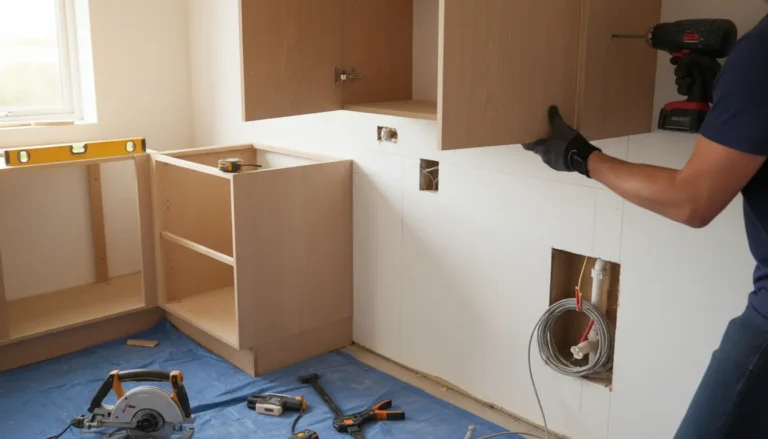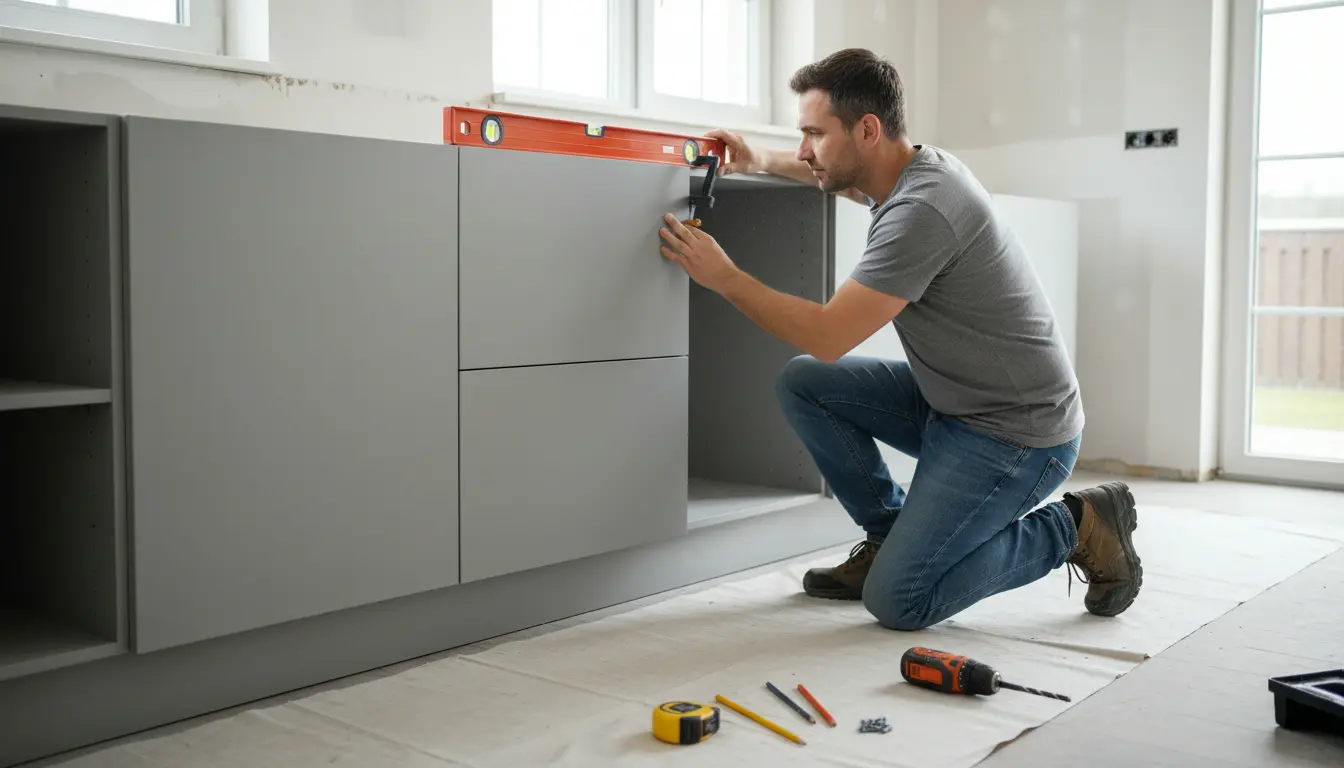
Kitchen base cabinet installation becomes easier, safer, and more accurate when you follow a proven plan. This page gives you the practical guidance, expert insight, and buying support needed to create a level, durable cabinet foundation for your kitchen. Whether you are comparing ready-to-assemble cabinets, planning a full remodel, or deciding between DIY and professional help, you will learn what matters most before you order, install, and finish with confidence.
Build a Strong Foundation for Your Kitchen
Base cabinets carry the weight of countertops, sinks, appliances, cookware, and daily use. If they are not level, aligned, and secured properly, the entire kitchen can feel unfinished before it is even complete. A successful Kitchen base cabinet installation starts with preparation: checking the floor, confirming wall conditions, planning cabinet order, and making sure every box, filler, panel, and toe kick has a clear place in the layout.
For homeowners, the biggest benefit is control. You avoid surprise gaps, awkward corner access, uneven worktops, and doors that never close quite right. For contractors and renovators, a clean base cabinet setup speeds up countertop templating, appliance fitting, and finishing work. In both cases, the installation stage protects your investment and helps the kitchen look custom, even when you choose affordable cabinet options.
Why Accurate Base Cabinet Installation Pays Off
A kitchen is used every day, which means small installation errors quickly become annoying. A cabinet line that is slightly out of level can cause countertop seams to misalign. A poorly fixed sink base can move under plumbing stress. A corner cabinet placed without clearance can block drawers or handles. Precision is not cosmetic; it affects function, durability, and the final value of the room.
-
Better countertop results: level base cabinets make measuring, fitting, and sealing countertops much easier.
-
Improved storage access: accurate spacing helps drawers, pull-outs, corner units, and trash cabinets operate smoothly.
-
Fewer costly corrections: careful planning reduces the chance of removing cabinets after plumbing, electrical, or countertop work begins.
-
Cleaner visual lines: aligned fronts, consistent reveals, and fitted panels create a premium finished look.
-
Longer cabinet life: secure fastening and proper support reduce stress on joints, frames, and hardware.
What Makes a Smooth Installation Different
The best installations do not begin with a drill. They begin with a layout review. Measure the room from several points, mark the highest point of the floor, and use that reference to create a level line for the cabinet run. This is especially important in older homes, apartments, and remodels where floors and walls are rarely perfectly straight.
If you are still choosing cabinets, explore the available kitchen cabinets before finalizing your layout. Cabinet construction, depth, height, drawer configuration, and corner solutions all influence the installation. For example, a wide drawer base beside a range needs accurate appliance clearance, while a sink cabinet requires room for water lines, waste pipes, and future service access.
Practical Scenario: The Straight Wall Kitchen
In a straight wall layout, the installation usually starts from a fixed point such as a tall cabinet, corner, or appliance opening. The base cabinets are set along the level line, shimmed where needed, clamped together, and fastened through strong structural points. This approach keeps the face frames or cabinet edges flush, which makes fillers and end panels easier to finish neatly.
Practical Scenario: The Corner Kitchen
Corner layouts need extra attention. A lazy Susan, blind corner unit, or easy reach cabinet must be placed first or very early in the run because surrounding cabinets depend on its position. Door swing, tray rotation, and handle clearance should be tested before final fixing. If the corner cabinet is wrong, the rest of the run often has to compensate, which can create visible gaps at the end.
Practical Scenario: The Sink Base
A sink base cabinet looks simple, but it needs careful planning. Plumbing openings should be measured, not guessed. The cabinet should sit level so the countertop, sink, and faucet seal correctly. If a dishwasher sits beside it, the spacing must allow appliance installation and future removal. Good planning here prevents leaks, rubbing doors, and service headaches later.
Tools, Preparation, and Details That Matter
Most base cabinet projects require a level, stud finder, clamps, drill, screws, shims, measuring tape, pencil, and protective pads. However, the real skill is knowing when to adjust. Floors can slope. Walls can bow. Cabinets can arrive with small tolerances. A professional result comes from checking repeatedly, not rushing from one cabinet to the next.
-
Confirm the cabinet layout against the actual room measurements.
-
Mark the highest floor point and transfer a level reference line across the wall.
-
Locate wall studs and check where cabinets can be securely fixed.
-
Dry fit key cabinets, especially corners, sink bases, and appliance openings.
-
Clamp adjacent cabinets before fastening them together.
-
Use shims carefully so cabinets remain supported, not twisted.
-
Recheck level and alignment before installing toe kicks, panels, and fillers.
If your project is part of a larger remodel, review the broader kitchen cabinets installation process so base cabinets, wall cabinets, appliances, worktops, and finishing trades happen in the right order.
DIY or Professional Installation?
Many homeowners can assemble ready-to-install cabinets, organize parts, and handle simple straight runs. If you are confident with measuring, leveling, fastening, and trimming fillers, DIY can be a satisfying way to save on labor. It also gives you complete visibility over every detail, from unboxing to final door adjustment.
Professional installation is usually the smarter choice when the kitchen has uneven floors, stone countertops, complex corners, integrated appliances, plumbing changes, or expensive custom finishes. A skilled installer can solve alignment issues quickly and prevent mistakes that are difficult to hide later. The right choice depends on your tools, time, patience, and tolerance for risk.
Comparing the Options
-
DIY installation: lower labor cost, flexible schedule, best for simple layouts and experienced homeowners.
-
Professional installation: faster completion, cleaner finishing, better for complex kitchens and premium materials.
-
Hybrid approach: you assemble and organize cabinets, while a specialist handles leveling, fixing, fillers, and final adjustment.
If budget is your main concern, compare product and labor expectations with a realistic kitchen installation cost overview before deciding. Sometimes paying for expert installation protects the money already spent on cabinets, countertops, and appliances.
Confidence Before You Buy
Choosing cabinets without thinking about installation can lead to expensive compromises. Before ordering, confirm cabinet sizes, door swings, fillers, side panels, toe kicks, and appliance clearances. Make sure your plan includes space for walls that are not square and floors that are not level. A beautiful cabinet style still needs a buildable layout.
Good suppliers and design teams help you avoid these problems before the cabinets arrive. Look for clear product information, responsive support, transparent pricing, and guidance on assembly or installation. Refundable samples, design consultations, and reliable delivery windows can make the buying process much less stressful.
What Homeowners Appreciate Most
People often expect the cabinet installation stage to be quick, but they are most impressed when the result feels solid and effortless to use. Drawers glide without rubbing. Doors reveal even gaps. The countertop sits flat. The toe kick looks intentional, not patched together. These details are what make a kitchen feel professionally planned.
Feedback from renovation projects is consistent: homeowners value clear communication, accurate measurements, and practical advice before installation begins. They want to know what happens if the wall is uneven, how long the room will be out of use, and whether their chosen cabinets fit the way they imagined. Answering those questions early creates trust and prevents frustration.
Ready to Plan Your Base Cabinet Installation?
If you want your kitchen to look right, work well, and last, start with the base cabinets. Review your layout, check your measurements, compare cabinet options, and decide whether DIY, professional help, or a hybrid route gives you the best result. When you are ready, request expert guidance, compare cabinet solutions, and move forward with a plan that turns your kitchen design into a dependable, finished space.
Kitchen base cabinet installation is the foundation of a kitchen that looks polished and performs every day. With accurate measuring, level placement, secure fixing, and the right cabinet choices, you can avoid costly corrections and enjoy smoother countertop, appliance, and storage results. Plan carefully, compare your options, and get expert support where it matters. Start your installation plan today and build a kitchen that fits beautifully from the floor up.
Frequently Asked Questions
Can I do Kitchen base cabinet installation myself?
Yes, Kitchen base cabinet installation can be a DIY project if your layout is simple and you are comfortable measuring, leveling, clamping, and fastening cabinets securely. The biggest challenge is correcting uneven floors or walls. For stone countertops, complex corners, or integrated appliances, professional help often prevents expensive mistakes.
What should I check before installing base cabinets?
Before Kitchen base cabinet installation, check the floor level, wall straightness, stud locations, plumbing positions, appliance openings, and cabinet order. Dry fitting is strongly recommended. This helps you identify filler needs, clearance issues, and corner problems before anything is permanently fixed or trimmed.
Should base cabinets be installed before wall cabinets?
Many installers prefer setting wall cabinets first because there are no base cabinets in the way. Others mark everything, install bases, then continue upward. For Kitchen base cabinet installation, the key is maintaining accurate level lines and protecting finished surfaces, regardless of the sequence chosen.
How do I handle an uneven floor during installation?
An uneven floor is common during Kitchen base cabinet installation. Start from the highest point of the floor, mark a level reference line, and use shims to support cabinets where needed. Never force cabinets to follow the floor slope, because this can twist boxes and affect doors, drawers, and countertops.
When should I hire a professional installer?
Hire a professional for Kitchen base cabinet installation if your kitchen has difficult corners, uneven walls, heavy countertops, plumbing changes, or tight appliance clearances. A professional can make precise adjustments, secure cabinets correctly, and deliver a cleaner finish, especially when the cabinets are part of a larger renovation.
About the Author