Kitchen unit installation becomes far easier when every cabinet, wall unit, worktop, service point, and finish is planned before the first screw is fixed. This page gives you a practical, confidence-building route to a kitchen that looks aligned, works smoothly, and lasts. Whether you are comparing professional fitting with a managed do-it-yourself approach, you will find clear guidance, realistic scenarios, and smart decision points that help you avoid delays, waste, and costly rework.
Get a kitchen that fits your space, your routine, and your budget
A successful kitchen starts long before the units arrive. The best results come from matching your layout to how you actually cook, clean, store, and move through the room. Good kitchen unit installation is not just about attaching cabinets to walls. It is about creating a safe, level, practical, and attractive working space where every door opens properly, every drawer clears nearby appliances, and every surface feels intentional.
For example, a family kitchen with heavy weekly shopping needs deep base drawers, strong corner storage, and easy access to the fridge. A compact apartment kitchen may benefit more from tall wall units, integrated lighting, and narrow pull-out storage. A keen home cook may prioritise a clear work triangle between sink, hob, and fridge, while a busy household may need landing space near the oven and dishwasher. Installation choices should support these real-life patterns.
Why careful installation makes such a visible difference
Kitchen units reveal even small mistakes. A slight slope in the floor, an uneven wall, or an inaccurate mark can cause gaps, misaligned doors, rubbing drawers, and awkward worktop joints. Taking time to measure, level, and secure each unit properly protects the look and performance of the whole kitchen.
- Straighter lines: aligned base and wall units make the finished kitchen look cleaner and more expensive.
- Better durability: correctly fixed units cope better with weight, daily use, and movement.
- Smoother function: doors, drawers, appliances, and pull-outs work as intended.
- Reduced risk: service points, cables, pipework, and ventilation are considered before cutting or drilling.
- Higher value: a well-fitted kitchen can improve buyer confidence if you sell your home.
Start with a practical layout check
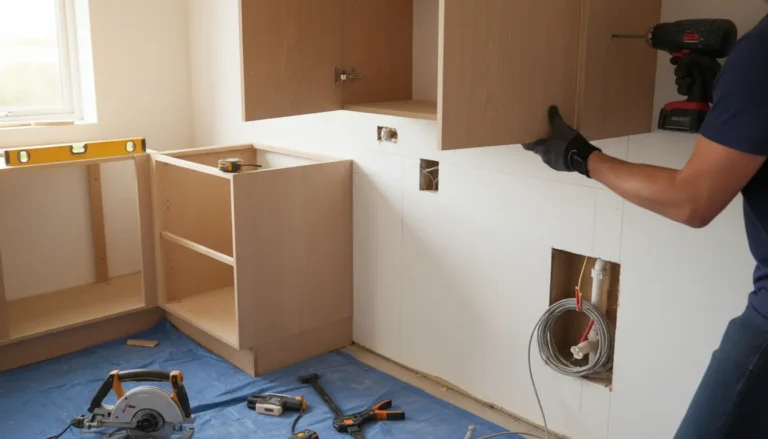
Before installation, confirm the position of water, waste, gas, electrics, ventilation, radiators, windows, and doors. Sketch the room and mark anything that could affect cabinet depth, appliance position, or wall fixing. Measure in several places because older homes often have walls and floors that are not perfectly square.
If your layout includes a corner, plan from that point outward. Corners influence how base cabinets line up, how worktops meet, and whether doors clash. If your kitchen includes a tall larder unit, use it as a visual reference so nearby wall units finish at a consistent height. For more detail on cabinet planning and options, explore kitchen cabinets before finalising your design.
Typical preparation tasks
- Remove old units carefully so walls and service routes can be inspected.
- Repair holes, loose plaster, damaged flooring, or uneven surfaces before fitting begins.
- Check that delivered units, hinges, legs, brackets, panels, plinths, and handles match the plan.
- Confirm which work must be completed by qualified plumbers or electricians.
- Protect floors, nearby furniture, and finished surfaces during the installation.
Professional fitting versus doing it yourself
Many homeowners can assemble flat-pack cabinets, attach legs, and fit handles. However, installing a full kitchen requires accuracy, patience, and the right tools. A professional installer brings experience with uneven walls, awkward corners, concealed pipework, worktop joints, and final adjustment. That experience often saves time and helps prevent visible flaws.
A do-it-yourself installation may suit a simple straight run of units in a utility room or rental refresh, especially if the walls are sound and the worktops are straightforward. Professional installation is usually the safer choice for stone worktops, complex corner layouts, integrated appliances, heavy wall units, or kitchens with gas and electrical changes. If you are still comparing routes, the dedicated kitchen cabinets installation guide can help you understand what is involved.
When expert help is worth it
- You need accurate worktop joins or cut-outs for sinks and hobs.
- Your wall units must be fixed to mixed or uncertain wall types.
- Your floor is uneven and base units need careful levelling.
- Your design includes integrated appliances, end panels, fillers, and lighting.
- You want one accountable team to coordinate fitting, finishing, and snagging.
What a smooth installation process usually includes
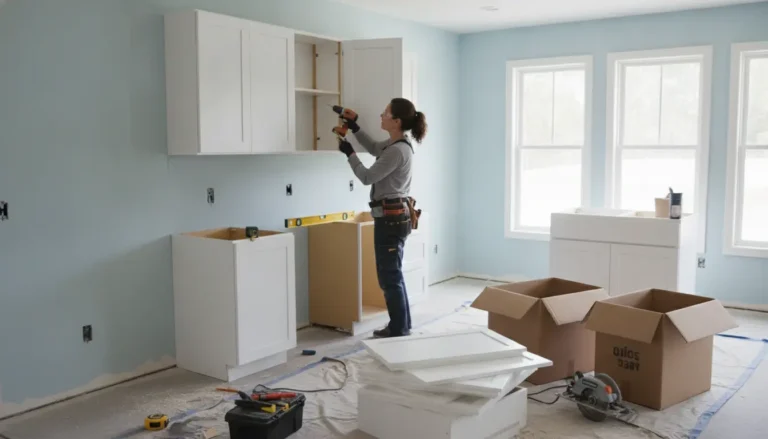
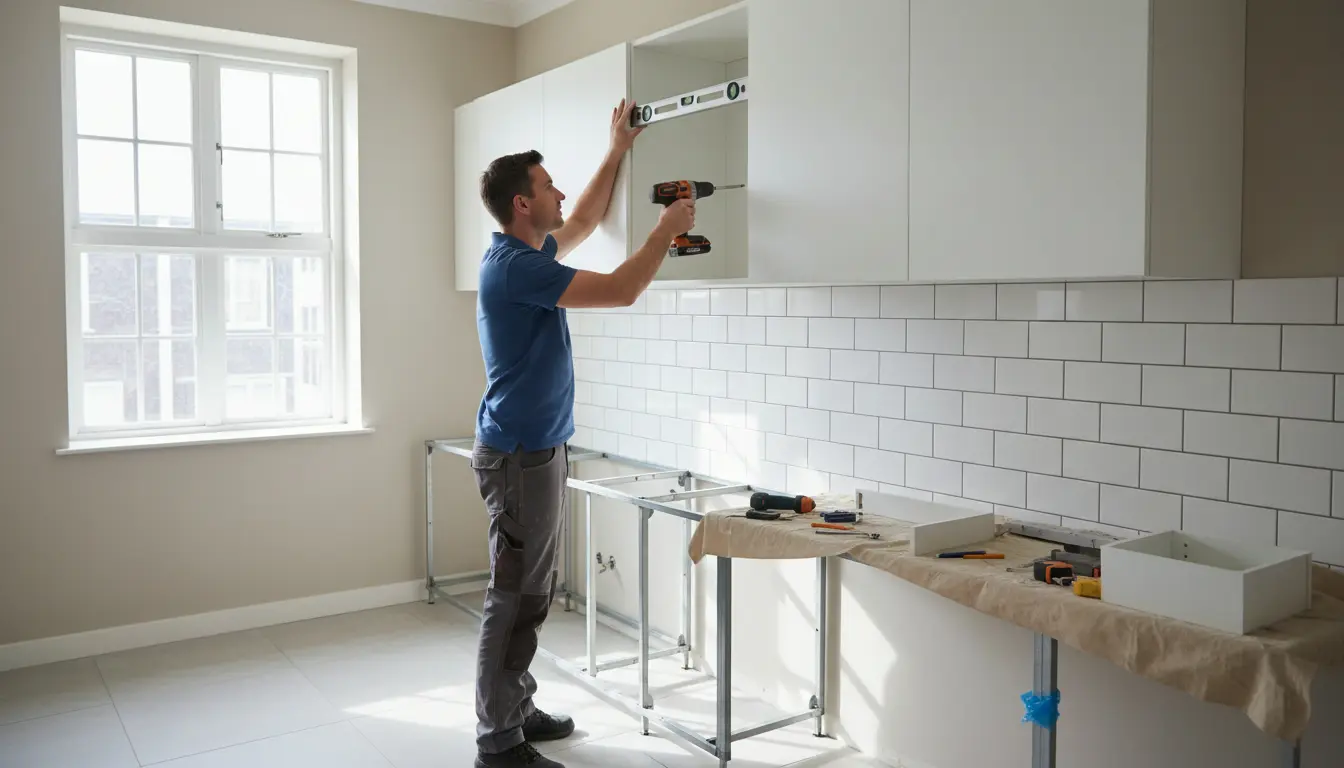
A reliable installation follows a logical order. First, the room is prepared and service locations are checked. Next, base units are positioned, levelled, and fixed. Wall units follow, with careful attention to height and alignment. Then come panels, doors, plinths, worktops, sink, tap, appliances, splashbacks, and final adjustments. The order matters because one inaccurate stage can affect everything that follows.
Imagine fitting a dishwasher before checking the final worktop height. You may find later that the appliance is difficult to slide in or service. Or consider installing wall units before confirming extractor clearance above the hob. A small oversight can become a time-consuming correction. Good kitchen unit installation anticipates these problems before they slow the project down.
Finishing details that separate average from excellent
The final look depends on details most people only notice when they are wrong. Fillers should be scribed neatly to walls. End panels should sit flush. Plinths should meet cleanly at corners. Handles should be consistent across the room. Silicone should be tidy around sinks and splashbacks. Doors and drawers should be adjusted after everything is loaded and settled.
Lighting also matters. Under-cabinet lighting can make food preparation easier and create a more premium atmosphere, but it should be planned before wall units are fixed. The same applies to socket placement. If you use blenders, coffee machines, phone chargers, or countertop appliances daily, sockets should sit where they are genuinely useful, not simply where they were easiest to install.
Proof that planning pays off
Homeowners often judge the quality of a kitchen installation by how it feels after the installers leave. Are the drawers quiet and stable? Do the cabinet doors line up after several weeks of use? Is there enough clearance around the fridge and dishwasher? Does the worktop feel solid when preparing food? These everyday details are where a well-managed installation proves its value.
One common scenario is a narrow galley kitchen. Without careful planning, opposing handles can clash, appliance doors can block walkways, and wall units can make the space feel tight. With the right unit depths, handle choices, and installation height, the same room can feel efficient and comfortable. Another scenario is an open-plan kitchen, where alignment is even more important because the units are visible from the living area. Straight lines, consistent gaps, and neat panels make the kitchen feel like part of the room rather than an afterthought.
Understanding cost without surprises
The price of installation depends on kitchen size, layout complexity, wall condition, worktop material, appliance integration, and the amount of plumbing or electrical work required. A simple run of base and wall units costs less than a large kitchen with an island, tall units, lighting, custom fillers, and premium surfaces. Labour can also vary depending on how much preparation is needed before fitting begins.
The most useful approach is to separate product costs from fitting costs, then add an allowance for remedial work. If walls need repair, floors need levelling, or services need moving, the project will take longer. To benchmark your budget before committing, review kitchen installation cost guidance and compare it with your layout and specification.
Ready to move from plan to fitted kitchen?
If you want a kitchen that looks precise and works beautifully, do not leave installation to guesswork. Check your measurements, confirm the layout, choose units that fit your daily routine, and decide early where professional support is needed. The right installation approach gives you fewer delays, cleaner finishes, safer service connections, and a kitchen you can enjoy from day one.
Take the next step: review your current layout, list your must-have storage, note any plumbing or electrical changes, and request fitting advice before ordering. A short planning conversation now can prevent expensive changes later and help you achieve a kitchen that feels tailored, practical, and built to last.
Kitchen unit installation is where design becomes daily value. Accurate measuring, level fitting, safe service planning, and careful finishing all contribute to a kitchen that looks refined and works reliably. Whether you choose professional fitting or a supported do-it-yourself route, the key is preparation. If you want fewer mistakes, better alignment, and a smoother project, start with a clear plan and get expert guidance before installation begins.
Frequently Asked Questions
Can I handle Kitchen unit installation myself?
You can manage parts of Kitchen unit installation if you have solid do-it-yourself skills, accurate tools, and a simple layout. Assembling cabinets and fitting handles may be manageable. However, wall fixing, worktops, plumbing, gas, electrics, and integrated appliances often need professional support to ensure safety, alignment, and a durable finish.
What should I measure before Kitchen unit installation starts?
Measure wall lengths, ceiling height, floor levels, corners, window positions, door swings, sockets, switches, water supply, waste, gas points, radiators, and extractor routes. For Kitchen unit installation, measure each wall in more than one place. Small differences can affect fillers, worktops, appliance gaps, and the final cabinet alignment.
How long does Kitchen unit installation usually take?
Kitchen unit installation time depends on the room size, layout, preparation, worktops, and service changes. A small, straightforward kitchen may take only a short fitting period, while a larger kitchen with appliances, lighting, plumbing, and complex finishes takes longer. Delays often come from uneven walls, missing parts, or late service work.
Do I need plumbers and electricians for Kitchen unit installation?
Yes, qualified trades are strongly recommended for plumbing, gas, electrical connections, extractor wiring, appliance circuits, and any service relocation. Kitchen unit installation involves cabinets, but the kitchen must also be safe and compliant. Using specialists reduces risk and helps prevent leaks, poor ventilation, overloaded circuits, and costly remedial work.
What causes the most problems during Kitchen unit installation?
The most common issues are inaccurate measurements, uneven floors, walls that are out of square, missing components, unclear service positions, and rushed worktop cuts. Kitchen unit installation runs more smoothly when the room is prepared, deliveries are checked, base units are levelled carefully, and professional help is arranged before specialist tasks begin.
About the Author