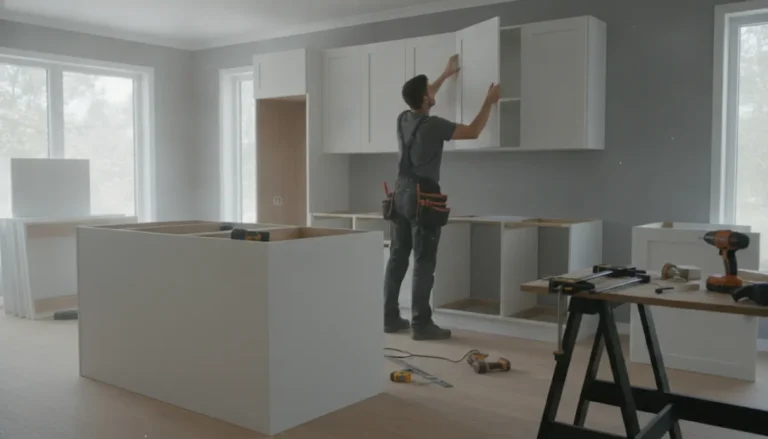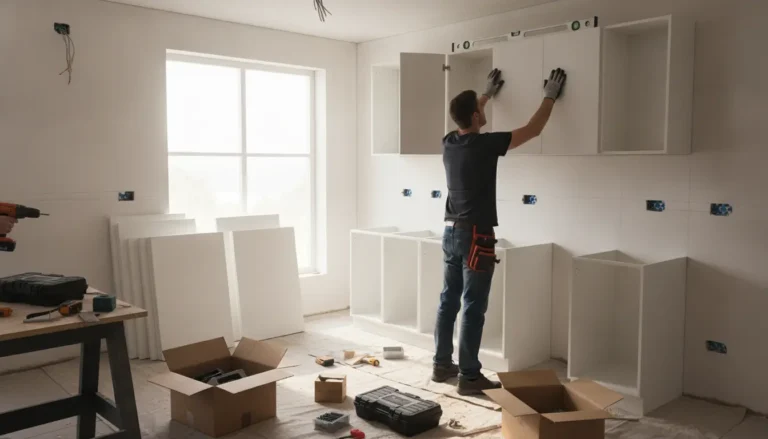
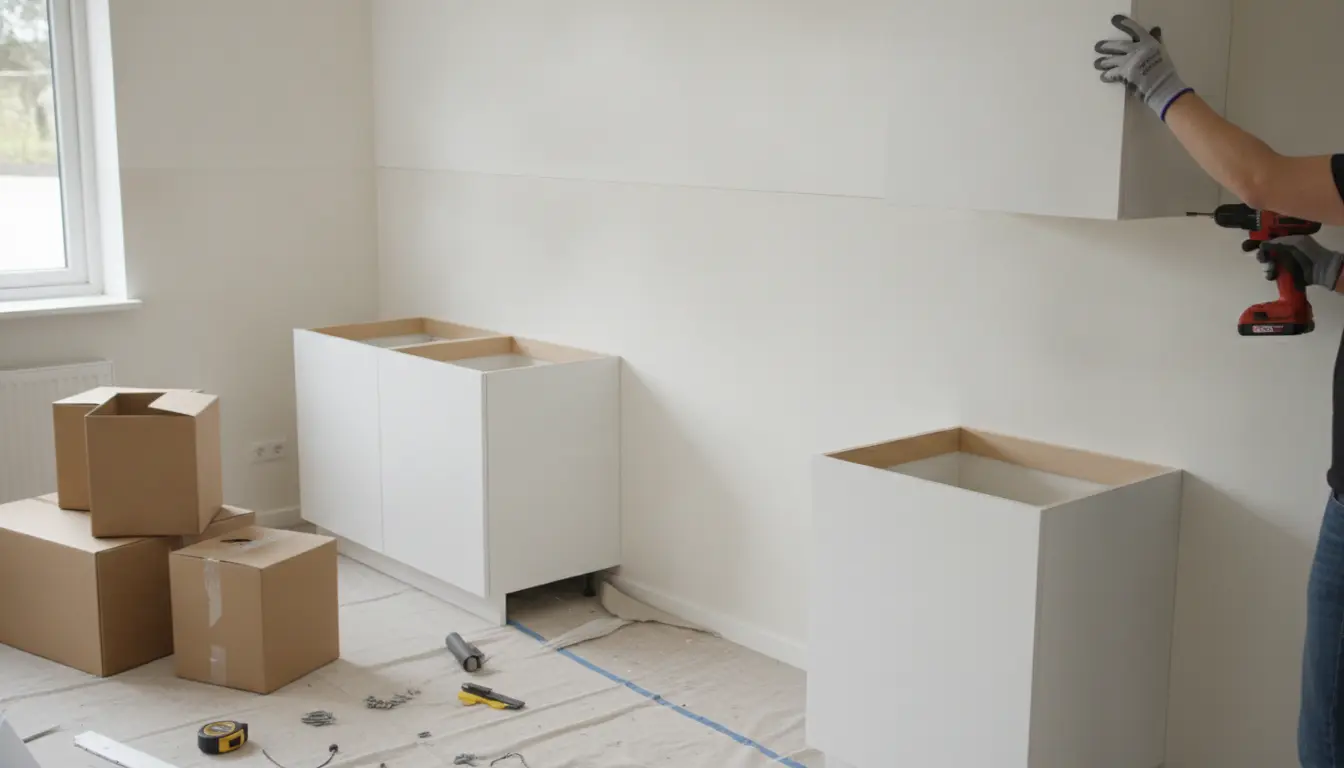
Kitchen cabinet installation for beginners starts with a clear plan, accurate measurements, and the right fixing method. This guide walks you through preparing your room, hanging wall cabinets, levelling base units, and completing the finishing touches without avoidable guesswork. You will learn where careful preparation can save money, which checks protect your cabinets, and when professional help is worth the investment. Follow the practical sequence below to turn a daunting project into manageable stages and make confident decisions before buying or drilling.
Get a Better Kitchen Without Paying for Avoidable Mistakes
Installing cabinets yourself can reduce labour costs and give you greater control over your renovation schedule. More importantly, understanding the installation process helps you choose cabinets that suit your room, storage needs, and practical abilities.
However, this is not simply a furniture assembly task. Loaded wall cabinets are heavy, floors are rarely perfectly level, and small alignment errors can affect doors, drawers, and countertops. The best savings come from preparation rather than shortcuts.
- Control your spending: separate cabinet costs, tools, delivery, finishing materials, and specialist work before committing.
- Improve everyday storage: plan drawers and shelves around the items you actually use.
- Reduce rework: check clearances and fixing locations before cabinets reach the wall.
- Choose your involvement: complete suitable tasks yourself while reserving difficult work for an installer.
Decide Whether Your Project Is Suitable for DIY
A straightforward cabinet run against sound walls is more approachable than a kitchen with uneven masonry, heavy tall units, complicated corners, or relocated services. You should be comfortable measuring accurately, drilling controlled holes, checking levels, and following technical instructions.
Compare the Practical Options
- DIY installation: suitable when you have time, appropriate tools, reliable help, and a verified fixing plan. You take responsibility for alignment and installation quality.
- Shared installation: handle preparation and assembly yourself, then pay an installer to hang, secure, or check the cabinets. Confirm responsibilities and warranty implications beforehand.
- Professional installation: worth considering for complex layouts, uncertain walls, expensive cabinetry, or a tight completion schedule.
For example, assembling base cabinets in a clear room may be manageable for a careful beginner. Hanging a wide cabinet on a wall with unknown construction is a different challenge. Stop and obtain advice rather than guessing which fixings will hold.
Compare the scope of professional kitchen cabinet installation before deciding which tasks to take on yourself.
Measure the Room Before Ordering Cabinets
Draw the room and record wall lengths, ceiling heights, windows, doorways, and service positions. Measure at several heights because walls may lean or bow. Check corners rather than assuming every angle is square.
Include appliance openings, ventilation requirements, door swings, drawer travel, and filler panels. Follow the appliance and cabinet manufacturers’ specifications rather than relying on generic dimensions.
Check the Details That Often Get Missed
- Allow space for handles and doors beside walls or adjacent cabinets.
- Confirm that appliance doors can open without striking cabinetry.
- Account for finished flooring and countertop thickness.
- Check that the dishwasher can be installed and removed after flooring is complete.
- Allow access to shutoff valves and required service connections.
For a narrow kitchen, imagine opening the dishwasher while someone stands at the opposite drawers. A layout that fits on paper may still be awkward to use. Resolve these conflicts before placing your order.
Prepare a Safe, Stable Installation Area
Remove old units carefully and repair damaged walls before installing replacements. Investigate dampness, loose plaster, or deteriorated framing instead of hiding problems behind new cabinets. Protect the floor and create a clear route for carrying large units.
Identify the wall construction and establish suitable structural fixing locations. A stud finder can assist with locating framing, but it does not prove that an area is free of pipes or electrical cables. Use appropriate detection methods and avoid drilling wherever concealed services remain uncertain.
Have electrical, gas, and plumbing alterations handled by appropriately qualified professionals as required locally. If removal could disturb suspected asbestos or other hazardous materials, stop and arrange an assessment.
Gather Tools and Cabinet-Specific Hardware
- Tape measure, pencil, long spirit level, and straightedge.
- Drill, suitable bits, screwdriver, and protected cabinet clamps.
- Manufacturer-approved cabinet screws, connectors, rails, and brackets.
- Durable shims or the specified adjustable support system.
- Eye protection, suitable hearing protection, and dust control.
- A properly rated cabinet lift or temporary support, plus a capable helper.
Do not substitute general-purpose screws or ordinary plasterboard fixings for a verified cabinet fixing system. Fastener type, quantity, spacing, and embedment depend on the cabinet, wall, and expected load.
Mark Level Reference Lines Before Lifting Anything
Locate the highest point of the floor across the cabinet footprint. Establish the base cabinet reference height from that point using the actual cabinet system and planned finished countertop height. Lower sections of the floor can then be accommodated with approved supports rather than forcing cabinets to follow the slope.
Mark the wall cabinet position using the finished countertop level, required working clearance, appliance instructions, and cabinet design. Cooking appliances and extraction equipment may require specific clearances that override a preferred visual arrangement.
Mark cabinet boundaries and fixing locations. Dry-fit base units where practical to confirm that the complete run, fillers, and appliance openings match your plan.
Install Wall Cabinets With Proper Support
For many conventional layouts, installing wall cabinets before base cabinets leaves more room to lift and work. However, tall units, suspension systems, and manufacturer instructions may require another sequence. Follow the instructions for your particular system.
- Prepare each cabinet: inspect it for damage and remove doors or shelves where the manufacturer permits. Keep hardware organised.
- Set up support: use a rated cabinet lift or a correctly secured temporary ledger where appropriate. Never rely on a person alone to hold a cabinet during fixing.
- Position the starting unit: usually begin at the planned corner or another fixed reference point. Check level, plumb, and alignment.
- Secure through designated fixing points: attach the cabinet or suspension rail to verified structural support using the specified hardware.
- Align adjacent units: clamp with protective pads and connect through the approved locations. Recheck the complete run before final tightening.
Do not fasten through a thin cabinet back unless the manufacturer specifically designates that area for structural attachment. Where shims are required, support fixing points so tightening does not distort the cabinet.
Keep cabinets supported until all required fixings and connections are complete. Do not load them until the installation has been checked.
Level and Secure the Base Cabinets
Start from the reference position established in your layout. Set the first base cabinet to the marked height, then check it side to side, front to back, and vertically. Adjust the specified legs or use suitable shims beneath structural support points.
Bring the next cabinet into position, align the fronts, and clamp carefully. Connect cabinets according to their construction: framed and frameless units may require different connection methods. Drill pilot holes where instructed and use screws that cannot break through visible surfaces.
Secure the run to the wall as specified, packing behind fixing points where needed. Do not pull a cabinet against an uneven wall by overtightening screws; this can twist the cabinet and interfere with drawers.
Example: Working With a Sloping Floor
If the floor falls towards one end of the room, keep cabinet tops on the same level reference line and increase support beneath the lower units. Following the floor instead would create a sloping countertop. Maintain the specified support beneath each cabinet and verify appliance clearances after adjustment.
For sink cabinets, measure service openings carefully and confirm clearances before cutting. Do not cut structural rails or modify cabinet supports without approval. Arrange countertop measuring only after the cabinets are fully secured, aligned, and ready under the countertop supplier’s requirements.
Finish the Details That Make the Kitchen Look Complete
Fit filler strips, end panels, and plinths using the cabinet system’s guidance. Scribe fillers to uneven walls where necessary, while preserving required appliance ventilation and access.
Rehang doors, insert drawers, and adjust hinges gradually. Consistent gaps and smooth movement are better indicators of a careful installation than doors that merely close. Use a handle template to reduce marking errors, and check drilling positions before making holes.
- Open every door and drawer through its full travel.
- Check that adjoining fronts do not collide.
- Confirm shelves and drawer components are seated correctly.
- Inspect fixings and anti-tip provisions where specified.
- Clean surfaces with products approved for the finish.
Look for Evidence Before Trusting Installation Claims
If you seek professional help, look beyond attractive finished photographs. Recent customer reviews describing communication, alignment, and aftercare are more useful than vague praise. Ask to see comparable projects and request a written scope covering fillers, adjustments, waste removal, and exclusions.
Before-and-after images can demonstrate appearance, but they cannot prove hidden fixings are correct. Ask how the installer will assess your walls and follow the cabinet manufacturer’s requirements. No verified customer testimonials are supplied here, so use this checklist to assess genuine evidence rather than relying on unsupported promises.
Turn Your Measurements Into a Clear Next Step
Before buying, compare the complete project cost rather than cabinet prices alone. Include tools, suitable hardware, delivery, finishing pieces, and any specialist assistance. Our overview of kitchen cabinet costs can help you organise that comparison.
Ready to move forward? Finalise your room measurements, confirm your fixing method, and use a kitchen cabinet installation checklist to review the plan. If any structural or service-related detail remains uncertain, arrange an assessment before ordering or drilling.
Start With a Plan, Finish With Confidence
Successful kitchen cabinet installation combines accurate measurements, suitable structural fixings, careful levelling, and patient finishing. Taking a staged approach can reduce avoidable spending while helping you achieve useful storage and neatly aligned cabinets. Choose DIY where your skills and equipment match the task, and bring in qualified help where they do not. Measure your room, confirm the cabinet instructions, and complete your installation checklist today before committing to your next purchase.
Frequently Asked Questions
Can a beginner install kitchen cabinets without professional help?
Kitchen cabinet installation for beginners is achievable on a straightforward project with sound walls, suitable tools, and reliable assistance. You need accurate measuring skills and a verified fixing method. Consider professional help for uncertain wall construction, heavy tall units, service alterations, or any stage where you cannot confidently follow the manufacturer’s instructions.
Should I install wall cabinets or base cabinets first?
Wall cabinets are often installed first because base units would obstruct lifting and access. However, tall cabinets, suspension rails, and particular cabinet systems can change the sequence. Check the manufacturer’s instructions and establish all reference lines first. Whatever the order, use appropriate lifting support and verify structural fixing positions before installation.
How long should I allow for installing kitchen cabinets?
Allow several days rather than assuming a complete beginner installation will take one day. Room size, cabinet assembly, wall condition, fillers, and adjustments all affect the schedule. Removal, repairs, service alterations, and countertop installation add separate stages. Keep a contingency and avoid booking dependent trades before the cabinets are genuinely ready.
Can kitchen cabinets be fitted on uneven walls or floors?
Yes, provided the underlying structure is sound and the differences can be accommodated using the cabinet system’s approved supports, shims, and fillers. Establish a level reference from the floor’s highest point. Never twist cabinets into alignment with screws. Significant unevenness, damaged walls, or uncertain fixing strength calls for assessment before proceeding.
Should new flooring go down before or after the cabinets?
The correct sequence depends on the flooring system and its installation requirements. Many floating floors must not be trapped beneath fixed cabinets, while other flooring types may allow installation first. Follow both manufacturers’ instructions and account for finished floor height, appliance removal, and expansion gaps before finalising your cabinet levels and installation schedule.
About the Author